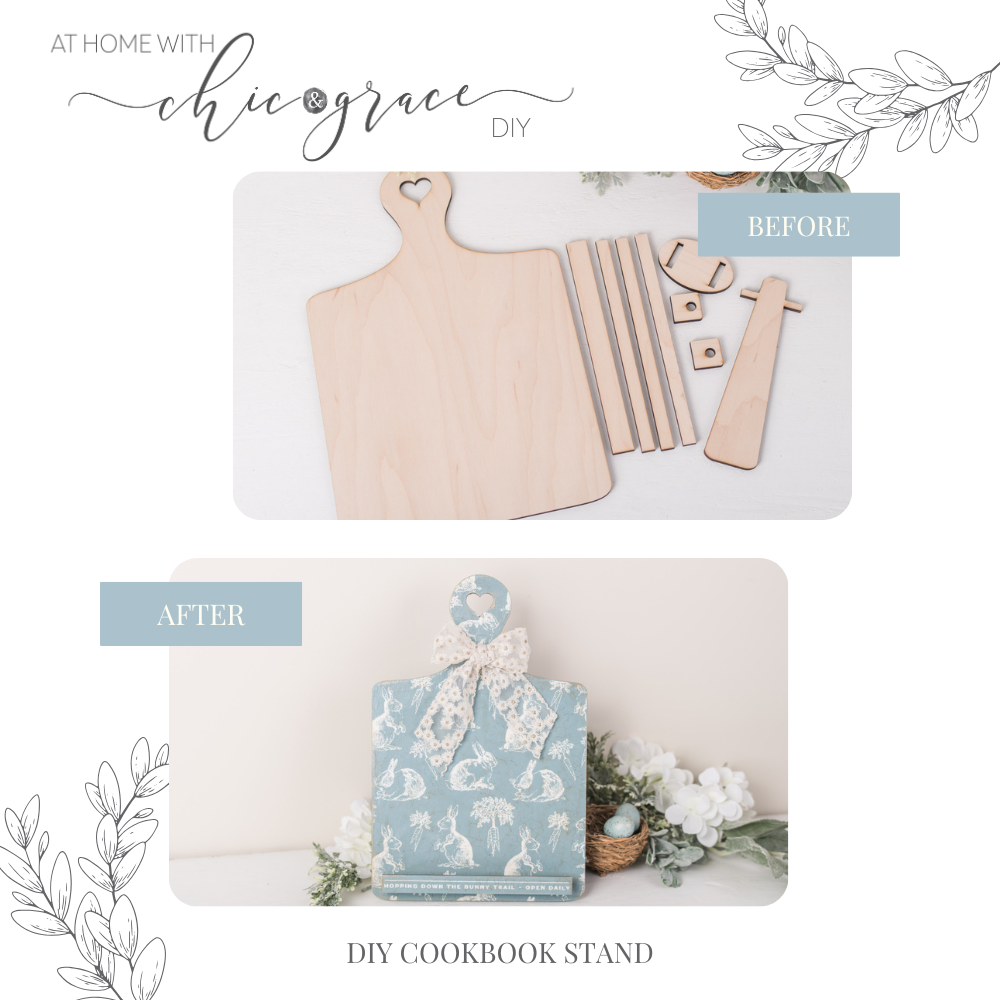
Create Your Own High End DIY Cookbook Stand with Chalk Couture’s Silkscreen Bunny Treats Transfer
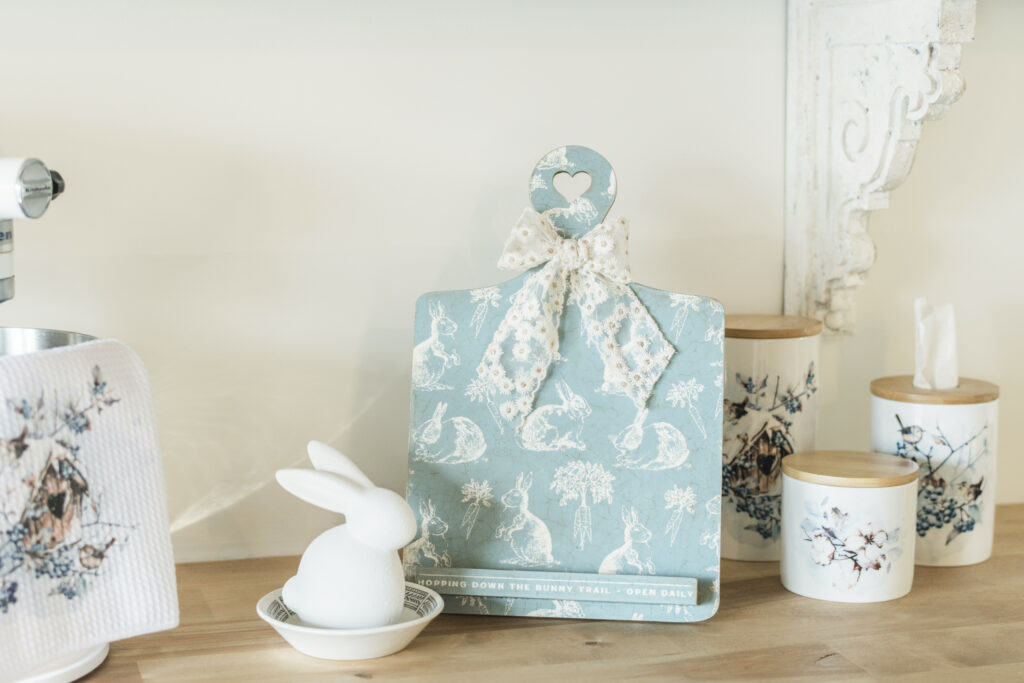
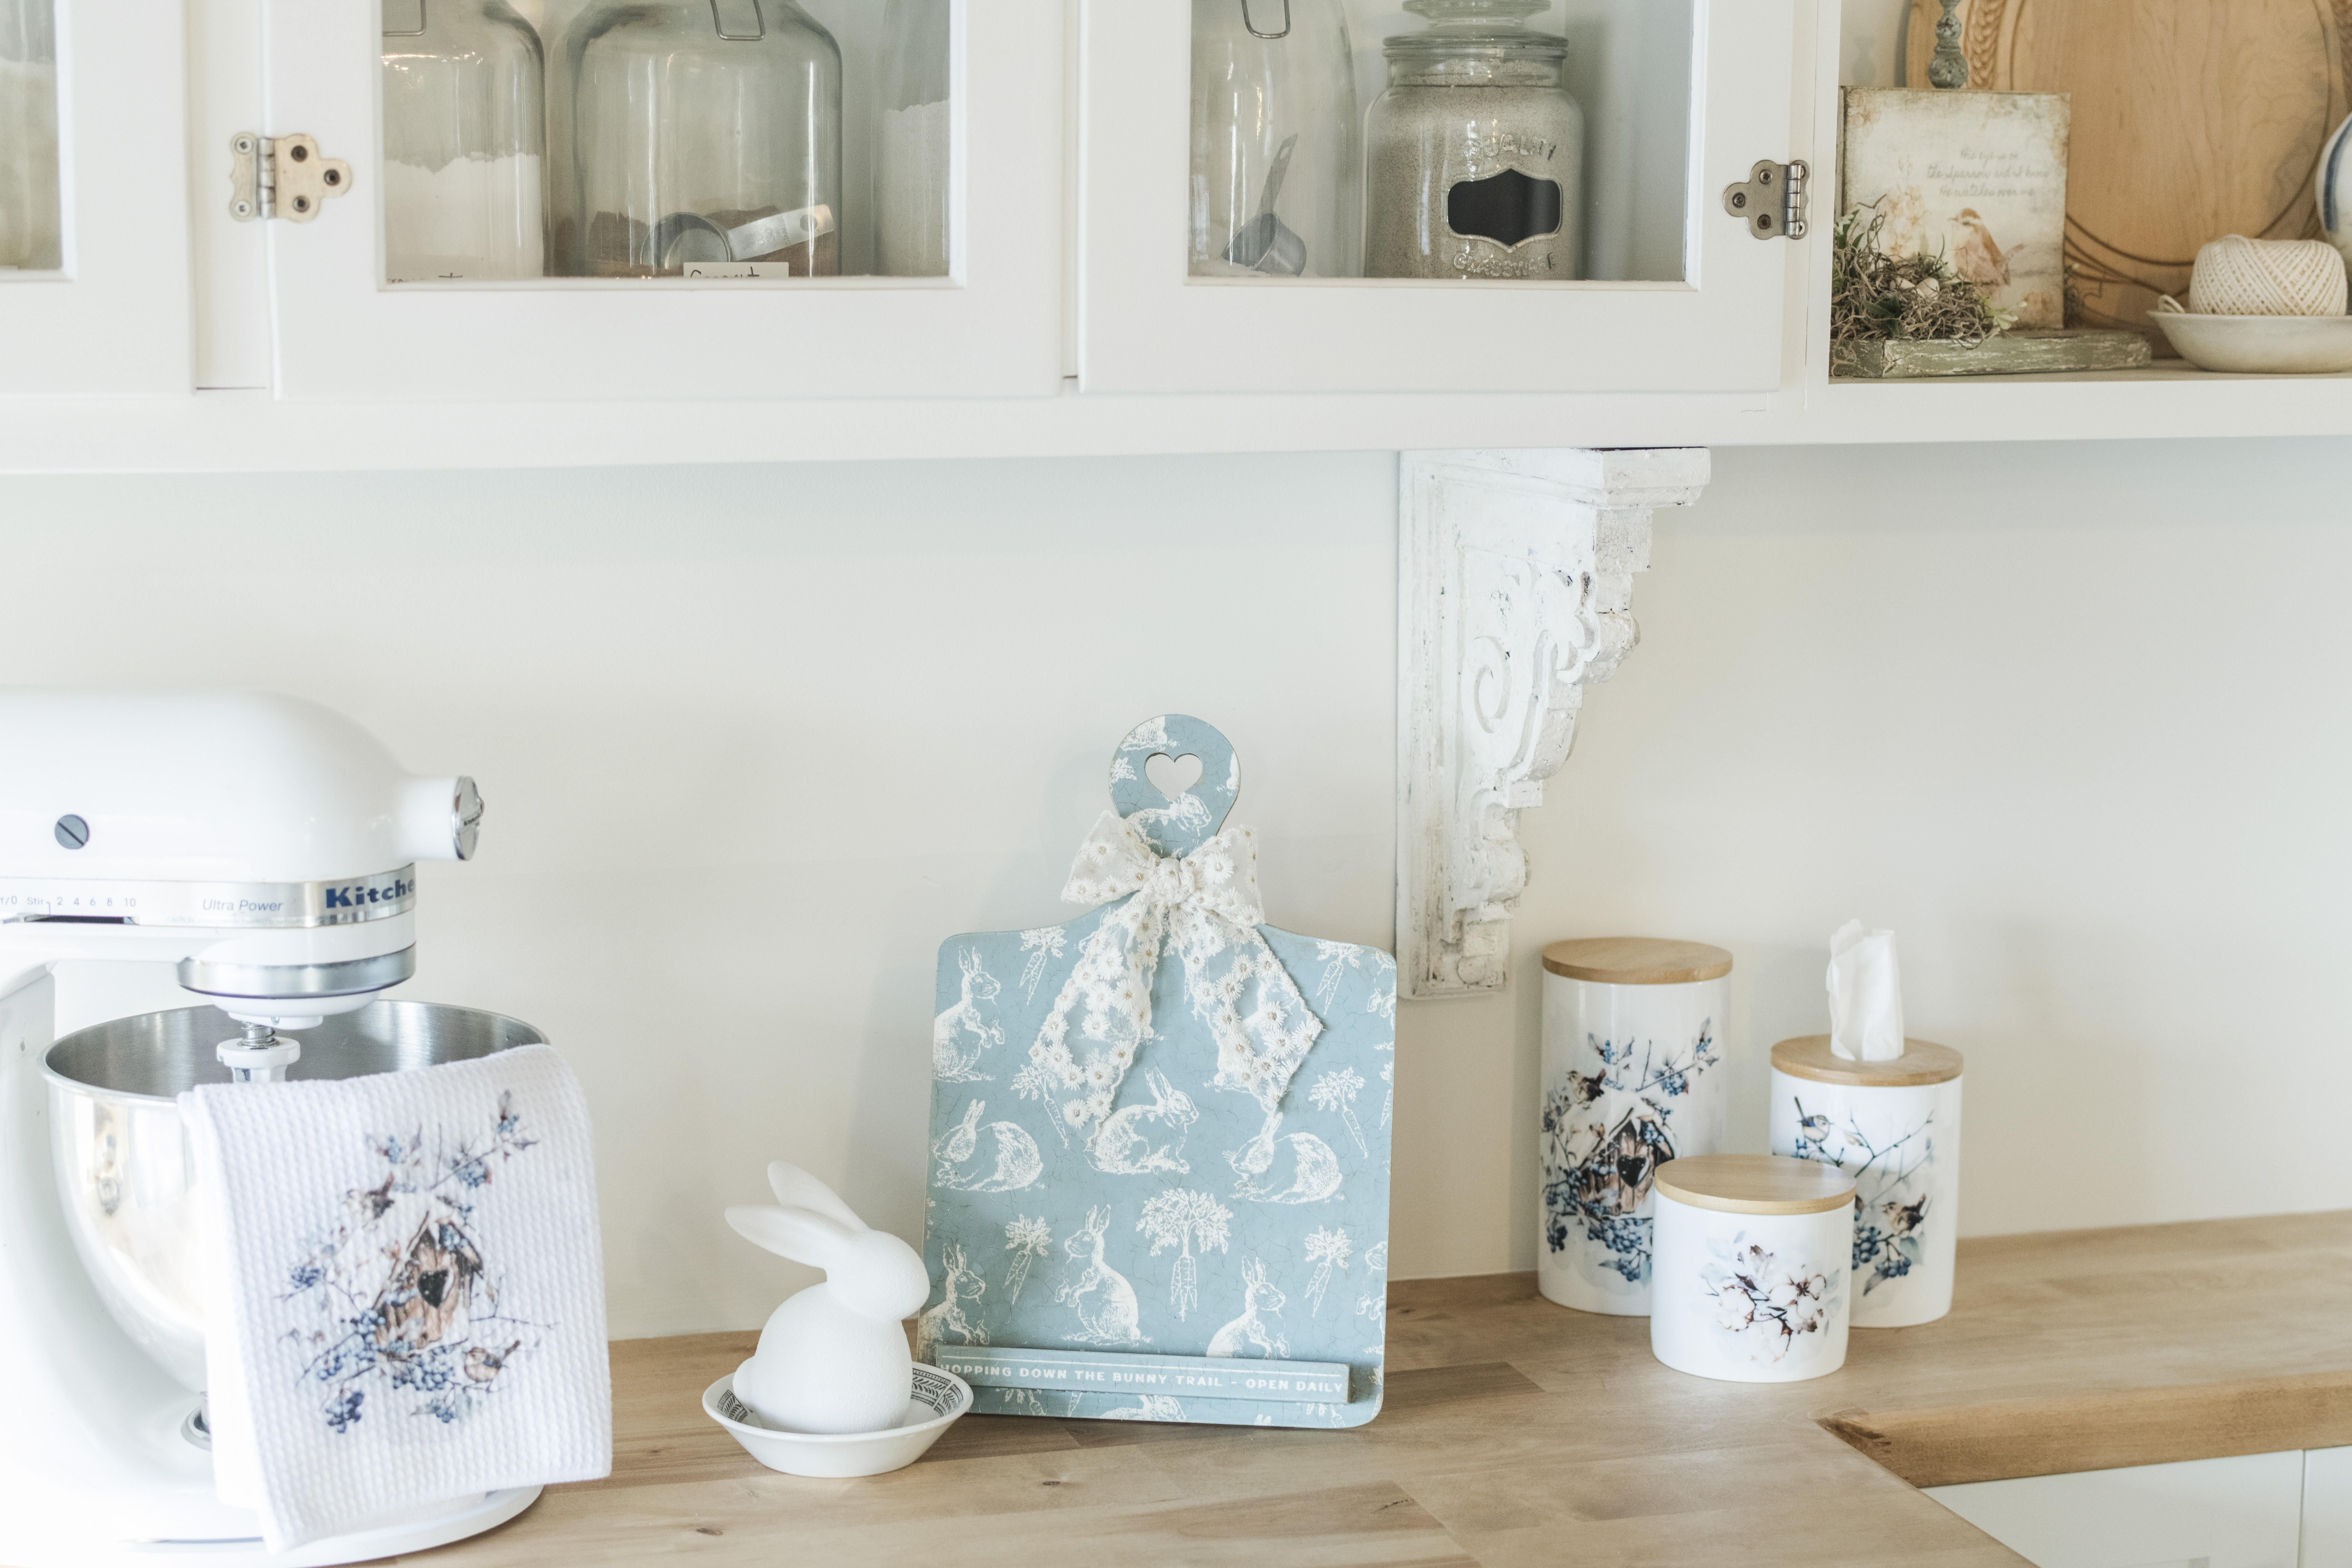
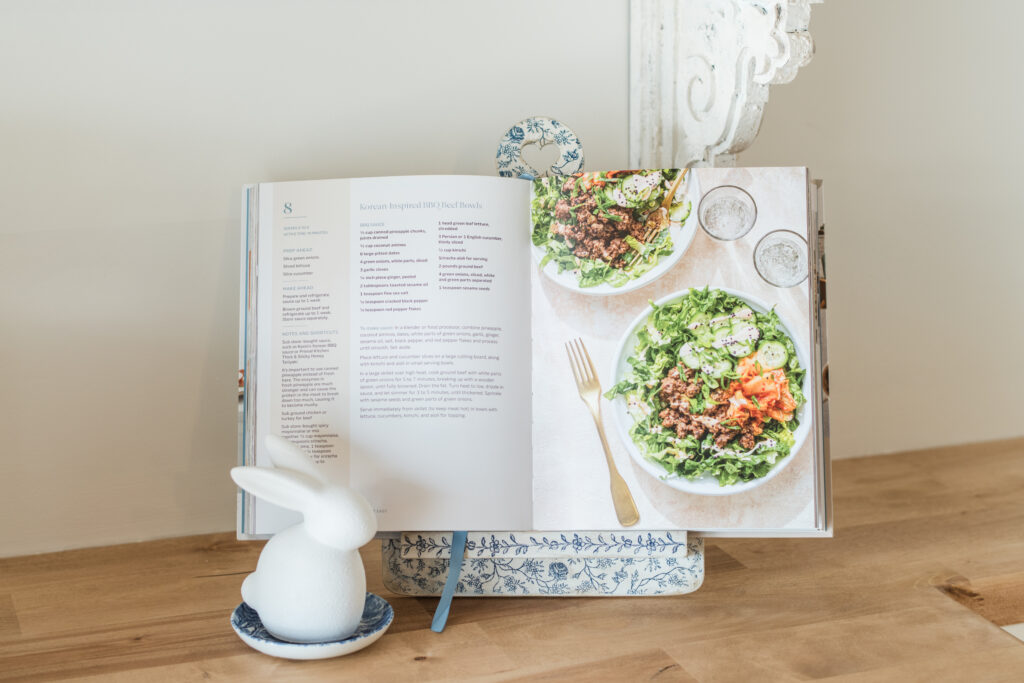
Are you tired of juggling your cookbook while trying to whip up culinary masterpieces in the kitchen? Say goodbye to the struggle and hello to creativity with our easy DIY Cookbook Stand project! Not only is it functional, but it’s also a delightful decorative piece that brings charm to your kitchen space. In this post, we’ll walk through everything you need to know to make your very own cookbook stand using silk screen techniques and an adorable bunny transfer!
What I Used:
- Materials:
- DIY Cookbook Kit – https://www.shop.athomewithchicandgrace.ca/collections/cookbook-stand-kits
- Chalk Couture Silkscreen Bunny Treats Transfer – https://chalkcouture.ca/chicandgraceartstudios/bunny-treat-pattern
- Chalk Couture Club March Transfer – https://chalkcouture.ca/chicandgraceartstudios/club
- Silk screen supplies (white chalk paste, squeegee, fuzzing cloth) – https://chalkcouture.ca/chicandgraceartstudios/accessories & https://chalkcouture.ca/chicandgraceartstudios/bright-white-chalkology-paste
- Sandpaper (medium and fine grit)
- Behr Clear & Dark Wax
- Paint – Fusion Mineral Paint – Champness
- Pentart Fineline Crackle Varnish
- Pentart Umbre Antiquing Paste & Metallic Gold Paste
- Pentart Gloss Varnish OR Rustoleum Gloss Spray Sealer
- Floral Lace Ribbon from Michaels – https://canada.michaels.com/product/1-78-x-3yd-floral-lace-ribbon-by-ashland-10765201
- Wood Glue – Titebond
- Artist Brushes of your choice
- Optional Pin Nailer
- Other Materials Used on the floral sample Cookbook Stand
-
- IOD Paint Inlay – Delft Traditions Azure Paint Inlay Rustoleum Chalked – Linen White
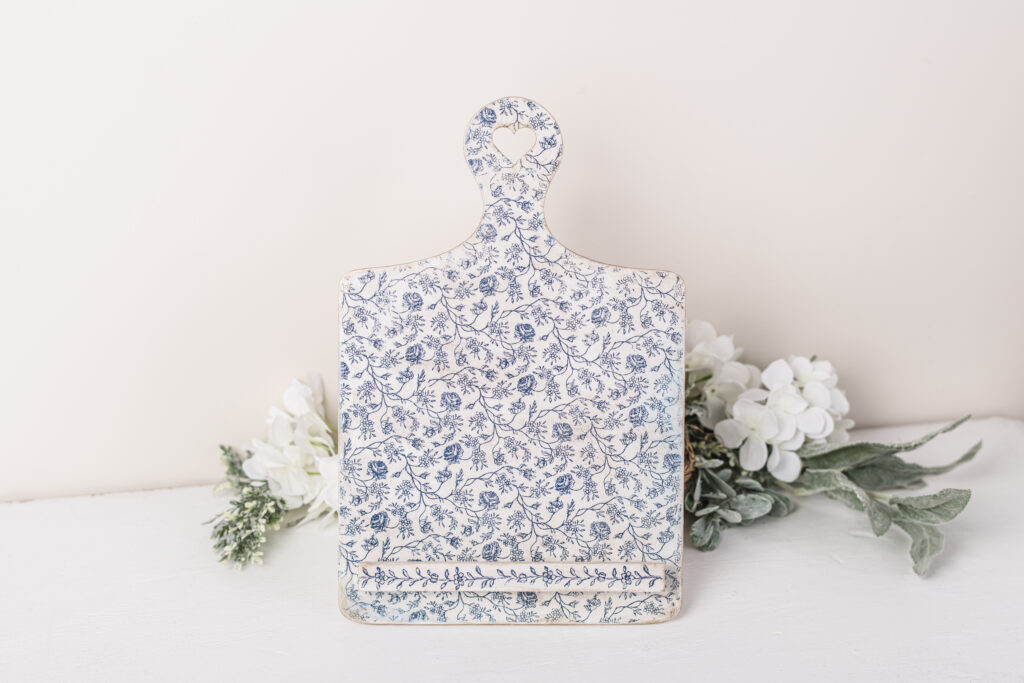
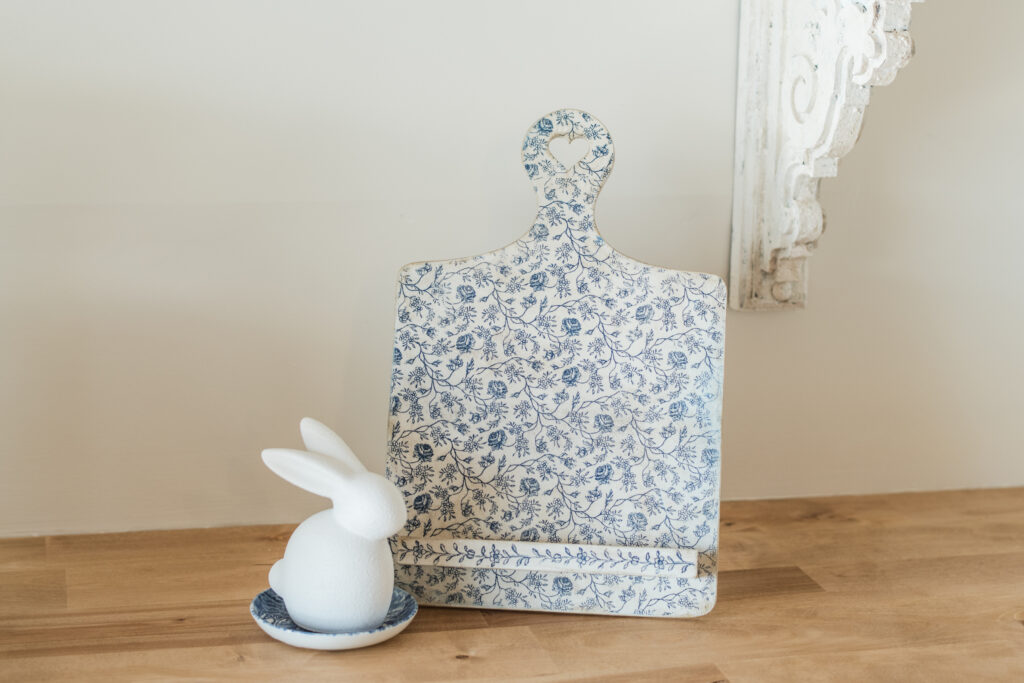
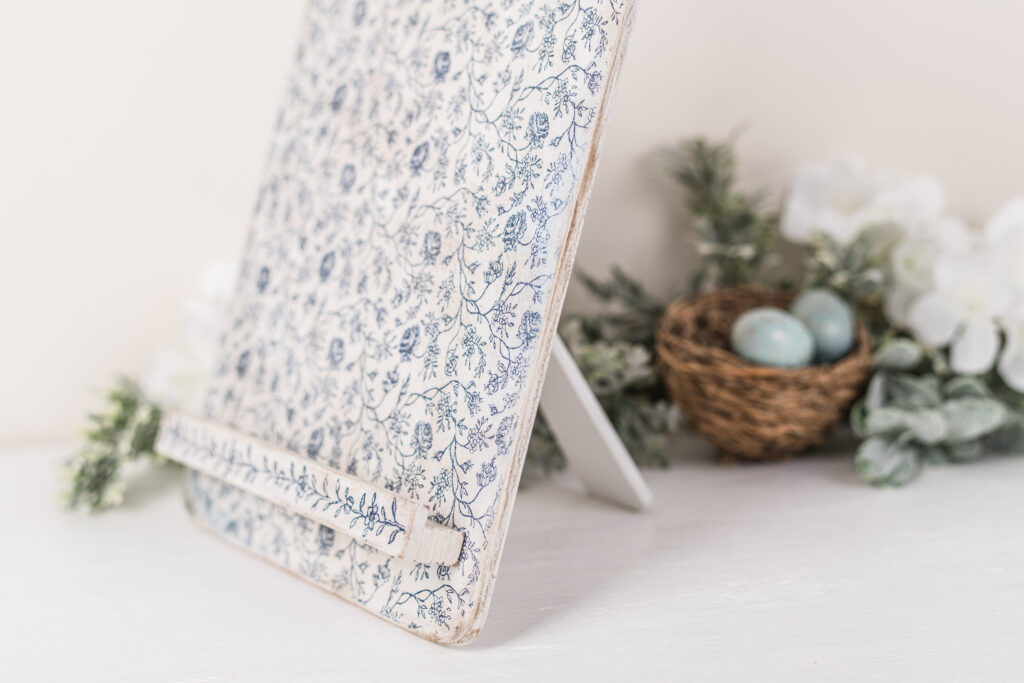
The Pentart fine line crackle varnish gives you the most beautiful, aged-looking porcelain crackle. If your clients sticker you get a wide crackle, shown below. The thinner you apply, the more fine line it is. (shown in the floral sample)
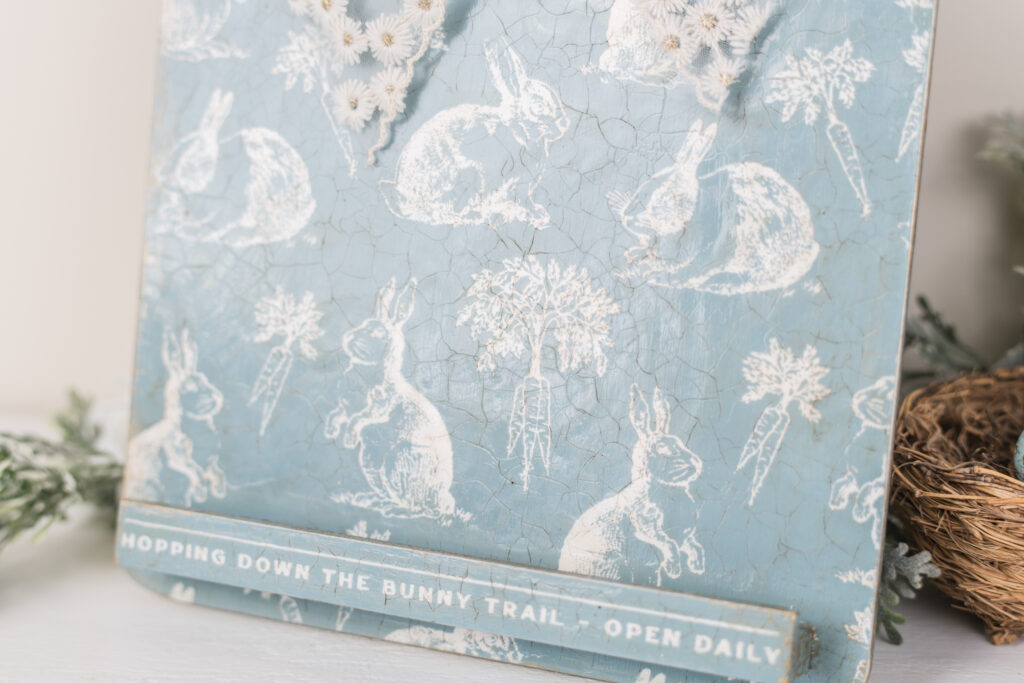
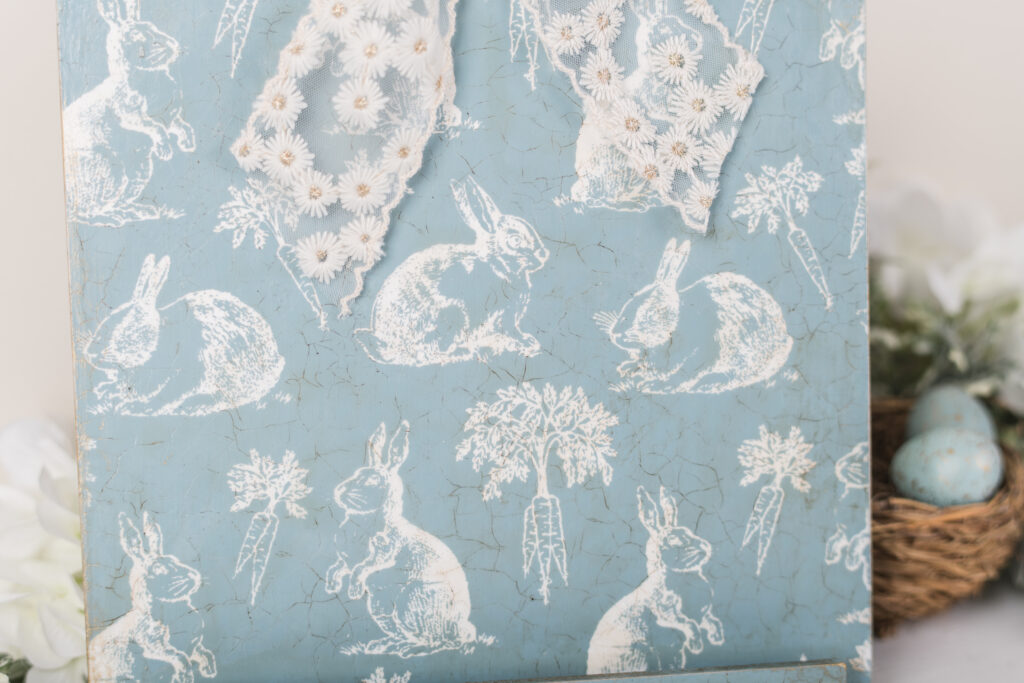
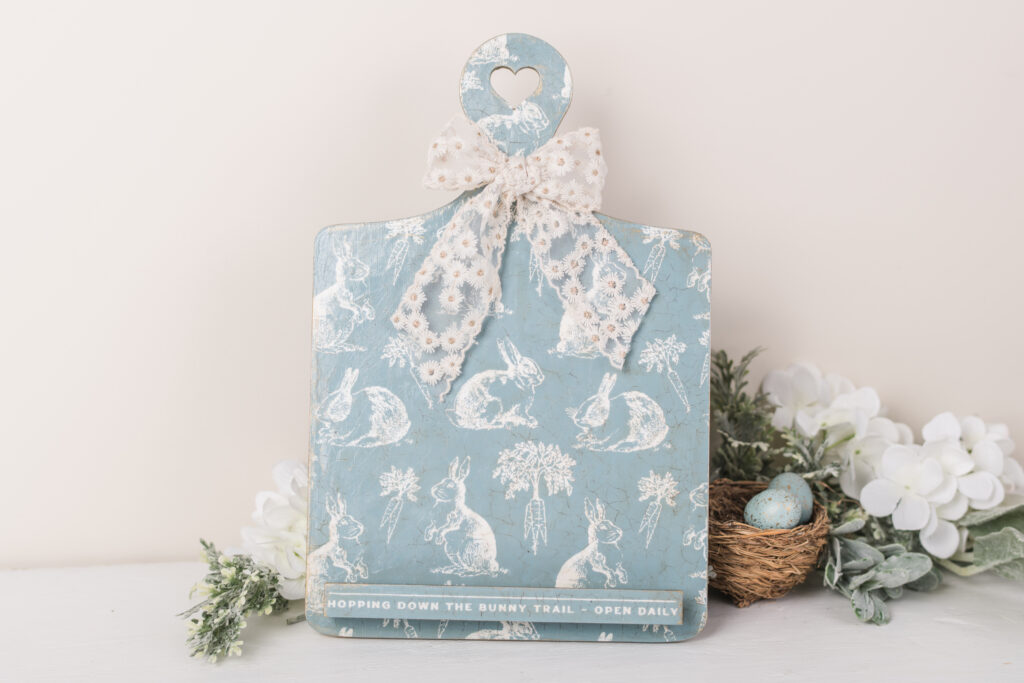
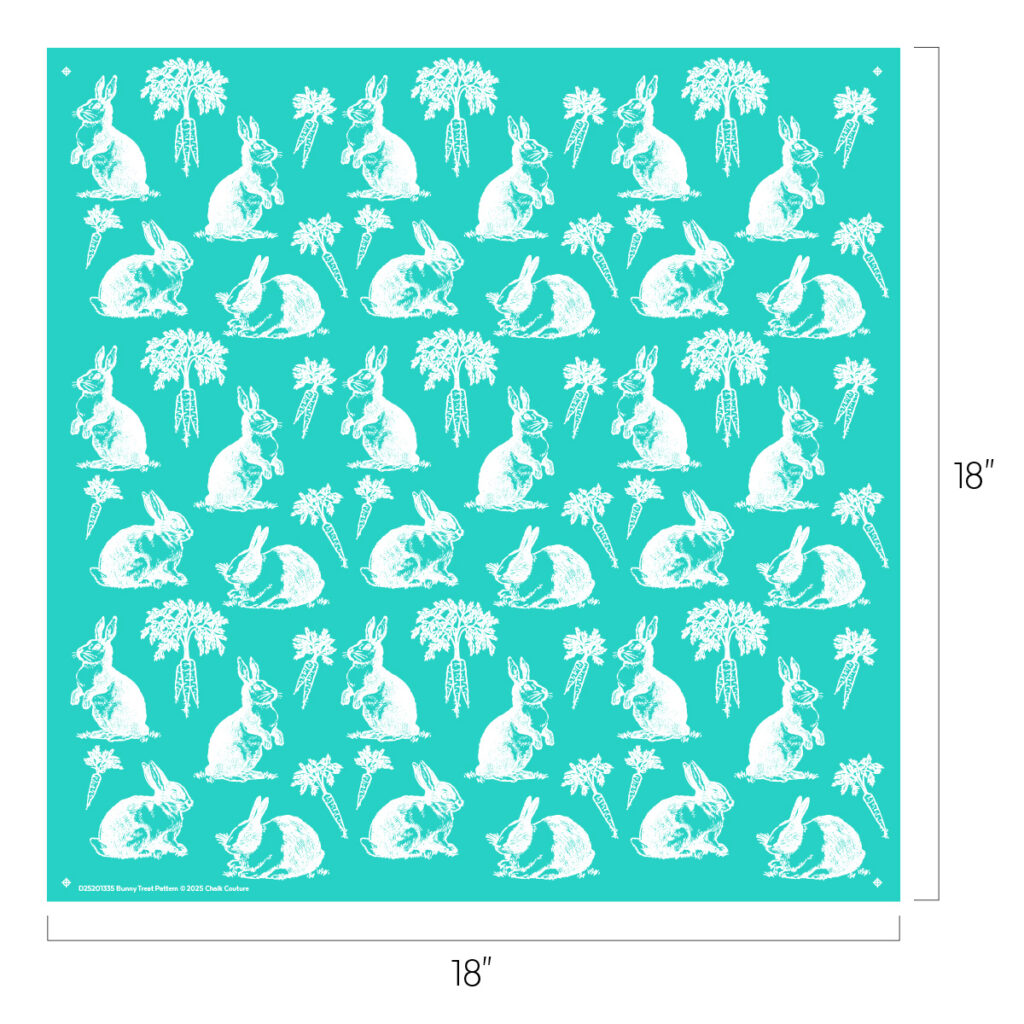
The silkscreen bunny treats transfer is limited edition, so you don’t want to wait to purchase. Once it’s gone, it’s gone. The photo below shows you the size, and it is a repeating pattern, so you can use it even on a bigger surface and line it up easily using the markings on the top. In the video, I mentioned the club couture transfer, which is exclusive, and is available only in the month of March. Links are above in the materials list and below for your convenience. 🙂
- Chalk Couture Silkscreen Bunny Treats Transfer – https://chalkcouture.ca/chicandgraceartstudios/bunny-treat-pattern
- Chalk Couture Club March Transfer – https://chalkcouture.ca/chicandgraceartstudios/club
Step-by-Step Guide:
Below is a video, but here is a brief step-by-step guide for you.
1. Prepare Your Wood Kit
Start by sanding the edges of your kit pieces with medium grit sandpaper, to remove any charing caused by the laser. This step helps to ensure that paint covers well. This step is only necessary if you were using a white or a light colour paint. If you omit this step and use a light or white colour paint, you will have to apply more coats.
2. Apply Paint
Apply your chosen paint color. Allow it to dry completely before moving on. This is where you can get creative by choosing a fun color that matches your kitchen decor!
3. Apply Clear Wax
Prepare your painted surface by rubbing on clear wax to help protect your silkscreen.
4. Screen Printing Prep
Fuzz your silkscreen with the fuzzing cloth. Apply silk screen to your surface and rub down to remove air bubbles and wrinkles.
5. Apply the Chalk Paste to the Bunny Transfer
Using the squeegee, apply the chalk paste through the silk screen onto the surface. Remove the silkscreen slowly, and set aside to be cleaned. Be sure to let the chalk dry thoroughly before proceeding.
6. Apply Fineline Crackle
Using a clean dry brush, apply a generous amount of the fine line crackle component one and let dry. Be sure not to overwork it. When thoroughly dry using a different clean dry brush, apply component two of the fine line crackle. Be sure to not put it on too thick and have a pool or it will discolor. I explain and demonstrate this more thoroughly in the video.
7. Apply Antique Paste
Once you’re fine line, crackle is dry you will be able to see crackles when you turn your surface certain ways. Bring the crackle out more by adding paint art antiquing paste in umbra. This creates a really nice aged, crazed porcelain effect. Add a little bits of the metallic paste, if desired around the edges.
To make the back of the stand, and the easel look similar to the colouring of the front, apply, clear wax, and then apply your dark wax and wipe away to achieve your desired look.
8. Assemble the Stand
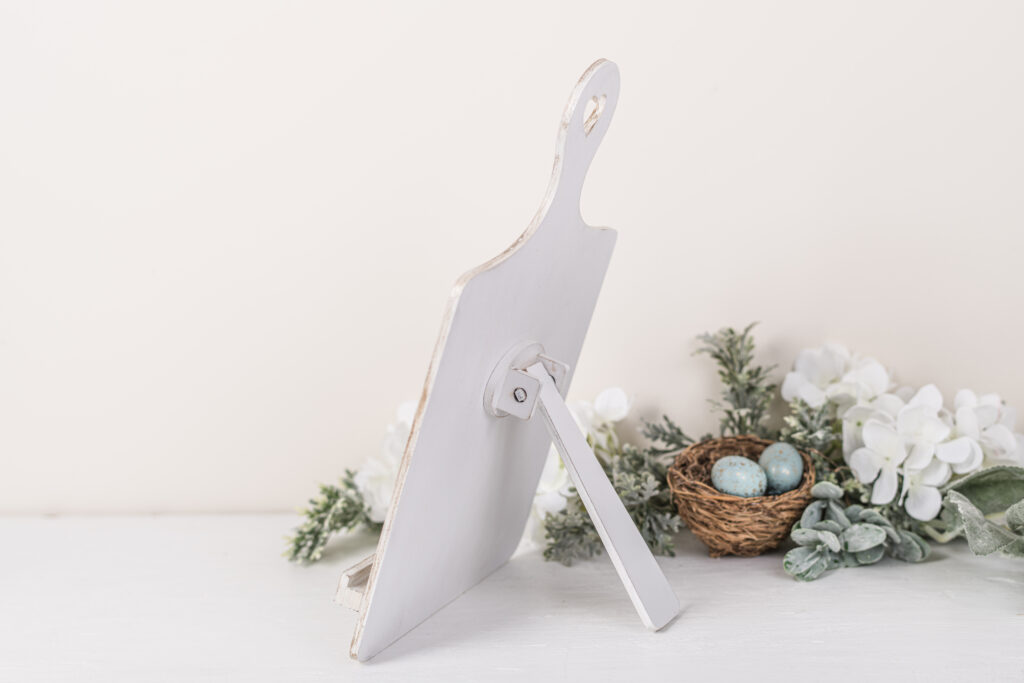
The video demonstrates this better than I can explain. However assemble your easel pieces, as shown in the photos below, and glue it to the back of your stand.
9. Seal for Protection
Finally, apply Pentart Gloss Varnish over your design to protect it from spills and stains while you cook. Or you could spray with Rustoleum gloss spray.
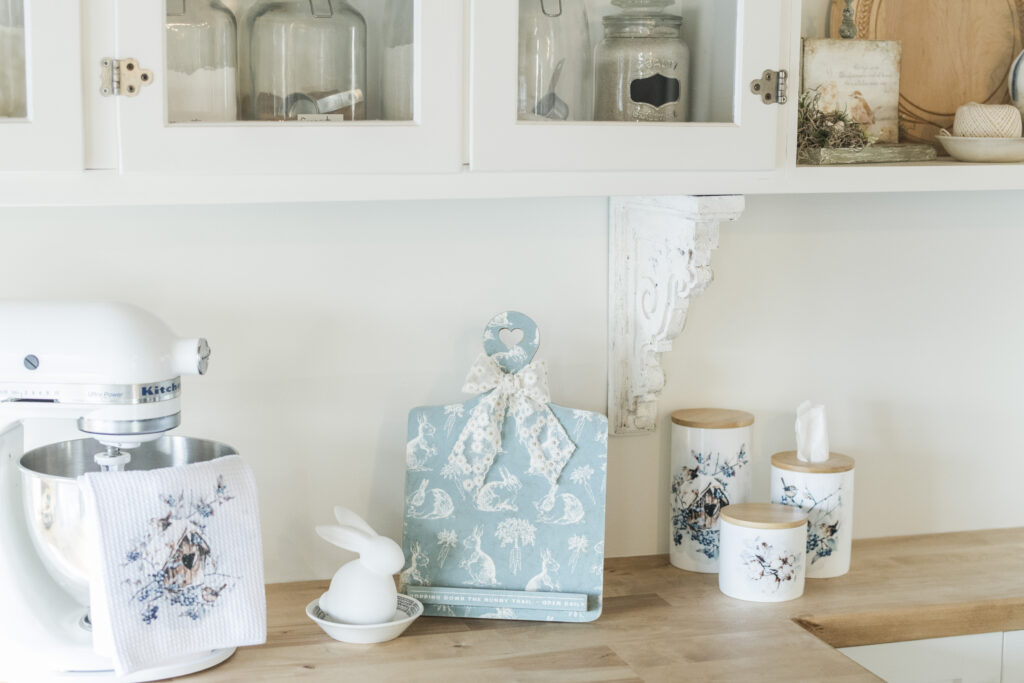
Enjoy Your New Cookbook Stand!
Now that your DIY cookbook stand is complete, place it in your kitchen and enjoy its practical and aesthetic benefits! It adds a personalized touch that reflects your creativity to your decor.
Feel free to share your finished projects with us! We’d love to see how your stands turned out. Happy crafting!
