New DIY Chunky Interchangeable Farmhouse Frame with Scripture Inserts
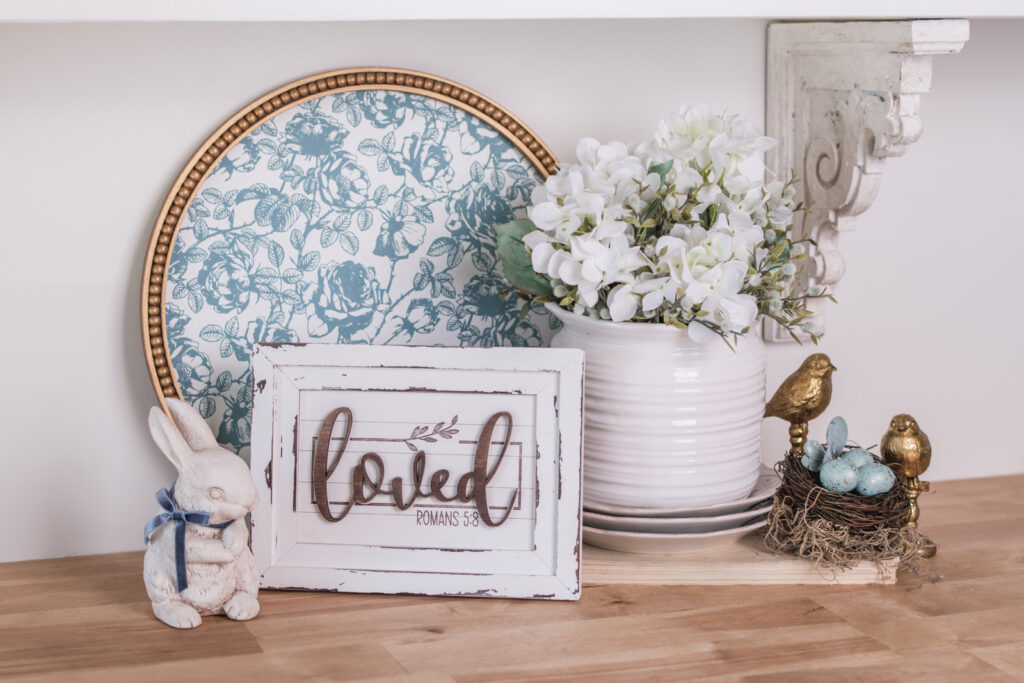
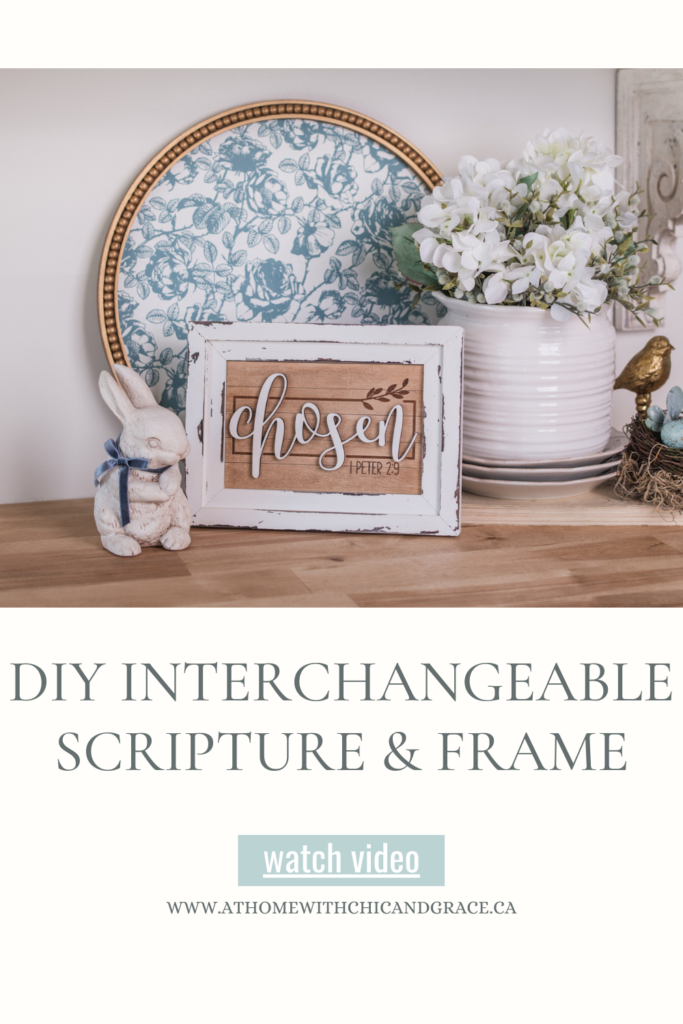
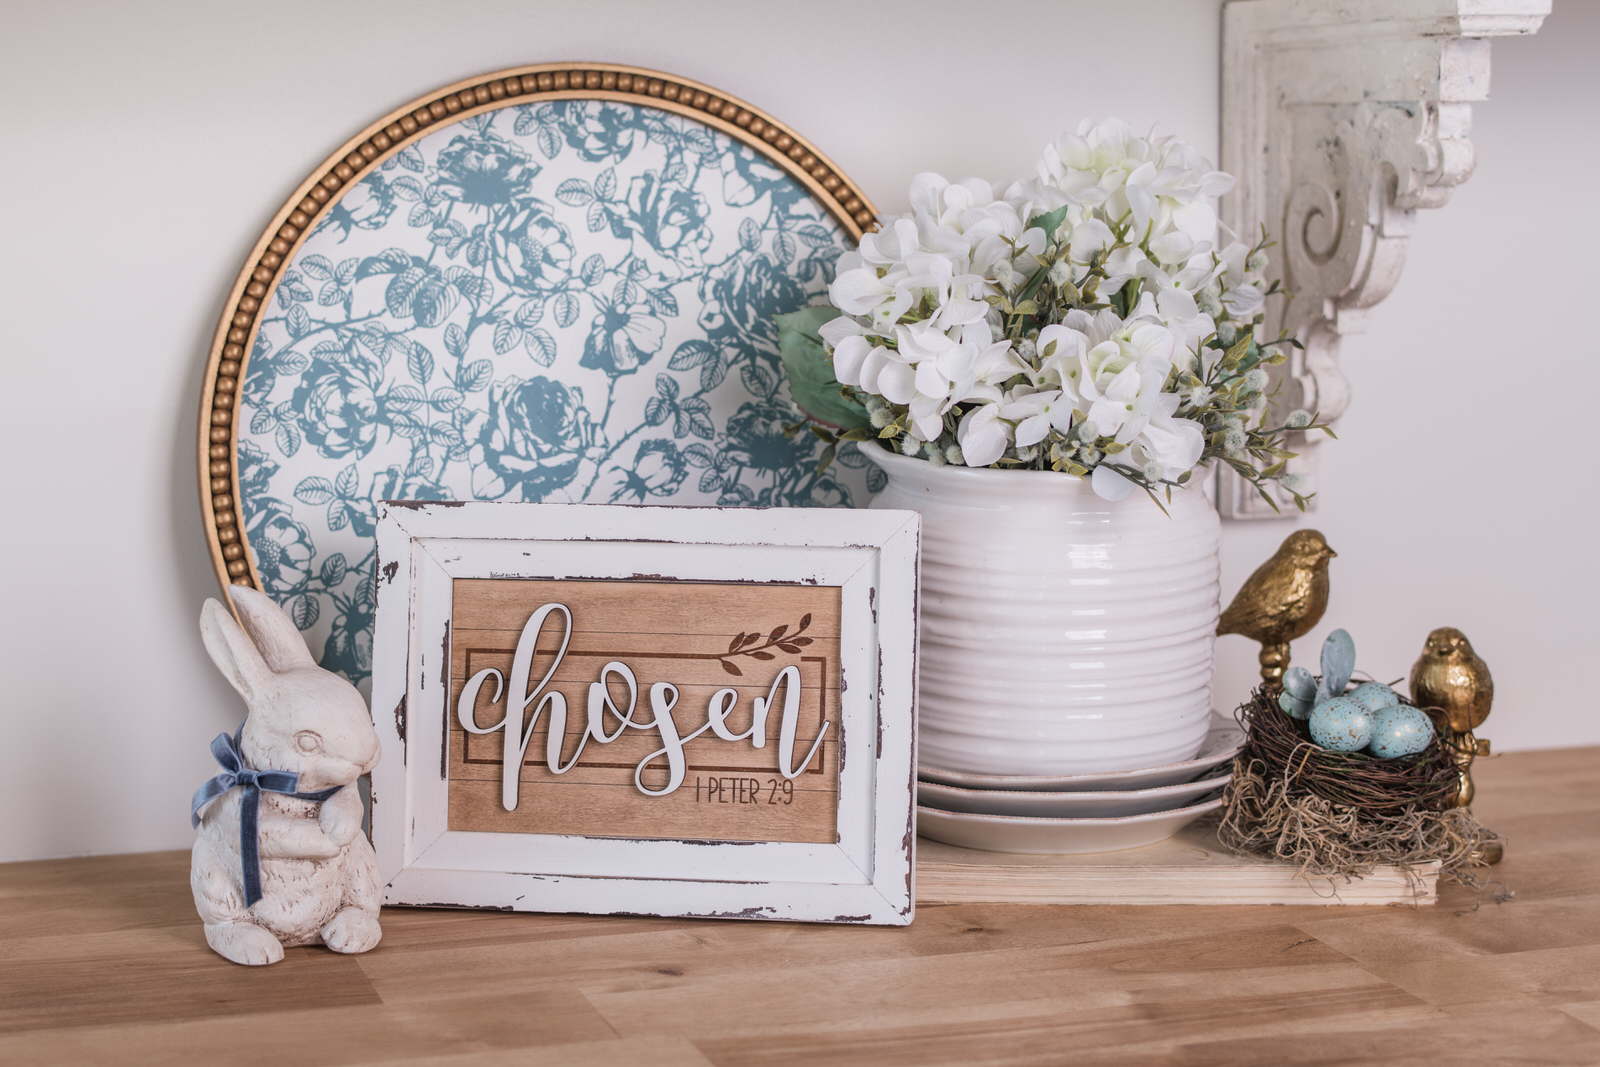
You’ve all shown so much love for my ‘Scripture of the Week’ interchangeable sign, and I truly appreciate it! However, since it can be a bit fragile, I haven’t offered DIY kits for that version—but now I have a new one! Today, I’m excited to introduce a brand new, chunkier version that’s just as interchangeable! 🎉 Introducing the DIY Interchangeable Farmhouse Frame & Scripture!
This new design is now available on my website, and I can’t wait to show you how to customize it with your personal touch! Whether you paint or stain it, it’ll perfectly match your decor.
Stay tuned—I’ll be adding more scripture inserts in the future!
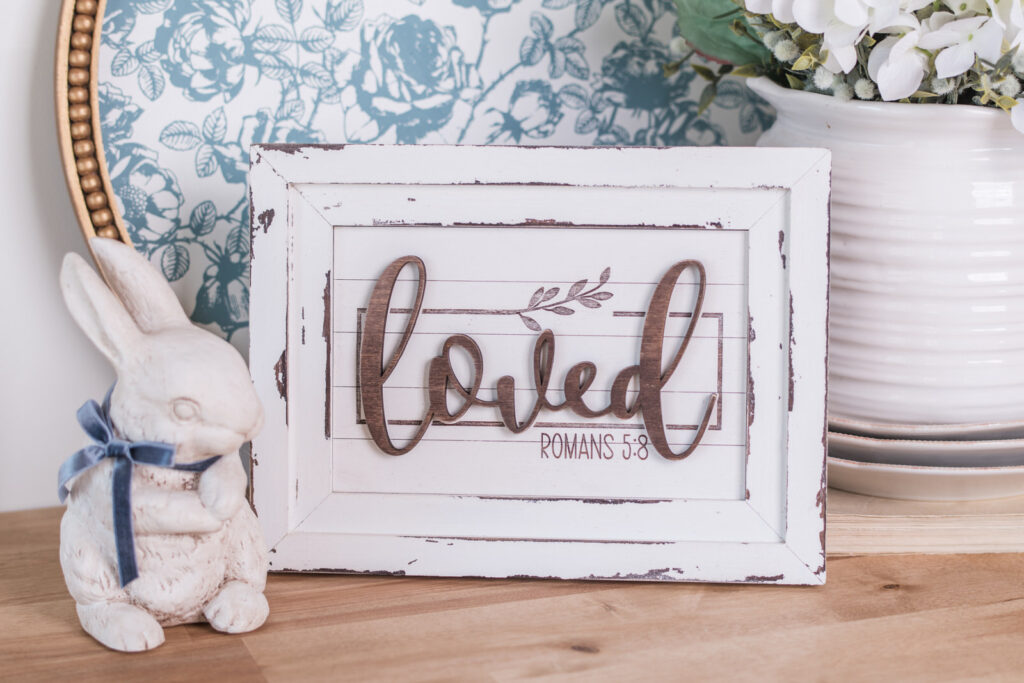
Romans 5:8 Loved
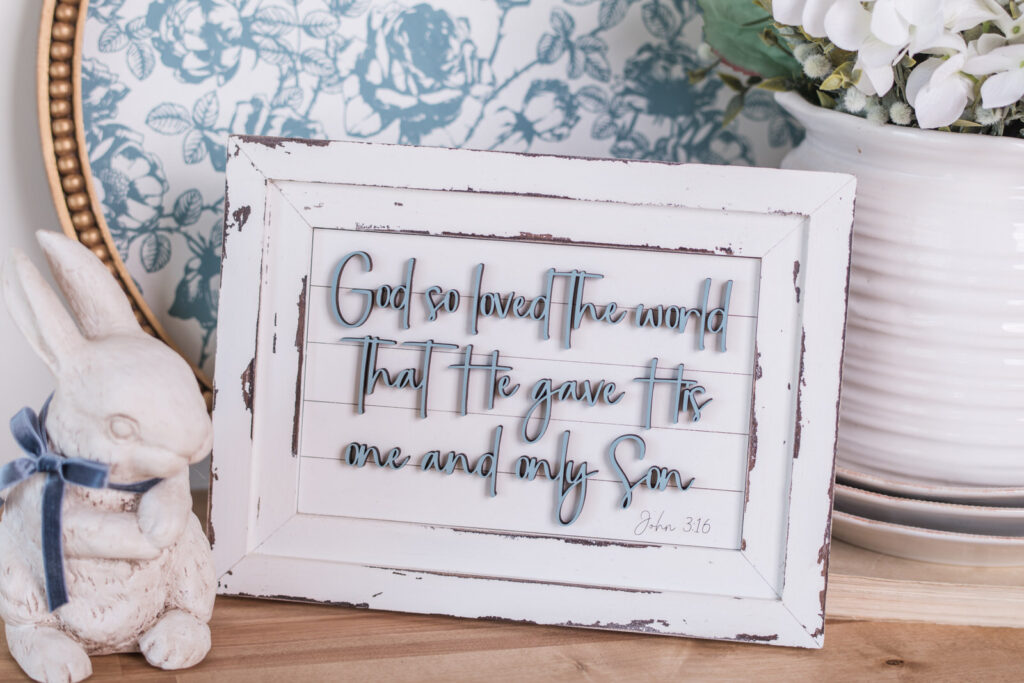
John 3:16 God so loved the world that He gave His one and only Son
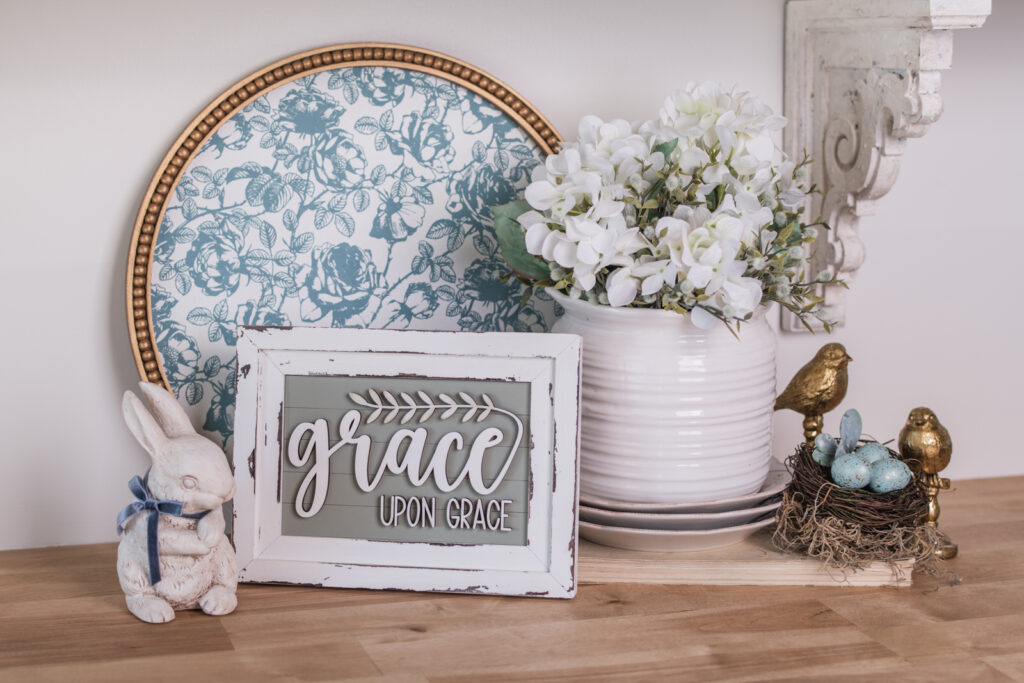
Grace Upon Grace
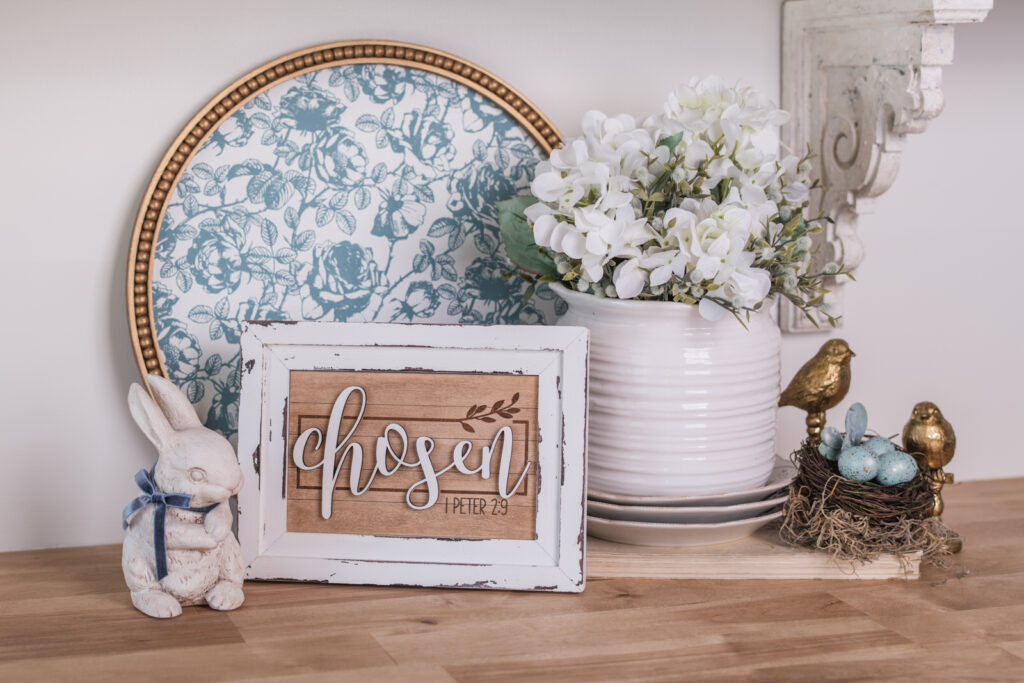
1 Peter 2:9 Chosen
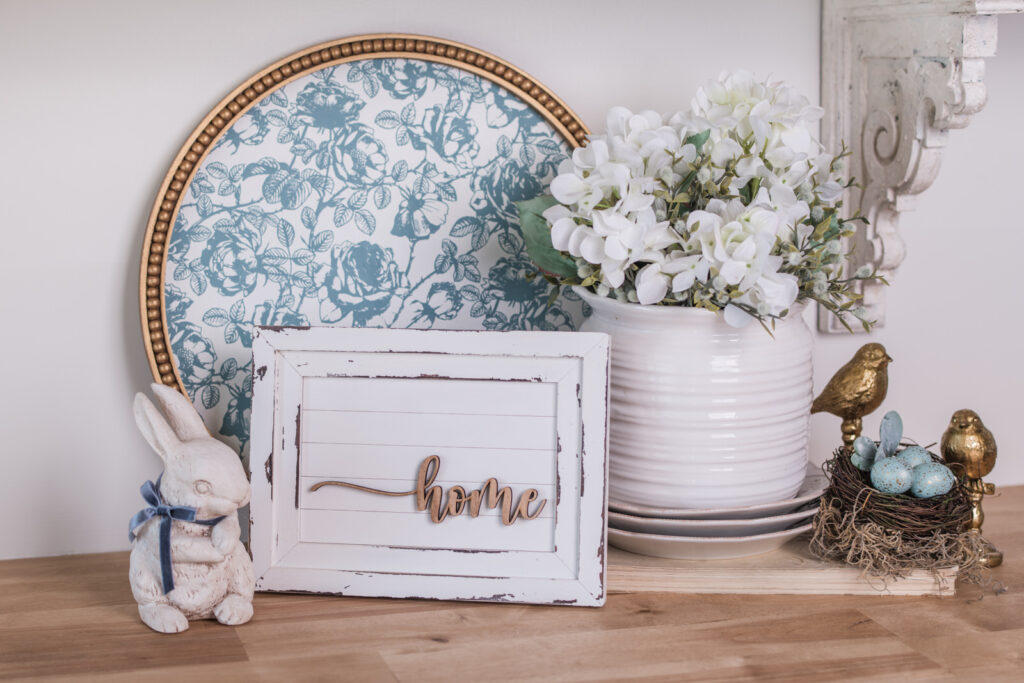
Home
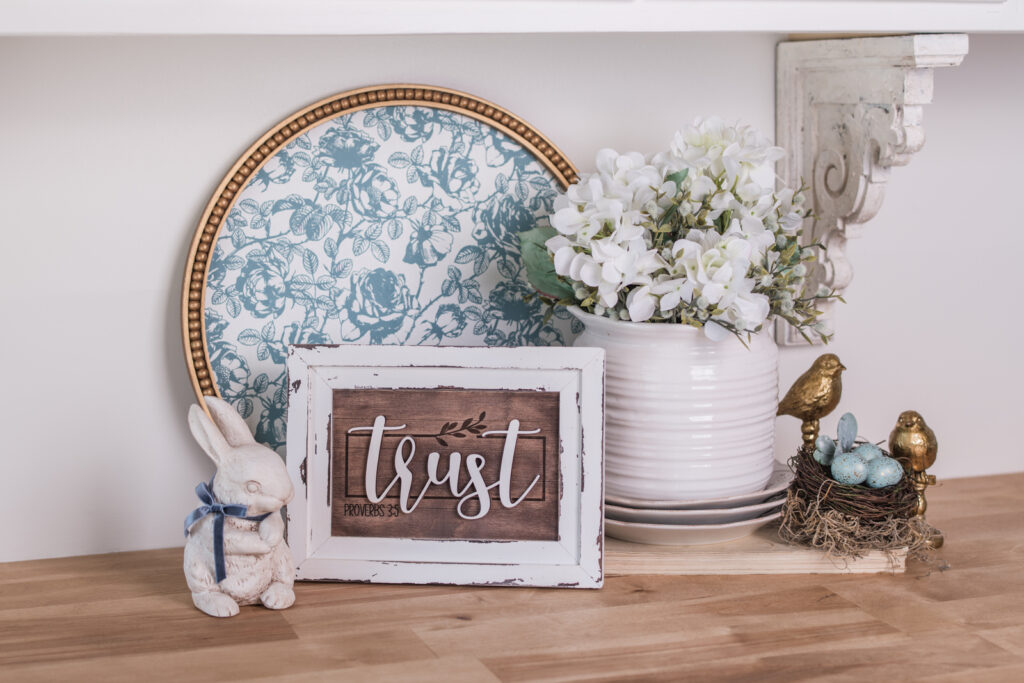
Proverbs 3:5 Trust
Supplies That I Use:
Kit for Signs: https://www.shop.athomewithchicandgrace.ca/products/scripture-diy-interchangeable-signs
Kit for Frame: https://www.shop.athomewithchicandgrace.ca/products/family-diy-sign-trio-kit-interchangeable-copy
Fusion Mineral Paint – Casement, Bellwood & Champness
Saman Stain – Dark Oak & Colonial
Candle for waxing
Makeup Sponges and Artist Brushes
Wood Glue – Aleene’s Tacky Glue, Titebond Quick & Thick or Gorilla Wood Glue
Refillable Detail Glue Bottles: https://www.amazon.ca/dp/B07NDJ64MG?ref=ppx_yo2ov_dt_b_fed_asin_title
Gater Finger Sander and fine sandpaper – 220 & 400 grit
Baby Wipes
plastic Razor Blade Scraper: https://www.amazon.ca/dp/B076BBW1WM?ref_=ppx_hzsearch_conn_dt_b_fed_asin_title_1&th=1
Clamps Chalk Couture Detail Tool: https://chalkcouture.ca/chicandgraceartstudios/detail-tool-2
Rustoleum Matte Spray Sealer


Step-by-Step Guide:
Below is a video, but here is a brief step-by-step guide.
1. Prepare Your Wood Kit
Start by sanding the edges of your kit pieces with medium grit sandpaper, to remove any charing caused by the laser. This step helps to ensure that paint covers well. This step is only necessary if you were using a white or a light colour paint. If you omit this step and use a light or white colour paint, you will have to apply more coats.
2. Apply Stain To Frame
Apply your chosen stain color. Allow it to dry completely before proceeding. Remember that this color will be revealed when we distress the frame.
3. Apply Candle Wax
Prepare your painted surface by rubbing on clear wax to help protect your silkscreen.
4. Apply Paint
Apply your chosen paint color. Allow it to dry completely before moving on. This is where you can get creative by choosing a fun color that matches your kitchen decor! Apply 2 to 3 coats to achieve desired coverage.
5. Let’s Make It Chippy!
Scrape away the top layer of paint where the candle wax was to reveal the stain underneath. This is where we get our chippy paint look from. You can go over with your detail sander to reveal any more areas the scraper did not reveal.
6. Assemble the Frame
The video demonstrates this better than I can explain.
7. Apply Stain & Paint To Sign
Using the makeup sponge as shown in the video, apply stain or paint to the backer board of the sign, and the words in the template. Be careful not to add too much paint. Remember to offload your paint before applying to the wood. Sand in between.
8. Glue
Glue your words onto the backer board of the sign, being careful to line the words up with the scoring on the backer board.
9. Seal for Protection
Finally, spray with Rustoleum gloss spray.
10. Display!
Enjoy your new, chunky farmhouse frame and scripture inserts!
This video is perfect for introducing you to my DIY kits and how to make them.
Creating a chunky farmhouse frame with interchangeable scripture inserts is a fun DIY project and a way to see your favorite verses daily. Enjoy in your home decor or gift to a friend or family member.
I can’t wait to see your creations! Share your finished projects in the comments or tag me on social media. Happy crafting!

