


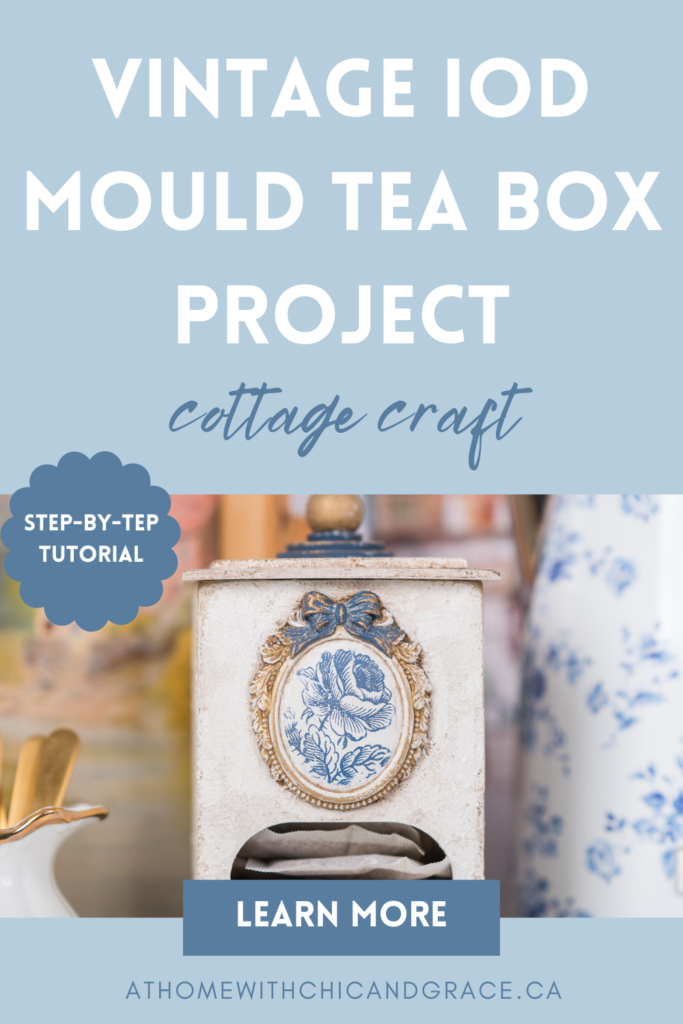
Create a Charming Heirloom: Tea Box DIY with an IOD Mold & Paint Inlay
If you’ve ever admired an old wooden box nestled in Grandma’s kitchen—worn smooth from years of love—this DIY project will warm your heart. The Timeworn Tea Box Kit lets you recreate that storied charm using salt wash for texture, Fusion Mineral Paints, an IOD Vintage Brooches Mold, and a touch of Delft-inspired charm with the IOD Delft Traditions Paint Inlay, that gives just the right bit of elegance.
Whether it sits beside your kettle or graces your tea cart, this tea box DIY with an IOD mold and paint inlay feels like it’s always belonged. You’ll love creating soft layers, aged finishes, and little details that make this feel like a true heirloom piece. Like something you’d discover in Grandma’s pantry or a cozy countryside cottage.
Supplies I Used:
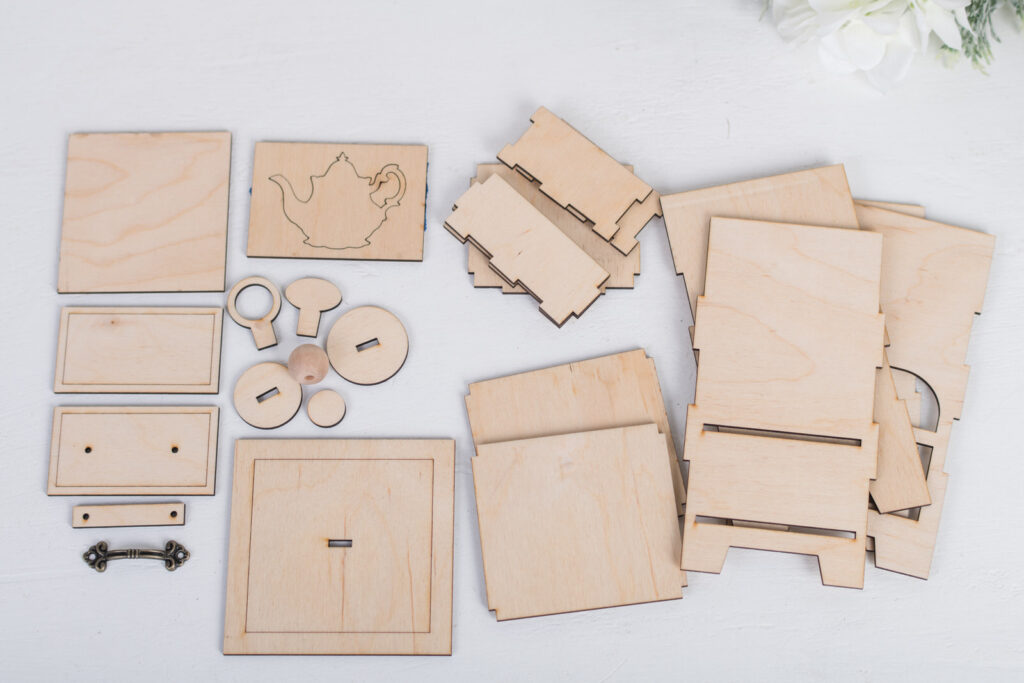
- Timeworn Tea Box Kit
- Salt Wash
- Fusion Mineral Paints: Casement or Picket Fence & Hazelwood
- DecoArt: Uniform Blue
- IOD Mold: Vintage Brooches
- IOD Paint Inlay: Delft Traditions
- Watco Butcher Block Oil
- Dixie Belle: Flat Clear Coat
- Rub’n Buff: Gold Leaf
- Behr Wax: Dark, Clear & White
- Alumilite Fast Dry Resin
- Aleene’s Tacky Glue
Step-by-Step Tutorial:
Video posted below for visual walkthrough.
1. Stain:
Start by staining the inside of all wood pieces with Watco butcher block oil. This gives your box a warm, aged interior.
2. Assemble:
Glue the box together, leaving the drawer front off for now. (Trust me—it makes painting easier! You’ll see why in the video.)
3. Base Paint:
Paint the outside of the tea box with Fusion Hazelwood.
4. Cast Your Mold:
Use Alumilite resin for a quick dry. Once cast, give your mold a coat of Casement or Picket Fence to prep it for inlay.
5. Glue the Mold:
Attach your mold piece securely to your tea box.
6. Add Texture:
Mix salt wash into Fusion Casement or Picket Fence. Use a stippling motion to apply 2–3 coats for a timeworn texture.
7. Sand Lightly:
Once dry, sand gently to reveal some Hazelwood underneath—especially on corners and edges—for an authentic, distressed look.
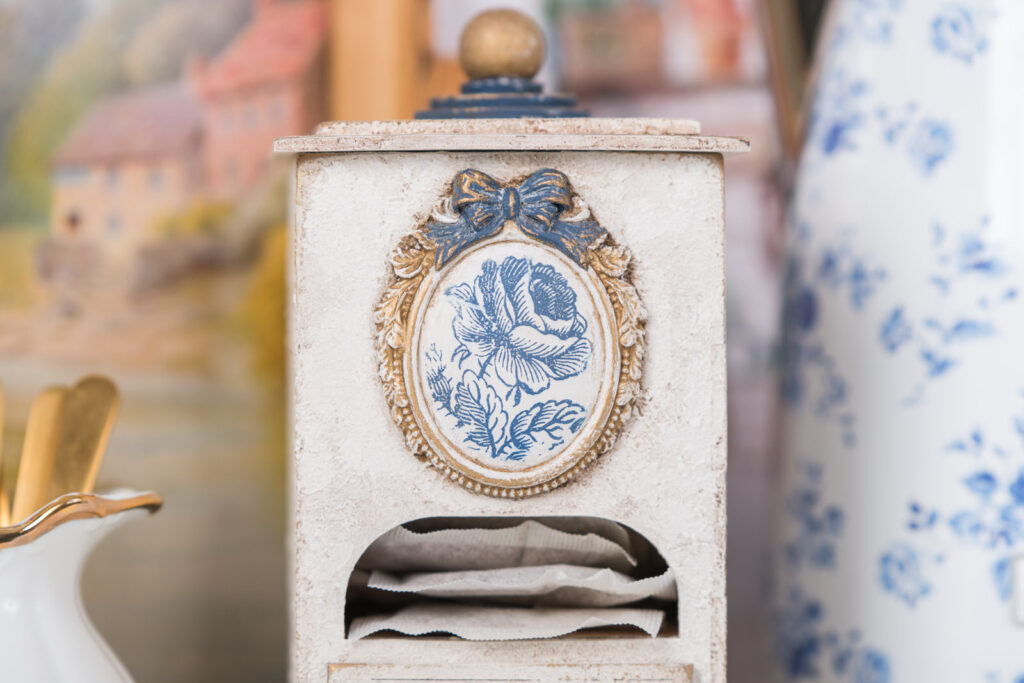
8. Apply the Paint Inlay:
Trim your IOD Delft Traditions Paint Inlay to fit. Apply a coat of Dixie Belle Flat Clear Coat, press the inlay into place, and let it dry thoroughly. (Full details in the video.)
9. Detail Work:
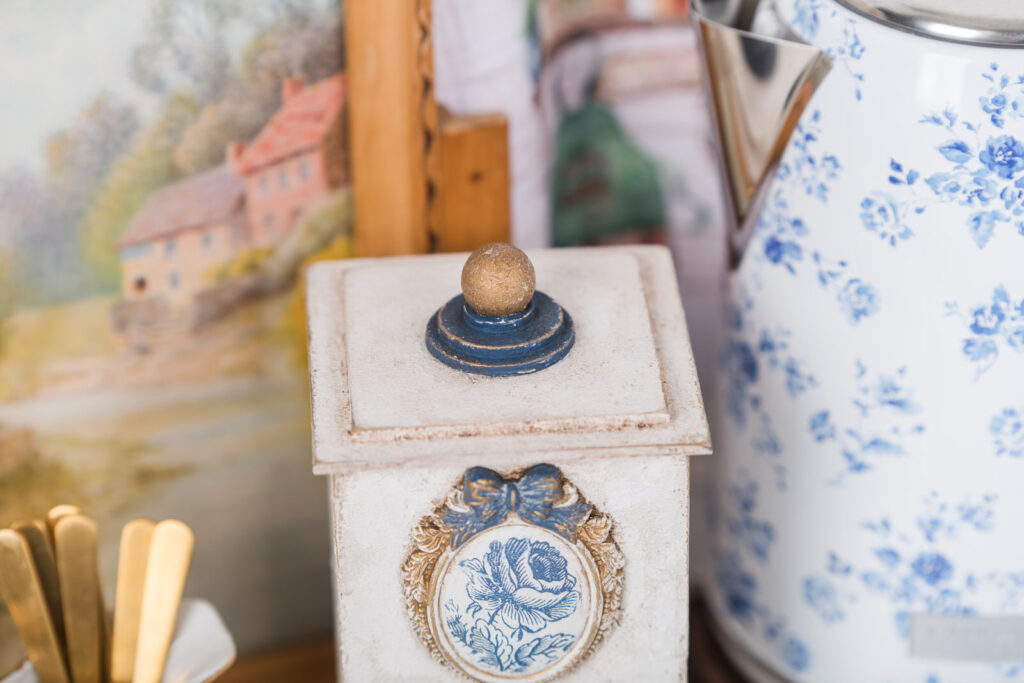
Paint the bow with DecoArt Uniform Blue and highlight the mold edges with Rub’n Buff Gold Leaf. I also painted the layered handle detail and knob using the same blue and gold for contrast.
10. Wax for Patina:
Apply clear wax over the entire piece, then layer on dark antiquing wax. Wipe it back for a soft vintage feel. If it’s too dark, buff again with clear wax. Add white wax accents if desired. Some wax may remove gold in spots—but I actually loved the worn effect! I went back in with my finger and reapplied a little gold leaf to the edges for extra character.
11. Final Touches:
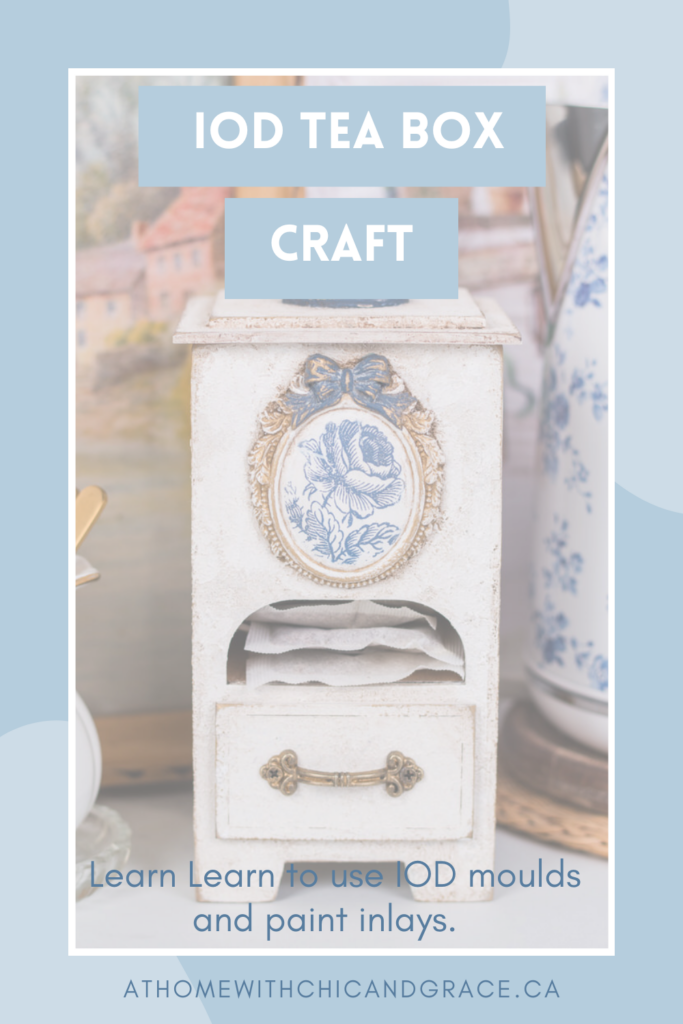
Add gold leaf to the drawer handle and screws. Buff back gently with a paper towel. Finally, glue on the drawer front and attach the handle.
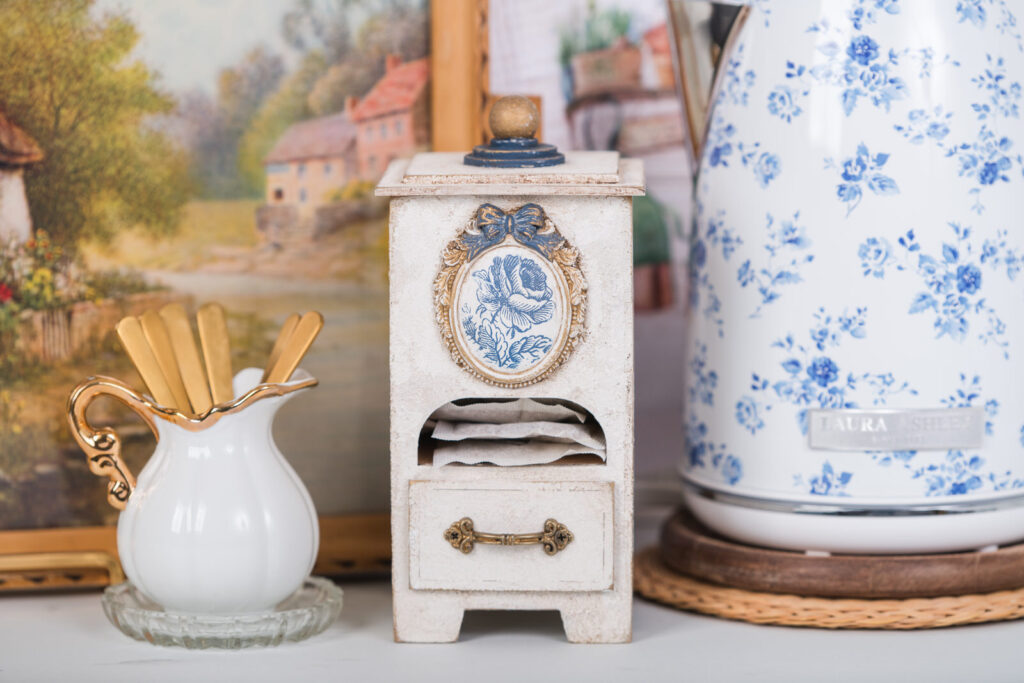
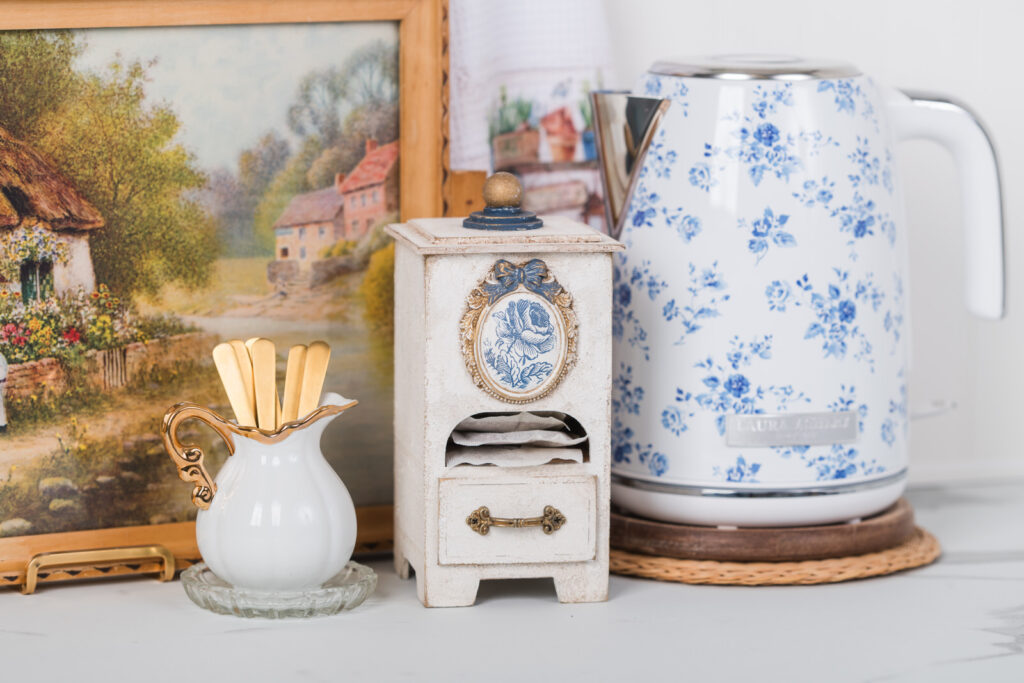
12. Style It:
Fill your tea box with your favorite bags, nestle it next to a pretty teacup, or place it on a shelf with other vintage kitchen accents. You’ve just created a beautiful, functional piece full of history and heart.

Video Tutorial:
Here is a more detailed tutorial for the Tea Box DIY with an IOD Mold & Paint Inlay.
Styling Tip:
Pair your tea box with one of our Country Garden Collection tea towels, a thrifted tray, or a soft vintage mug for the perfect vignette.
I styled my tea box in front of a beautiful old picture tray I found—its aged charm makes the perfect backdrop. I layered in some soft, warm textures with a woven wicker piece and rustic wood accents that my kettle sits on, a petite white pitcher with gold trim, and a few sweet little gold spoons I found on Amazon. Just behind it all, an thrifted lamp base with a cute scallop shade and a couple of my Country Garden tea towels hang from the peg rail, adding the perfect cottage touch.

I hope you enjoy creating with the new Timeworn Tea Box Kit and using the IOD molds & paint inlays. If you are going to try this, let me know in the comments .
Pin It so you have it for later!

Be the first to know about new DIY tutorials, styling, and new products by becoming a VIP below.


