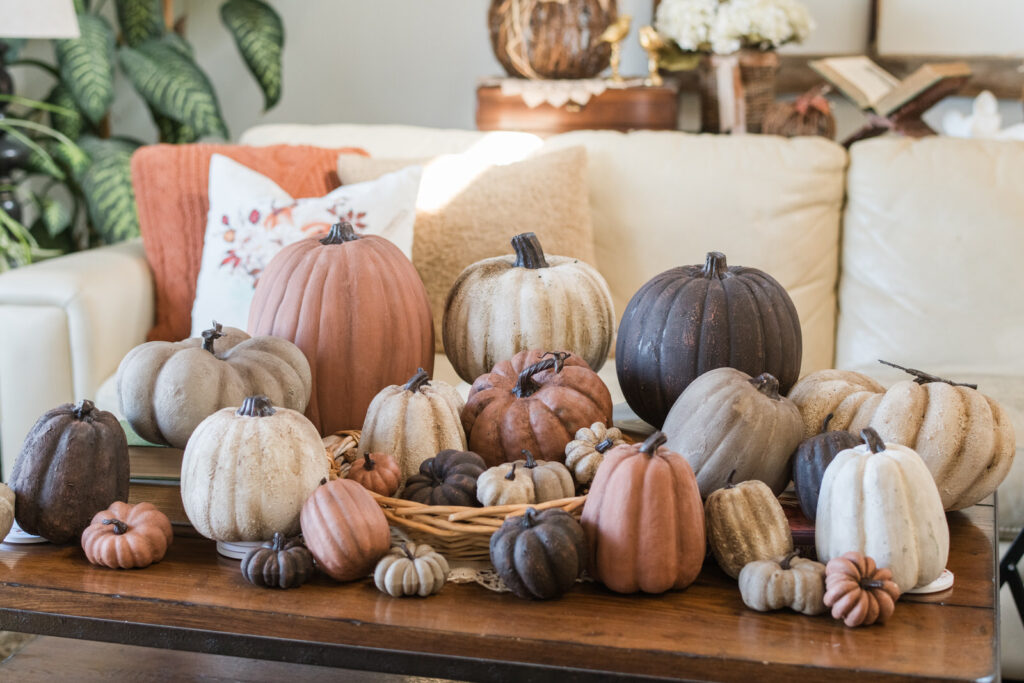
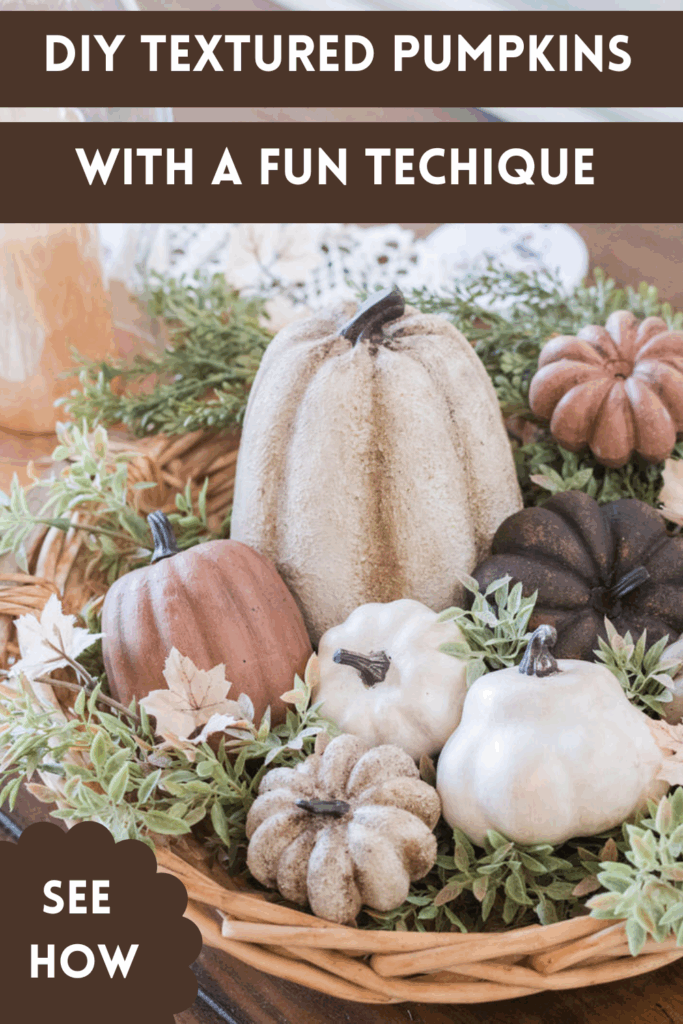
There’s just something about fall decorating that makes a home feel cozy and welcoming. In this Painted Pumpkins & Gourds Tutorial, I’ll show you how I created soft, timeworn pumpkins and gourds using IOD mould leaves and my unique painting technique. This project is simple, relaxing, and perfect for adding handmade charm to your seasonal displays.
Whether you’re styling a Thanksgiving table, tucking pumpkins into a basket by the fireplace, or layering them on a shelf, these DIY pumpkins & gourds will bring warmth and personality into your home.
Supplies You’ll Need
-
Pumpkins or gourds
-
IOD Hello Pumpkin mould
-
Air-dry clay
-
Tightbond Quick & Thick glue
-
Fusion Mineral Paint colours: Chocolate, Iron Clay, Algonquin, Cashmere, Casement
-
Baking soda
-
Behr wax: clear, white, and antiquing
-
Instant coffee + used coffee grounds
-
Paint brushes + wax brushes
-
Baby wipes + paper towels
Step-by-Step Tutorial
This is a brief step-by-step — for full details and a closer look, be sure to watch my YouTube video below!
-
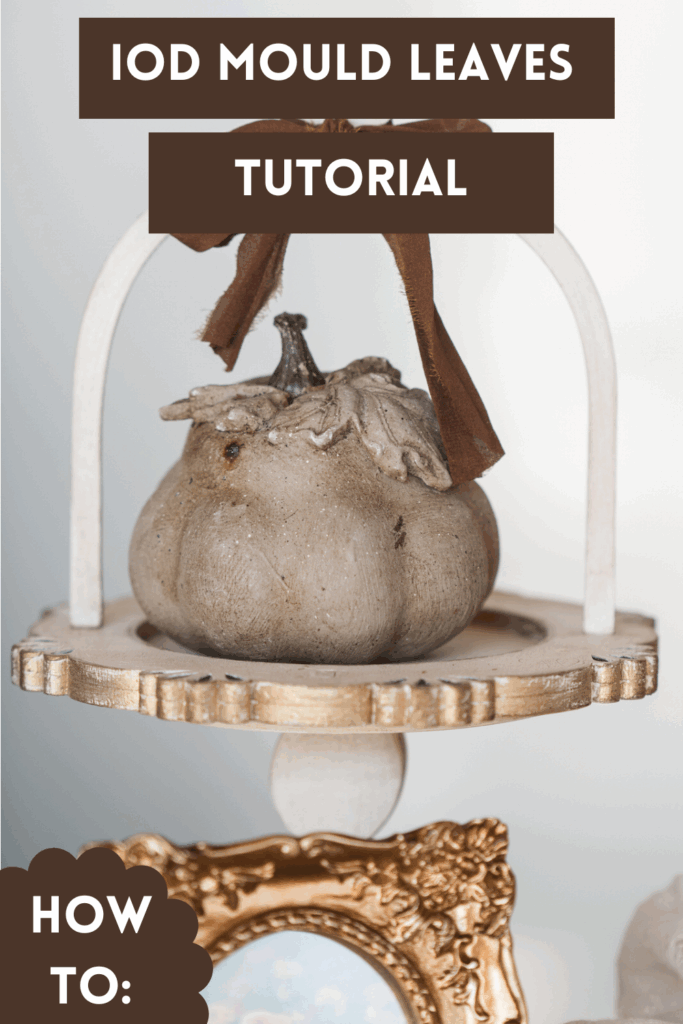
Create the Leaves & Details
Press air-dry clay into the IOD Hello Pumpkin mould. Carefully release and glue pieces onto your pumpkins and gourds. Let dry completely. -
Base Coat
Paint each pumpkin with a mix of Fusion Mineral Paints. I used Chocolate, Iron Clay, Cahmere and Algonquin. Add a small amount of baking soda to the paint for added texture. -
Layer & Highlight
Paint with a mix of instant coffee and old coffee grounds. Coffee grounds and instant coffee add the perfect “aged” finish to crevices and edges. Add lighter tones, such as Cashmere and Casement, with a dry brush, very lightly, for a timeworn look. -
Age & Distress
Use Behr wax (clear, white, and antiquing) to bring out details. -
Final Touches
Wipe back areas with a baby wipe to soften, then let everything cure before styling.
Video Tutorial
How to Style Your Painted Pumpkins
One of my favourite parts about this project is just how versatile these pumpkins are. Once finished, they tuck in beautifully all over the home. Here are a few of the ways I’ve styled mine this season:
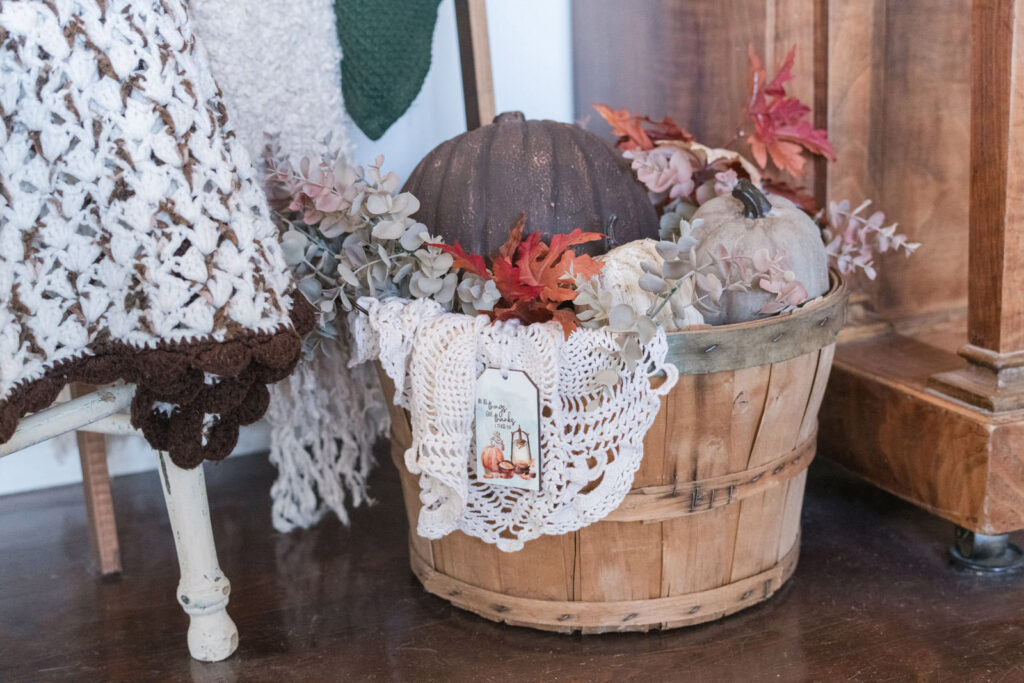
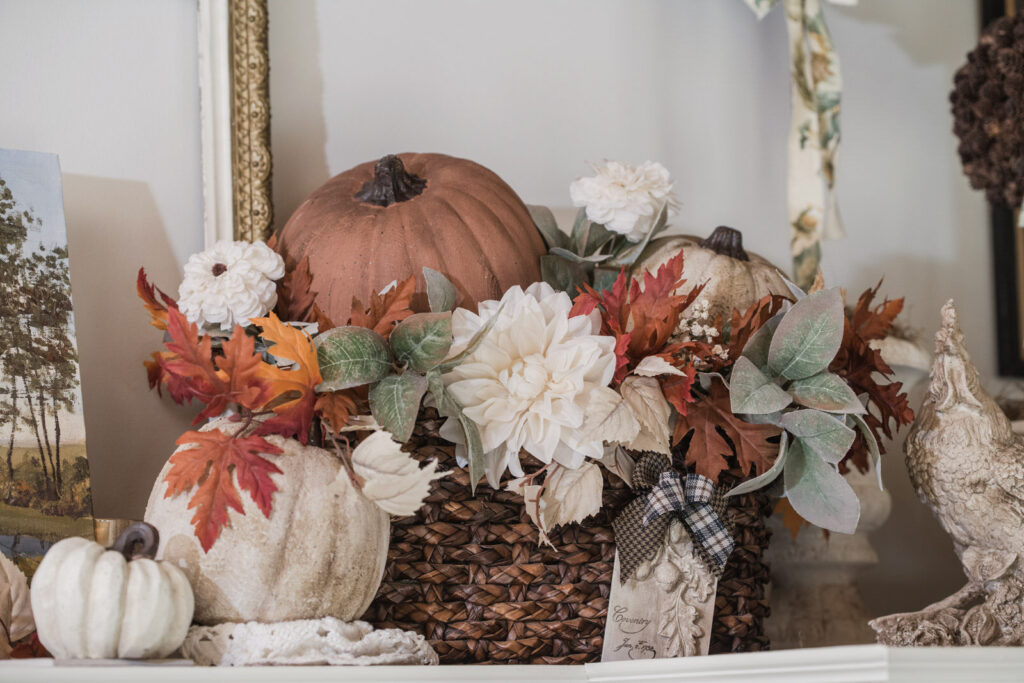
- In a harvest or apple basket – placed on the floor in my living room as part of a cozy vignette with fall greenery and a crochet doily.
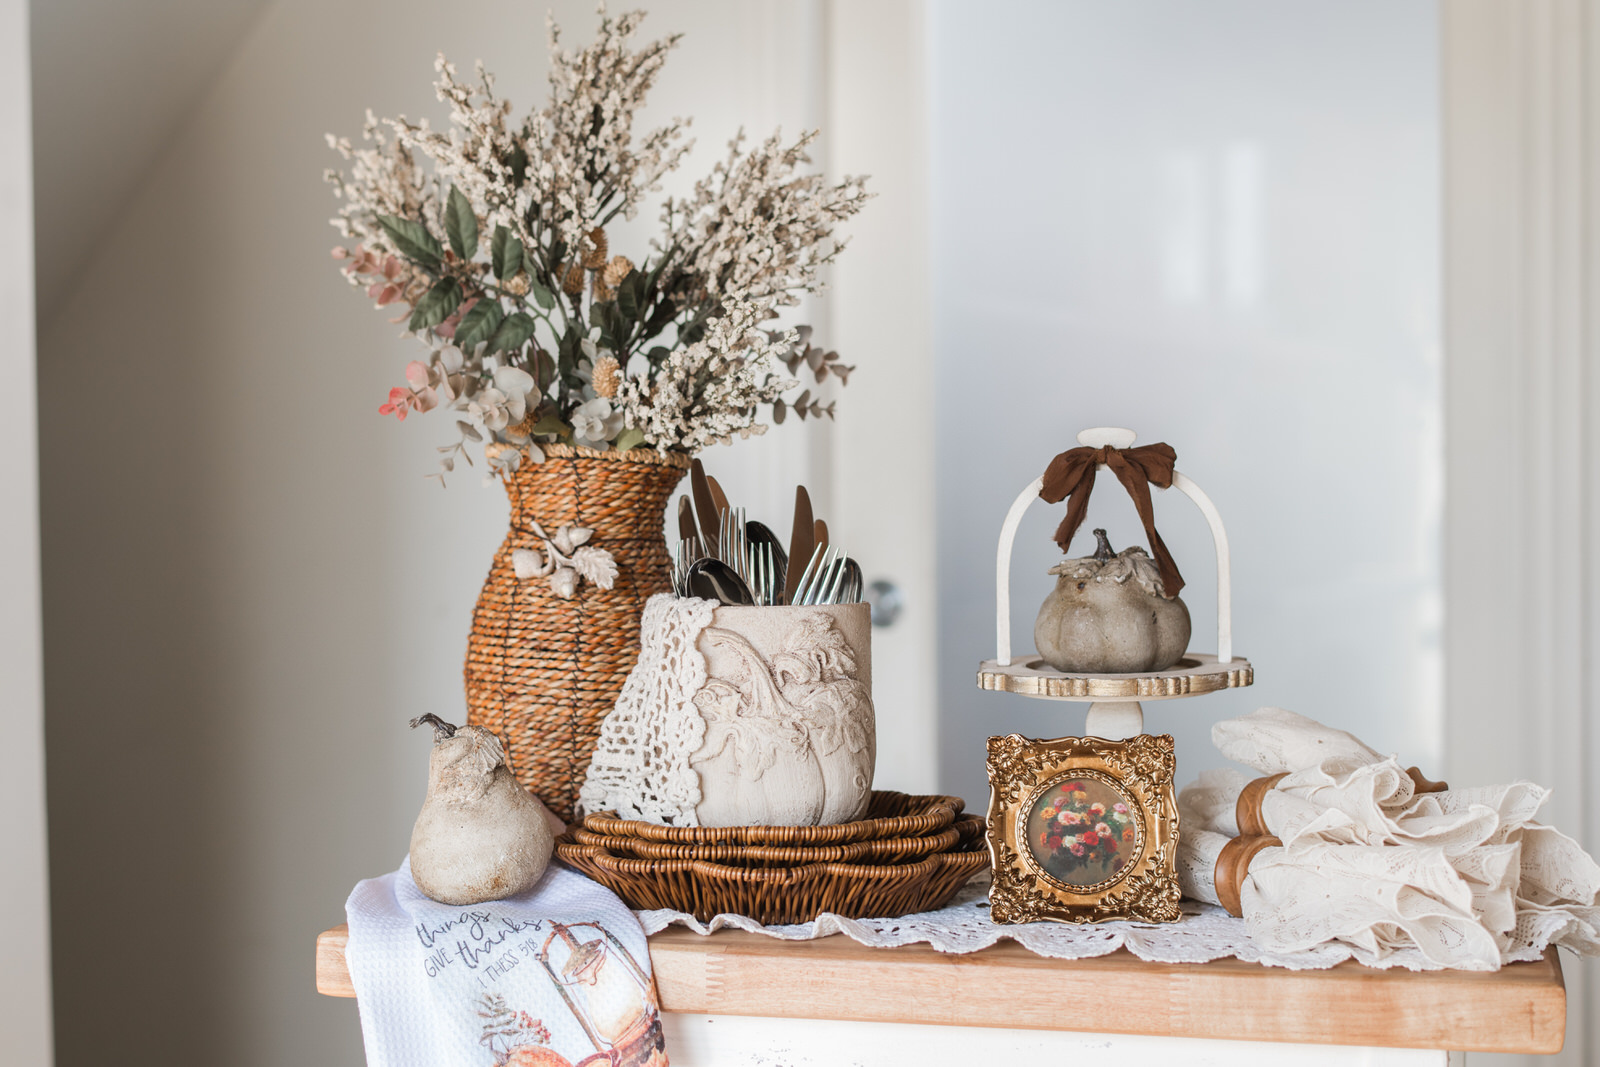
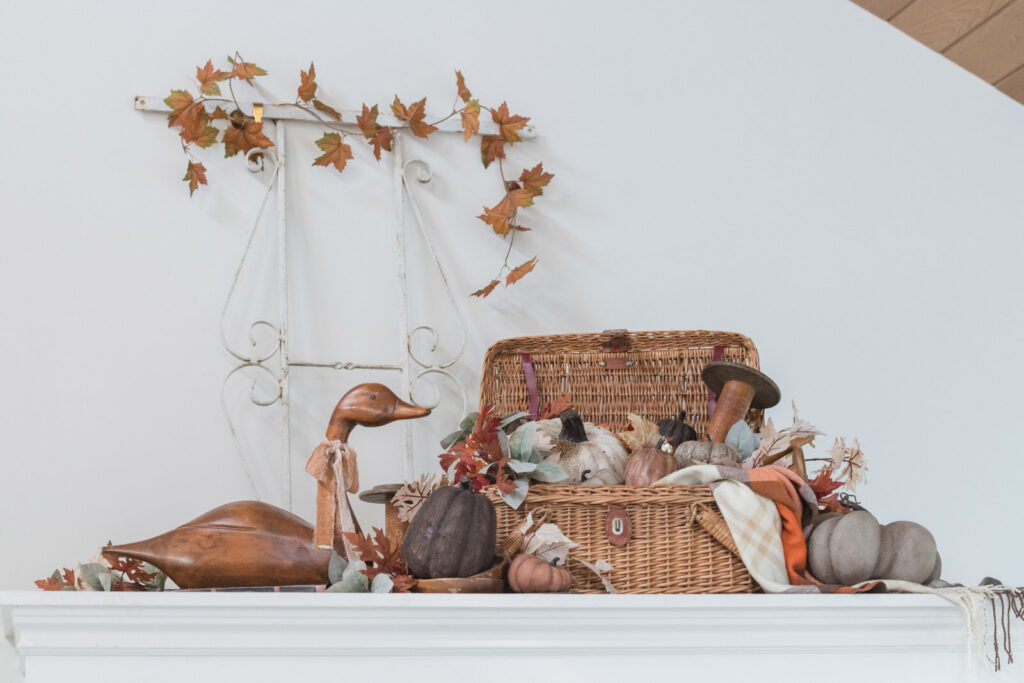
- On top of the entrance closet – styled with an old picnic basket and vintage accents to greet guests as soon as they walk in.
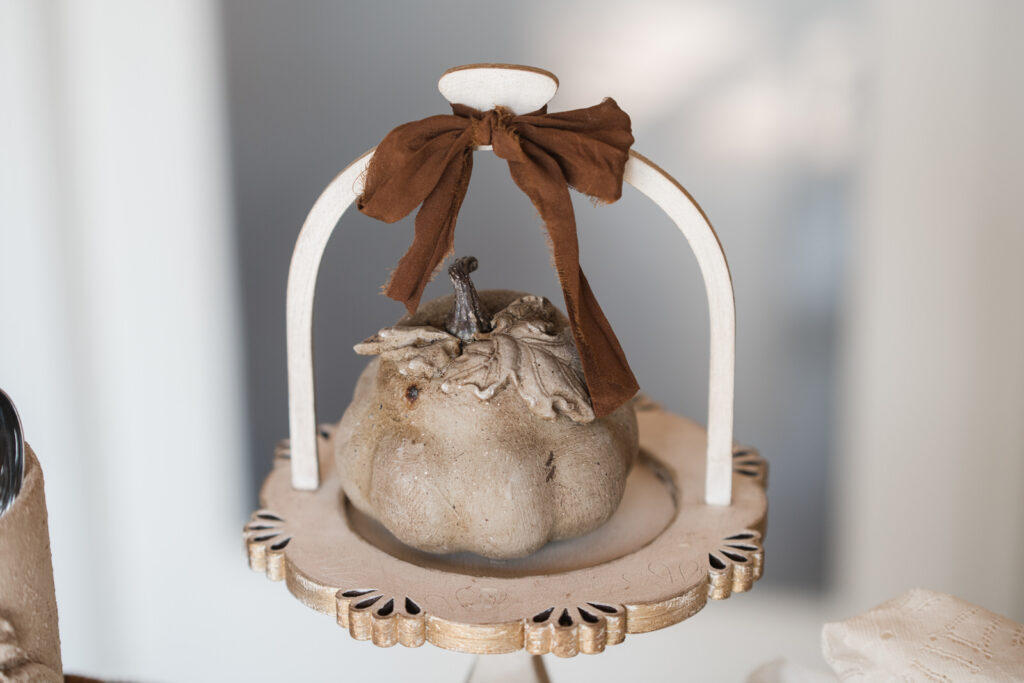
- In a small wooden cloche – perfect for highlighting just one pumpkin with extra charm.
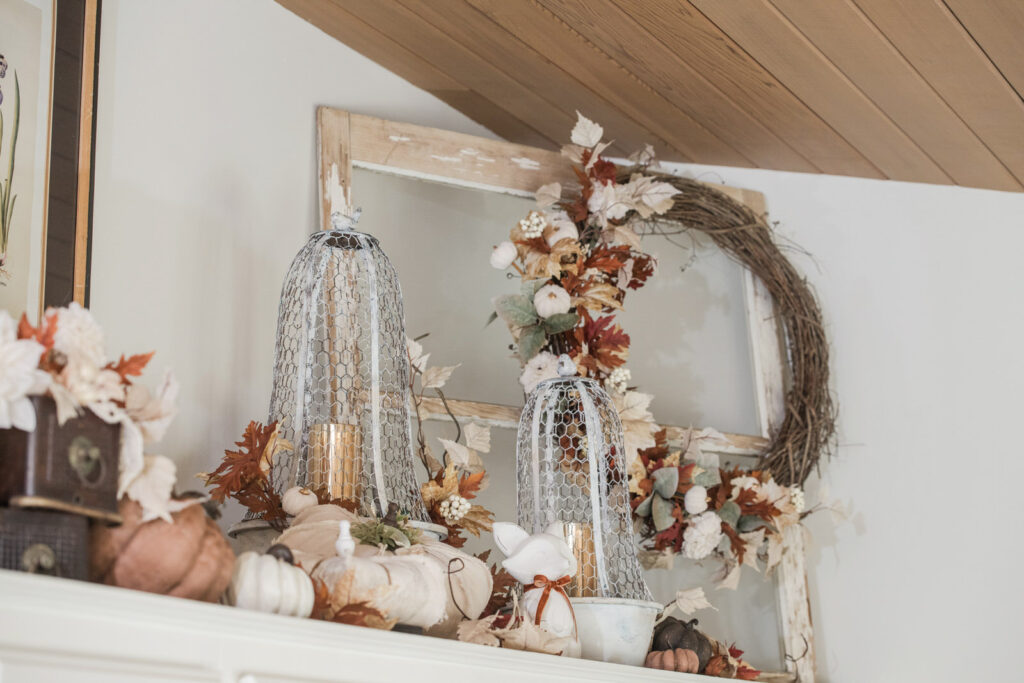
- On top of the kitchen cupboards – tucked among baskets and fall leaves for that collected, layered look.
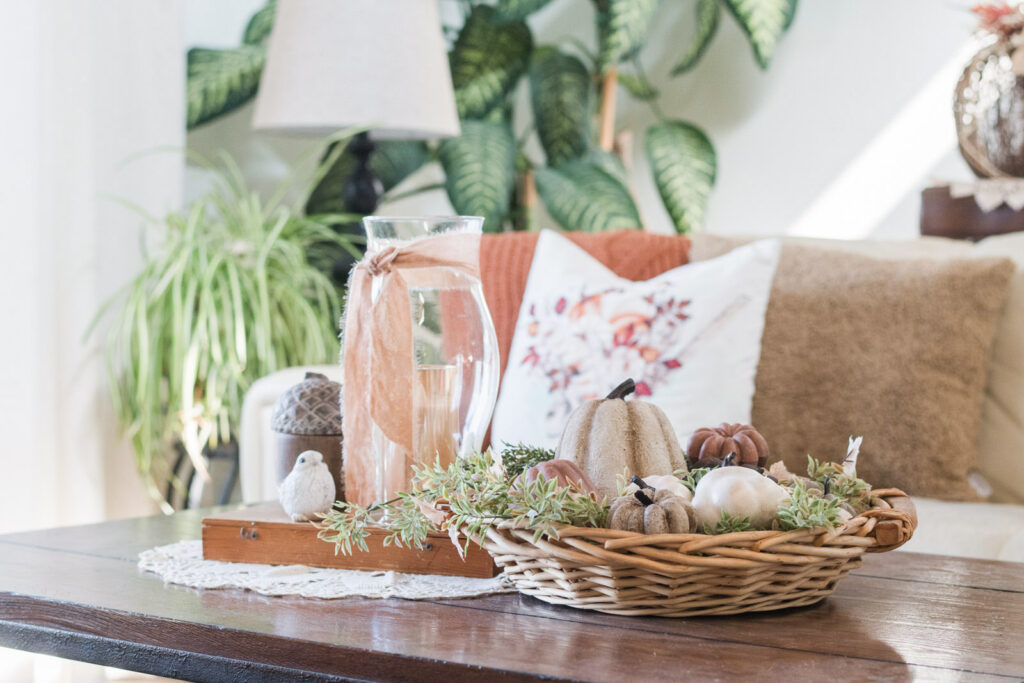
- Coffee table basket vignette – gathered in a round basket with greenery, displayed beside a candle, and other seasonal touches.
- Tucked in “just because” spots – those little empty areas around the house that need a touch of fall warmth.
These pumpkins truly work anywhere — from centrepieces to tucked-away corners — and their hand-painted finish means each one feels like a little piece of art.
Want More Cozy DIYs?
If you loved this project, be sure to pin it for later and subscribe to my newsletter! You’ll get:
-
Seasonal styling tips
-
DIY inspiration
-
Exclusive discounts
-
First looks at new product releases

With Grace,
Kimberly