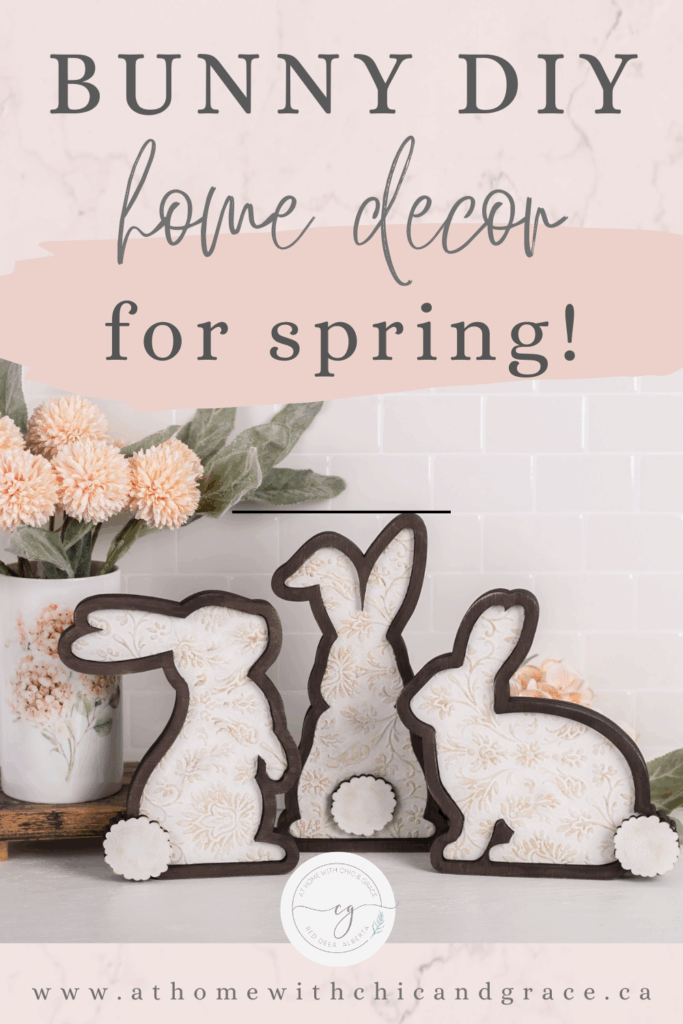
DIY Spring Bunny Shelf Sitter for Home Decor
Spring decorating always feels like a fresh start. As winter fades, I love bringing in lighter pieces that reflect a renewed feeling and hint at the warmer days ahead. This DIY spring bunny shelf sitter is one of those projects that fits naturally into that transition, working beautifully from early spring through the months that follow. This DIY spring bunny shelf sitter is one of those projects.
These bunnies work as spring home decor, can stay out through Easter, and still feel right as the season moves toward summer.
If you enjoy spring DIY ideas that are easy to style and reuse year after year, this is a project you’ll love.
A Bunny Shelf Sitter Designed for Spring Decorating
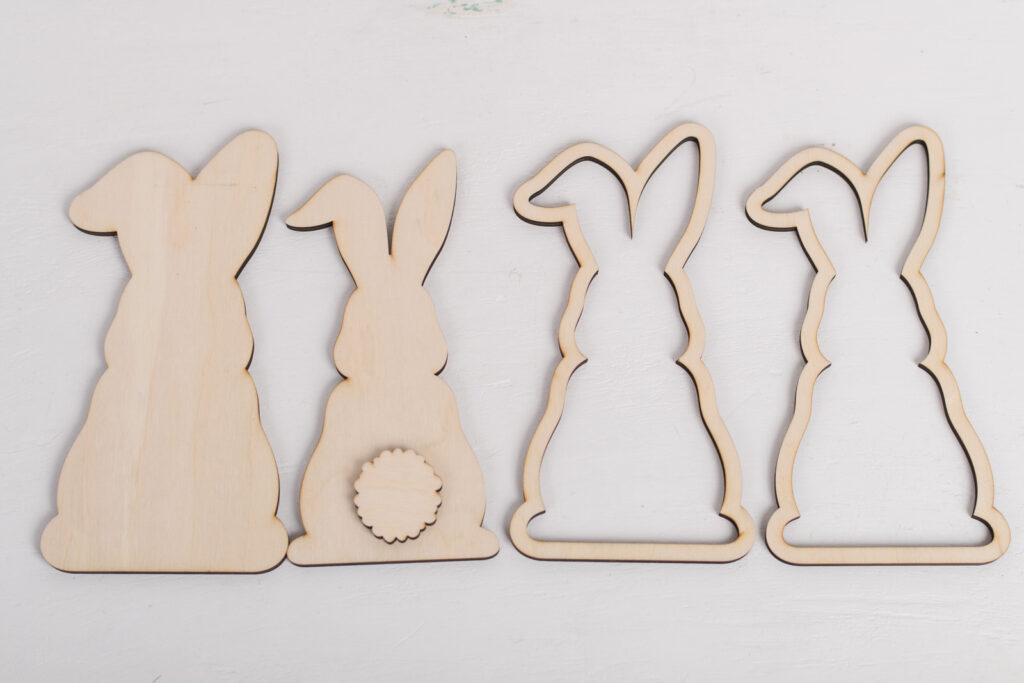
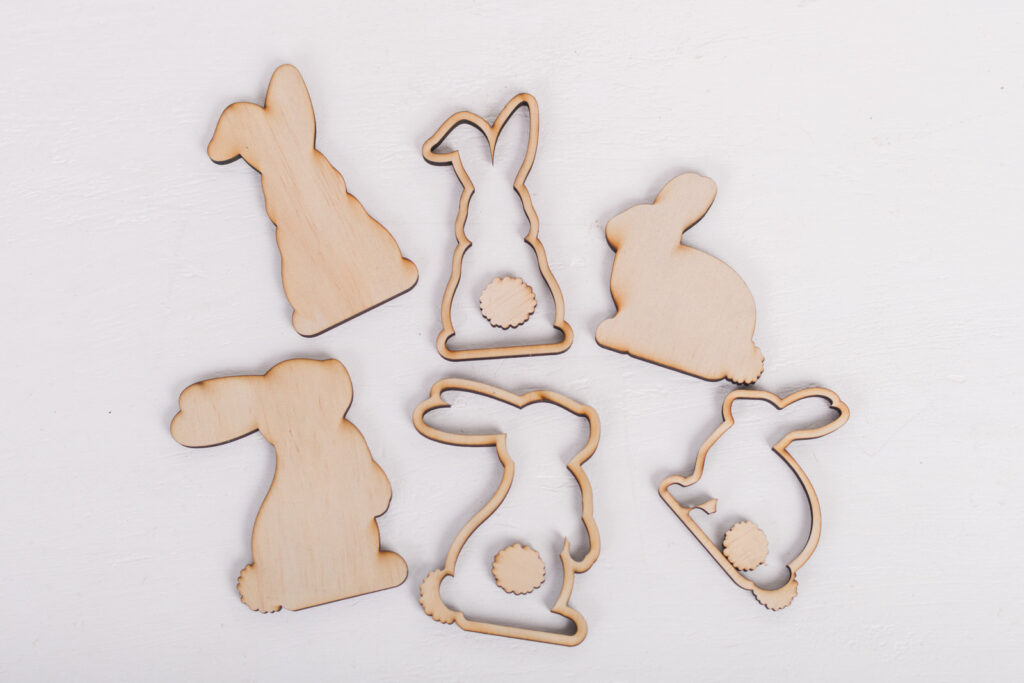
This project uses my DIY Spring Shelf Sitter Kit – Bunny Trio, which comes in two sizes.
The taller bunnies are designed to work as shelf sitters and stand on their own. The smaller size works well for tiered trays and smaller spring displays. Both sizes are made the same way, so once you understand the steps, the process is straightforward.
Each bunny is made from four-layered wood pieces (the smaller ones have 3 layers) cut from ¼-inch birch. The layered design gives the bunny dimension and allows it to stand securely without extra supports.
What You’ll Need for This Spring DIY Craft
Before starting, gather the following supplies:
-
Sandpaper or a sanding sponge
-
Water-based wood stain – I used Saman Dark Oak
-
Mod Podge
-
Paint – I used Champagne Gold from Decoart and Picket Fence from Fusion Mineral paint
-
Wood glue – Titebond Quick and Thick
-
Clamps
- Brushes
-
Baby wipes or a damp cloth
Having everything ready before you start helps the project move along smoothly.
Step 1: Prepare the Wood Pieces
Begin by sanding any laser residue from the edges of the wood if needed. This step is important if you decide to paint rather than stain your edges.
Step 2: Stain the Bunny Layers
Using a water-based stain, stain:
-
The back piece
-
Both framed pieces
-
All exposed edges
Because stain raises the grain, allow it to dry completely, then lightly sand. Apply a second coat for a darker finish.
Step 3: Apply Wallpaper to the Bunny Insert
Take the insert piece and trace it onto your wallpaper. Cut it out carefully.
Apply Mod Podge to the wood insert, place the wallpaper on top, and smooth it out. After that, brush a thin coat of Mod Podge over the paper to seal it.
Optional alternative:
If you want the wallpaper and the tail to be the same color white, paint the wallpaper on top before applying the Mod Podge on top.
Once dry, use a sander to remove any paper overhang. A downward motion or a gentle side-to-side motion works best for cleaning up the edges.
Step 4: Dry Brush the Texture
Using a champagne gold acrylic paint, lightly dry brush over the raised texture of the wallpaper.
If you apply too much paint, don’t worry. Because the wallpaper has been sealed with Mod Podge, you can gently wipe back the paint with a baby wipe and reapply.
Step 5: Paint the Bunny Tail
Paint the bunny tail using Fusion Mineral Paint in Picket Fence, then lightly dry brush it with the same gold paint used on the bunny body.
Any white acrylic paint will also work.
Step 6: Assemble the Bunny
Glue the first framed piece to the back piece using wood glue. Clamp in place until dry.
Once that layer is dry:
-
Insert the decorated bunny piece and glue in place.
-
Add the second frame on top and glue and clamp.
Step 7: Seal (Optional)
I did not spray seal my bunnies. If you’d like extra protection, you can use a matte spray sealer such as Rust-Oleum Matte or Krylon Matte.
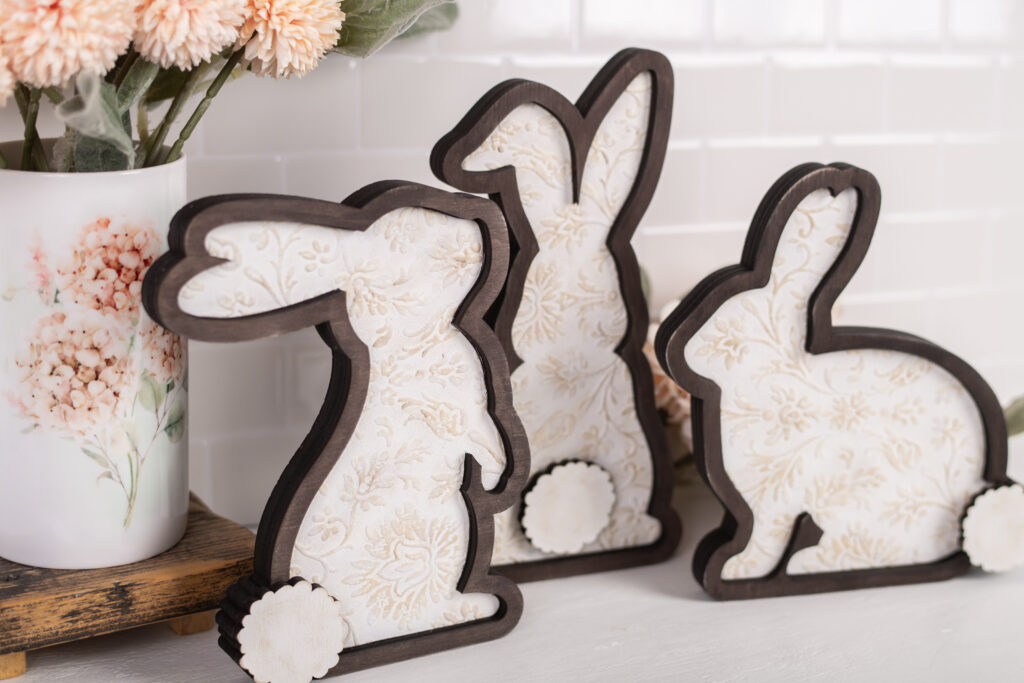
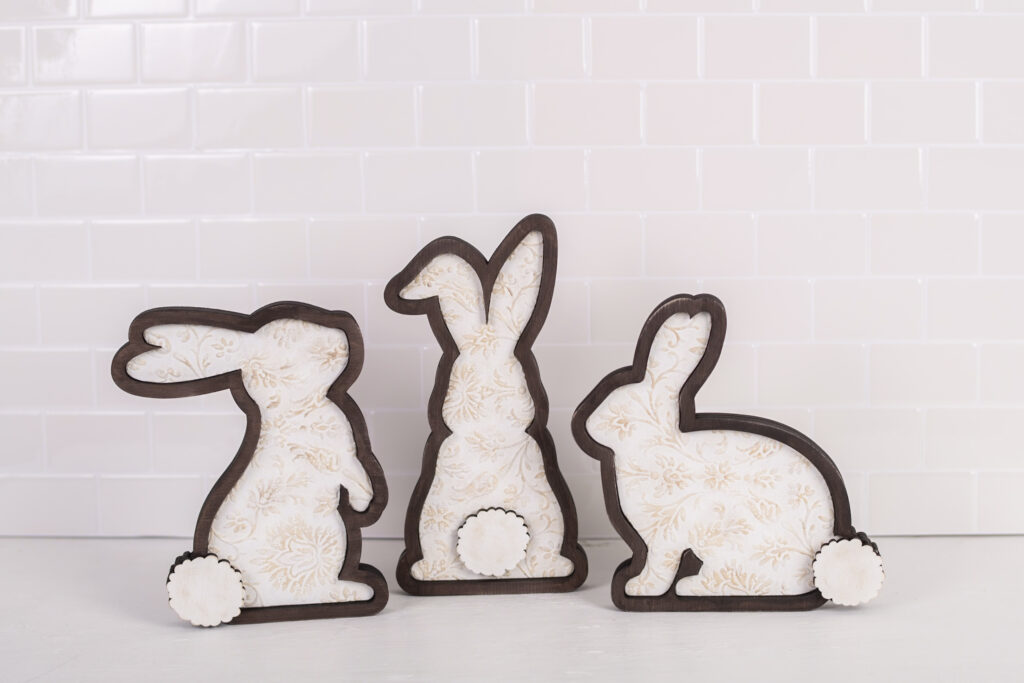
Once dry, your bunny shelf sitter is finished and ready to display.
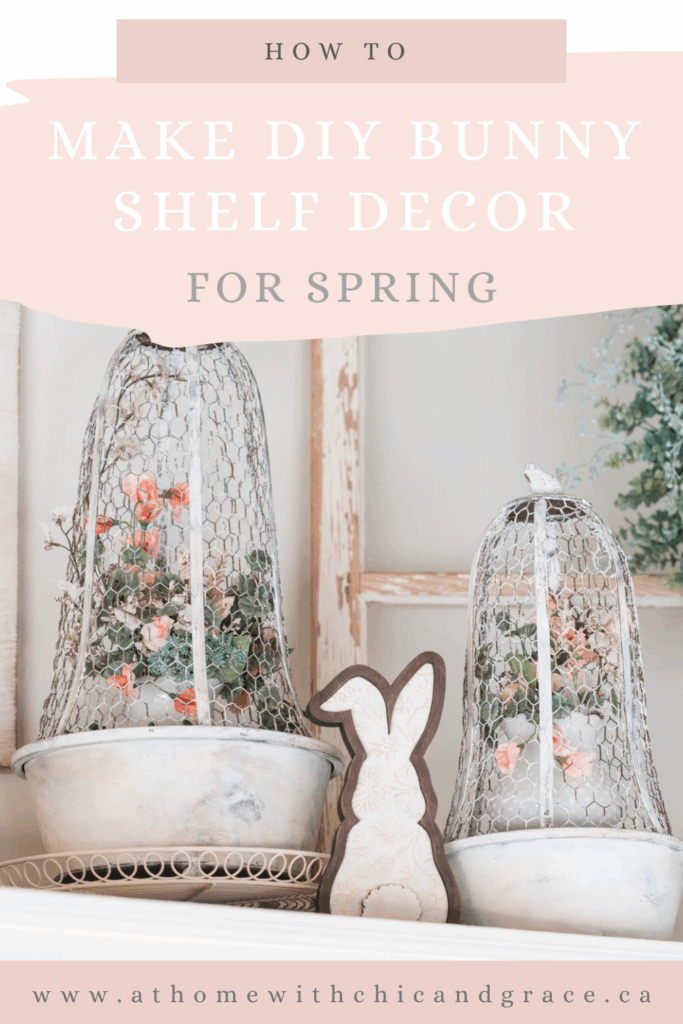
Styling Your Spring Bunny Shelf Sitters
These bunny wood crafts are easy to work into spring home decor.
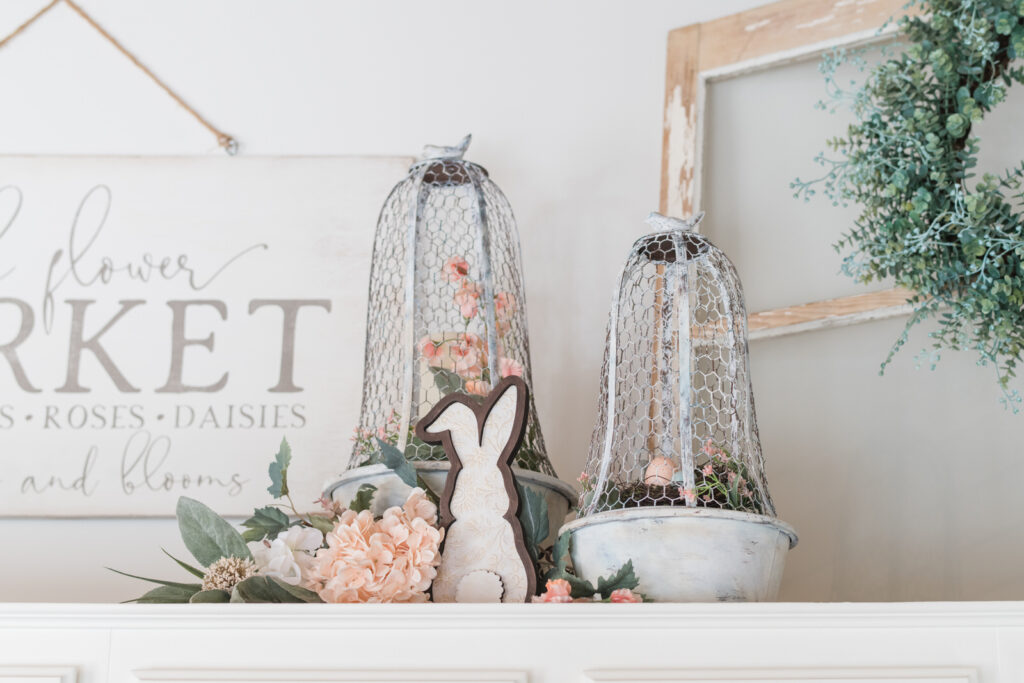
They look great:
-
On shelves styled with books and greenery
-
On a mantel or hutch
-
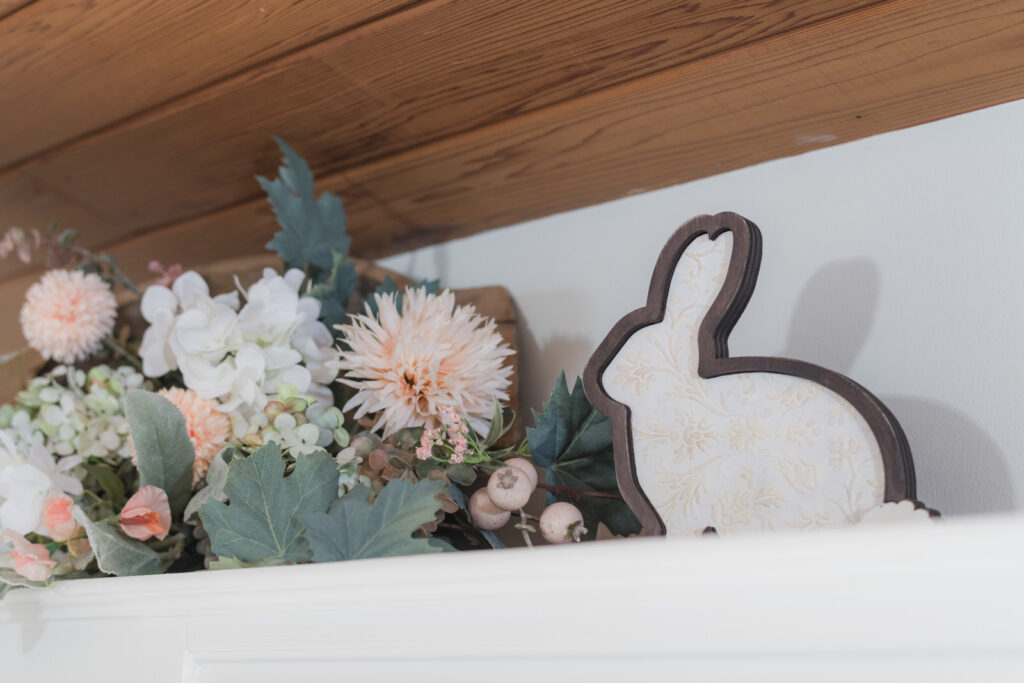
As part of spring tiered tray decor (for the smaller bunnies)
-
I styled mine above my kitchen cabinets
They transition well through spring, can stay out during Easter, and still feel appropriate as summer approaches.
Would You Like a Step-by-Step Video?
I’m considering filming a step-by-step video for this spring DIY craft, but with an alternative finish.
If that’s something you’d like to see, leave a comment below and let me know. Your feedback always helps guide what I create next.
A Simple Spring Project You Can Reuse Each Year
This DIY spring bunny shelf sitter is a project that fits naturally into seasonal home decor. It’s simple to make, easy to style, and flexible enough to use year after year.
If you enjoy spring crafts for home decor that feel intentional and timeless, this bunny trio is a great addition to your seasonal pieces.
With grace,
Kimberly
Want More Spring DIY Ideas?
Join my newsletter for seasonal inspiration, DIY projects, and early access to new kits and collections.
Pin It for Later
Save this DIY to Pinterest so you can come back to it when you’re ready to decorate for spring.