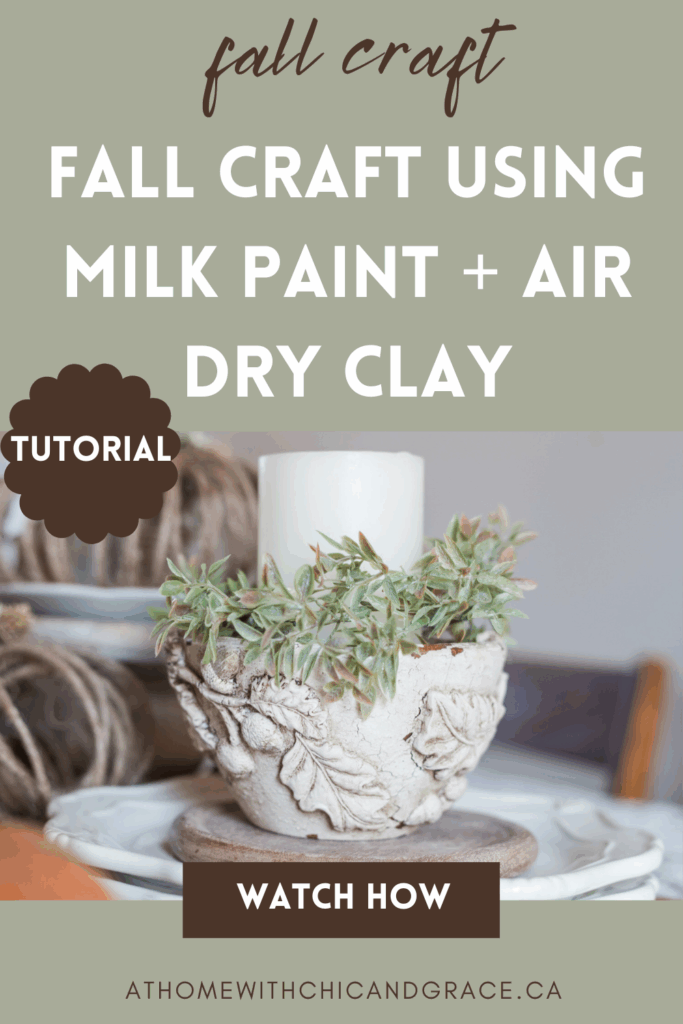
DIY Chippy Wood Bowl with Clay Acorns & Leaves & Milk Paint | A Timeworn Fall Accent Piece
There’s something special about giving new life to a simple wooden bowl, especially for fall decorating. In this tutorial, I’m sharing how I created a DIY chippy wood bowl with clay acorns and leaves using milk paint and IOD’s Oak Leaves & Acorns mould. This project has all the layered, cozy charm of aged wood and soft patina — perfect for fall decorating or creating a unique handmade centerpiece.
🍂 Supplies You’ll Need
- Old wood salad bowl (thrifted or from your own collection)
- Milk paint Gustavian White by Fusion
- IOD Oak Leaves & Acorns mould
- Air dry clay
- Fusion Mineral Paint – Cashmere
- Dixie Belle Matte Sealer
- Clear wax & antiquing wax
- Rub ’n Buff – Gold Leaf
- Titebond Quick & Thick Wood Glue
- Small paintbrushes
- Baby wipes or paper towels for blending
- Greenery and a candle (for styling)
- Optional: glass cloche for display
Bringing This Chippy Fall Bowl to Life:
Below is a quick overview of the process — be sure to watch the full video tutorial below for all the details, techniques, and finishing touches.
Step 1: Create a Chippy Milk Paint Finish
Start with a clean wooden bowl. If needed, I suggest to apply sealer so your milk paint sticks better. My bowl was really oily and this is where I ran into problems. (you will see in the video what I mean) Apply your chosen milk paint color in two coats, letting each layer dry completely. Don’t worry if it looks uneven or begins to chip naturally; that’s the beauty of milk paint! The more texture, the more authentic your timeworn finish will look.
Once the paint has dried, gently distress areas around the rim and edges with a sanding sponge or paper towel to reveal bits of the original wood beneath.
Step 2: Add Oak Leaves & Acorns with IOD Moulds
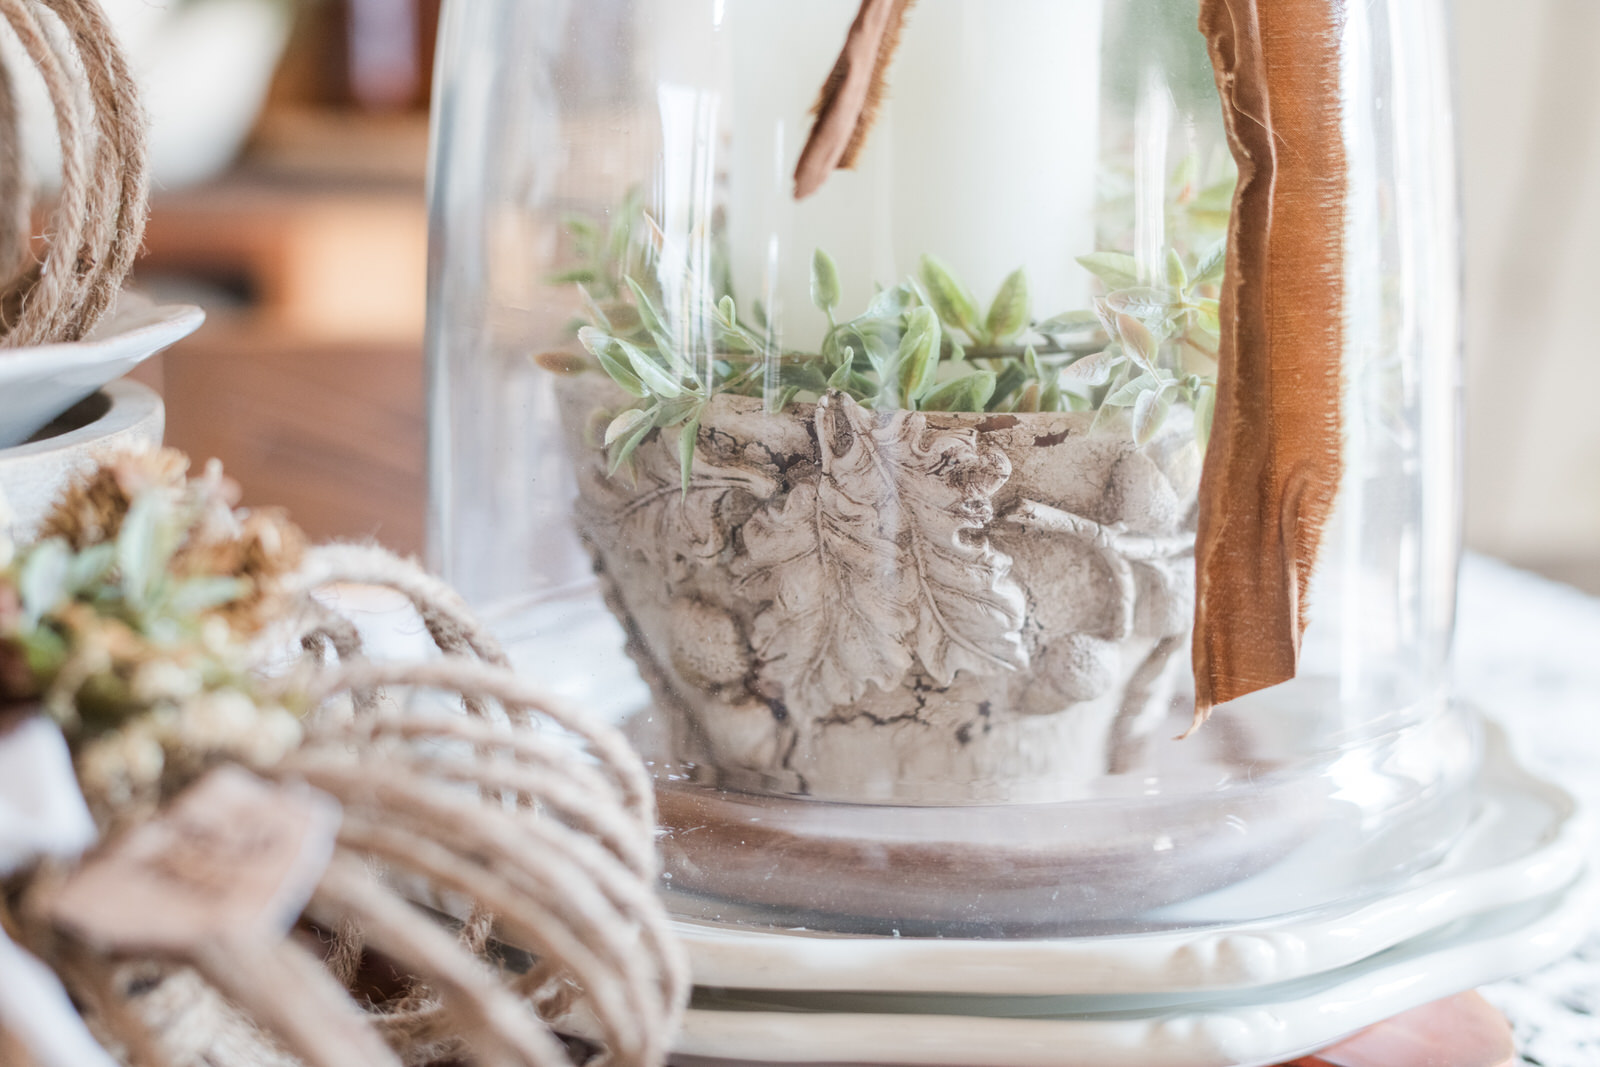
Next, use IOD’s Oak Leaves & Acorns mould and air dry clay to create a mix of leaves and acorns. Press the clay firmly into the mould, then release each piece carefully. Arrange your moulded shapes around the bowl as desired.
Once you’re happy with the placement, attach them using Titebond Quick & Thick Wood Glue. Let Wood glue dry before proceeding to next step.
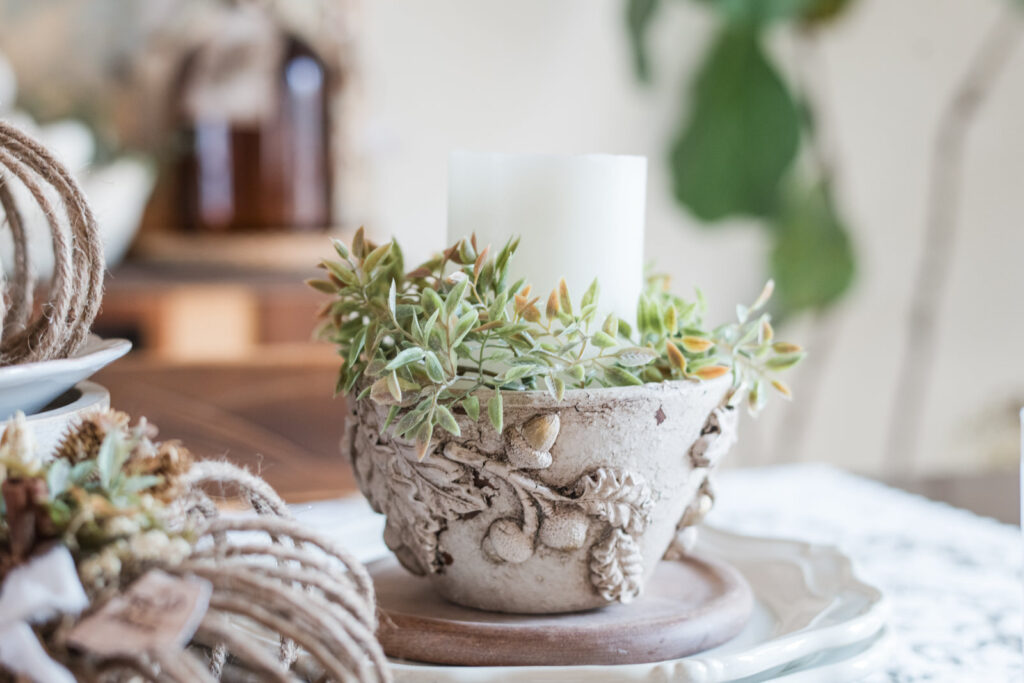
Step 3: Paint & Layer for a Soft Aged Look
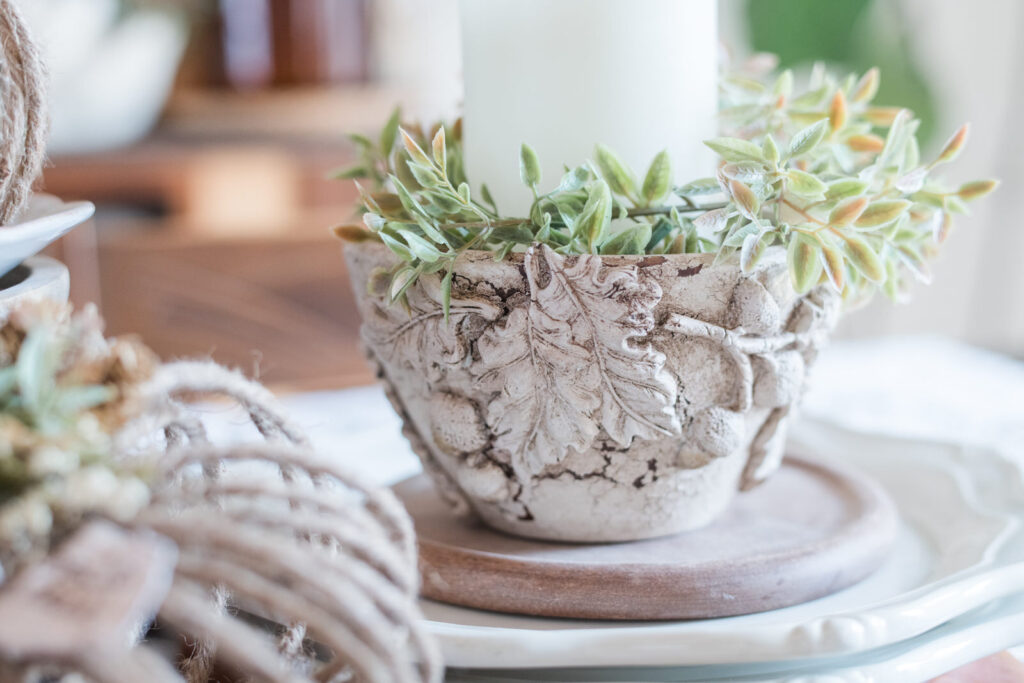
Once the glue is dry, paint the leaves and acorns with Fusion Mineral Paint in Cashmere — a soft neutral tone that pairs beautifully with the aged wood. Allow that to dry overnight before brushing over everything with Dixie Belle Clear Matte Sealer. (you may have to touch up your milk paint if your clay shrunk and created lines in your milk paint. See Video)
Next, apply clear wax and then dark antiquing wax, working it into the crevices and wiping it back until you have that perfect aged finish. Don’t be afraid to let some of the dark wax settle into the leaf and acorn details — it adds beautiful depth and definition.
Step 4: Add Subtle Gold Highlights
For a hint of warmth and a little touch of elegance, apply Rub ’n Buff in Gold Leaf to the bottoms of the acorns. Use your fingertip or a small brush, applying just enough for a soft metallic shimmer without overpowering the rustic look.
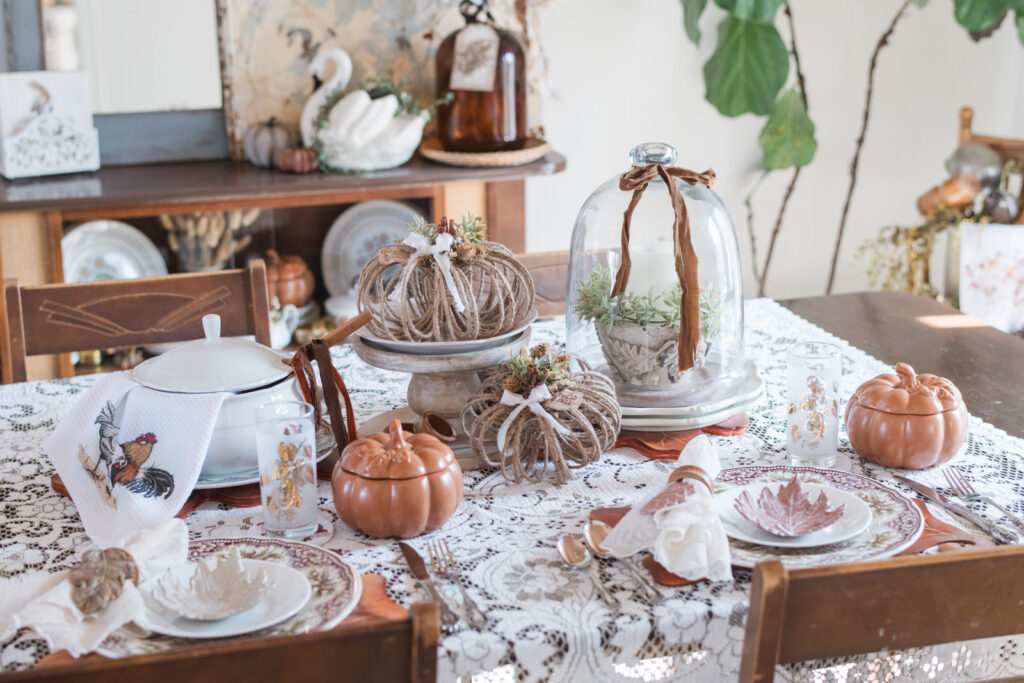
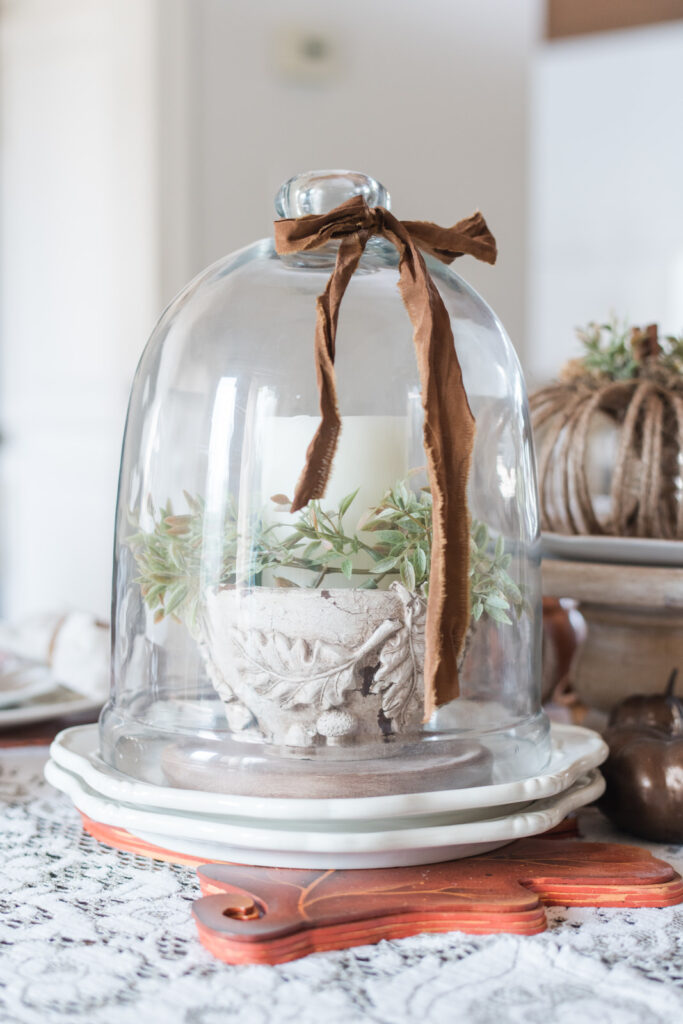
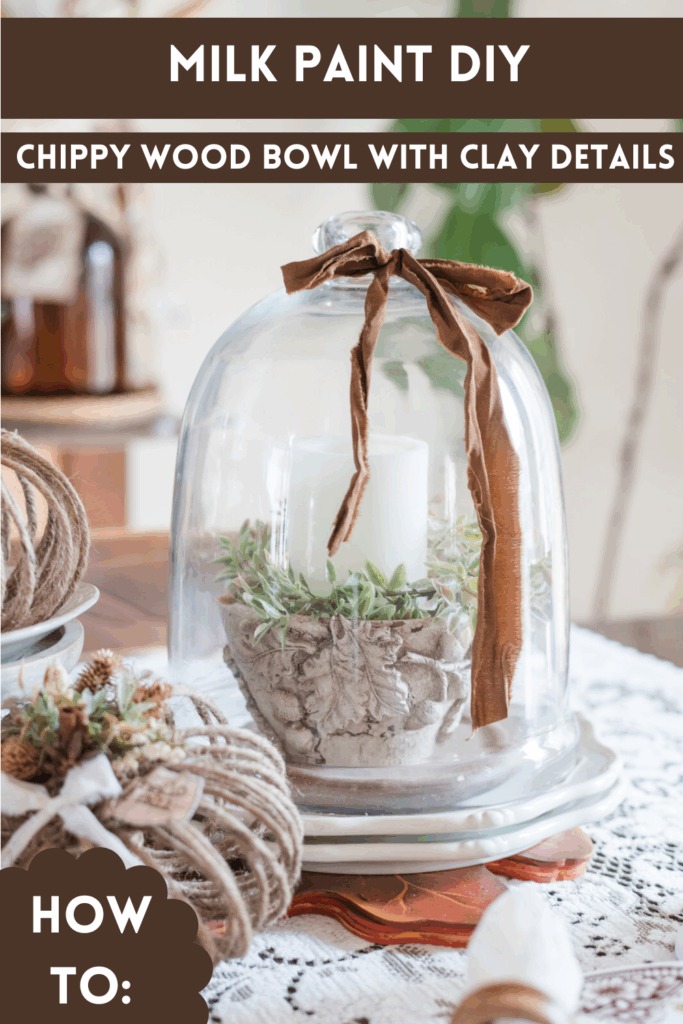
Step 5: Style & Display
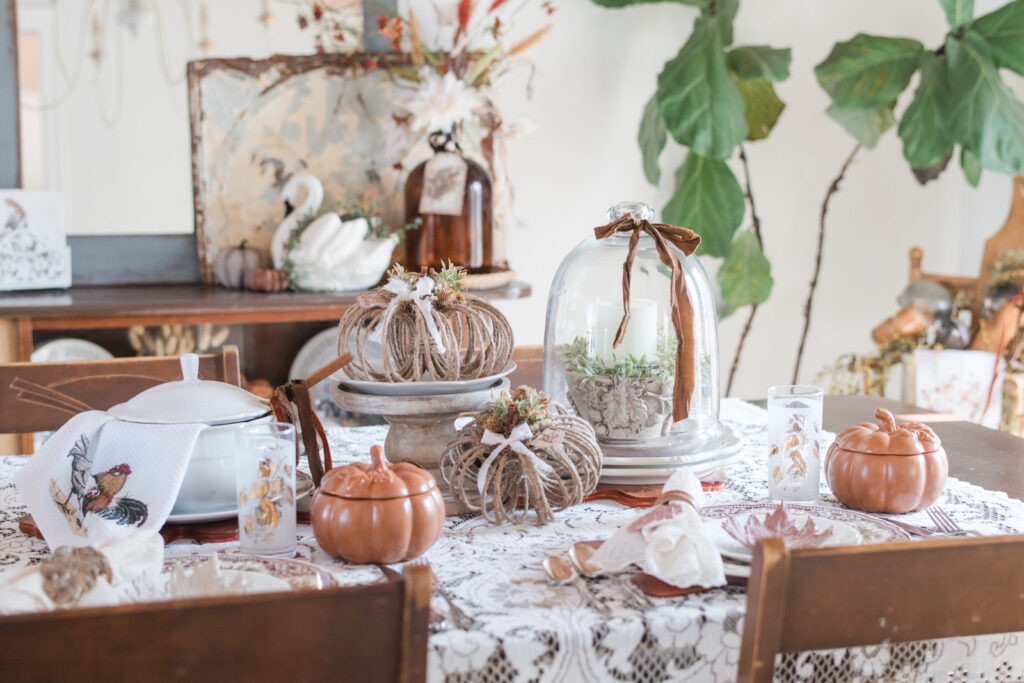
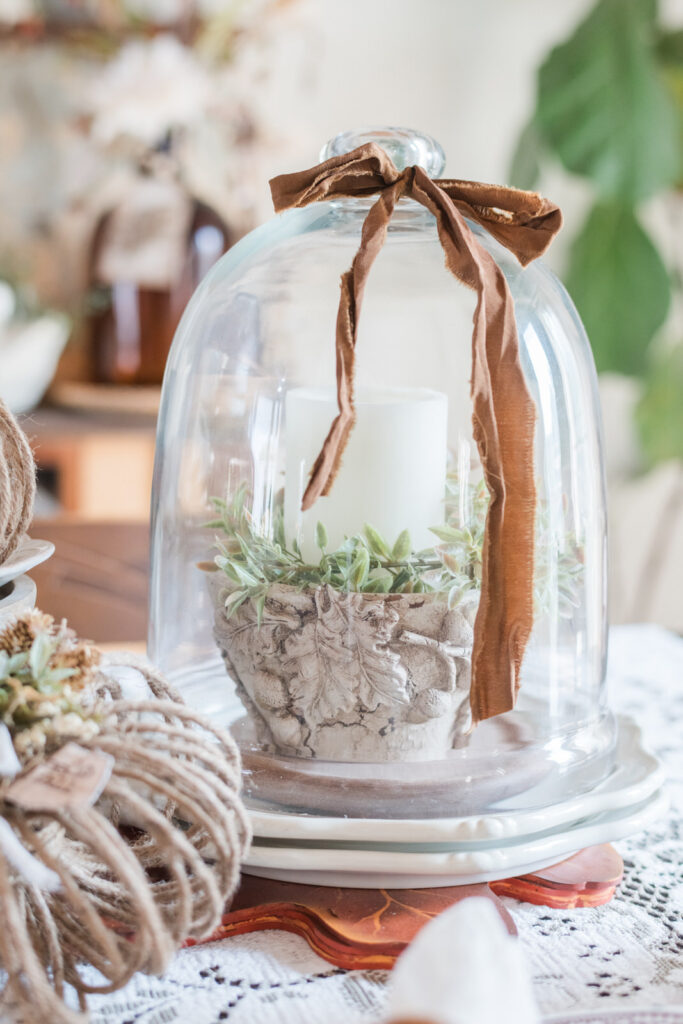
Once your bowl is dry, it’s time for the fun part — styling! I placed it inside a glass cloche with a candle inside and tucked in bits of faux greenery around the base. The mix of natural texture, layered patina, and soft candlelight makes this piece feel like something handed down through generations — timeless, cozy, and perfect for fall. I finished it off by tying a silk raw edged ribbon around the top of the cloche.
Video Tutorial:
Ways to Style It This Fall:
- Style a coffee table, sideboard, or entryway table
- Adding to a fall tablescape or mantel display
- Pairing with acorns, pinecones, or greenery for Thanksgiving styling
Save for Later on Pinterest
Don’t forget to save this project to your DIY & Fall Decor boards so you can try it later!

Want more cozy home ideas?
Subscribe to my newsletter below and get seasonal styling tips, DIY inspiration, exclusive discounts, and be the first to know about new product releases — delivered right to your inbox.
With Grace,
Kimberly