


Cottage-Style Kitchen Cart Makeover | Milk Paint Furniture DIY
I’m so excited to share the first project in our kitchen makeover series — this Cottage-Style Kitchen Cart Makeover | Milk Paint Furniture DIY.
It’s a mix of thrifted finds, leftover materials, and a little creativity that turned into one of my favorite functional pieces.
The Story Behind the Cart
It started with a few thrifted spindles, some recycled shelving we removed from the end of our island, and a set of vintage wheels I had tucked away in my stash.
My husband built the cart, and we finished the top using leftover butcher block from our pantry and baking nook project — that reveal is coming soon!
The finished piece feels like it’s been part of our kitchen forever.
It’s one of those small additions that adds both charm and function.
I love pulling it out to hold my slow cooker or air fryer, and it provides extra counter space for baking when needed.

The Paint Technique
I wanted this cart to have that timeworn, cottage-style feel — like something you’d discover in an old farmhouse kitchen.
To achieve that look, I used milk paint in the color Hotel Robe by Fusion, layered with stain and wax for depth and age.
Supplies Used:
- Milk Paint: Hotel Robe by Fusion
- Fusion Mineral Paint: Chocolate
- Stain: Saman Dark Oak (water-based)
- Wax: Clear Wax by Behr
- Tools: Wax candle, sandpaper, Stallmeister brush, and other soft-bristle brushes
Watch the Video
You can watch the full process — from building to painting to styling — in the video below:
Fall Styling Details
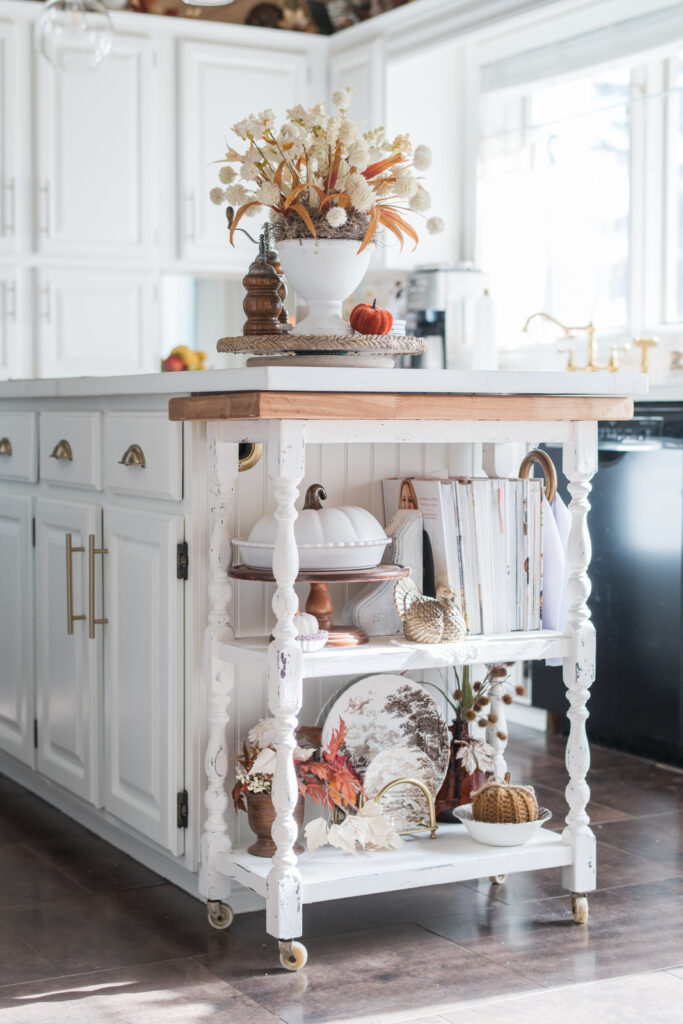
Here’s where you’re actually getting a sneak peek of the finished kitchen — the painted island and new countertops are complete!
I can’t wait to share more soon, especially what we did for our DIY countertops.
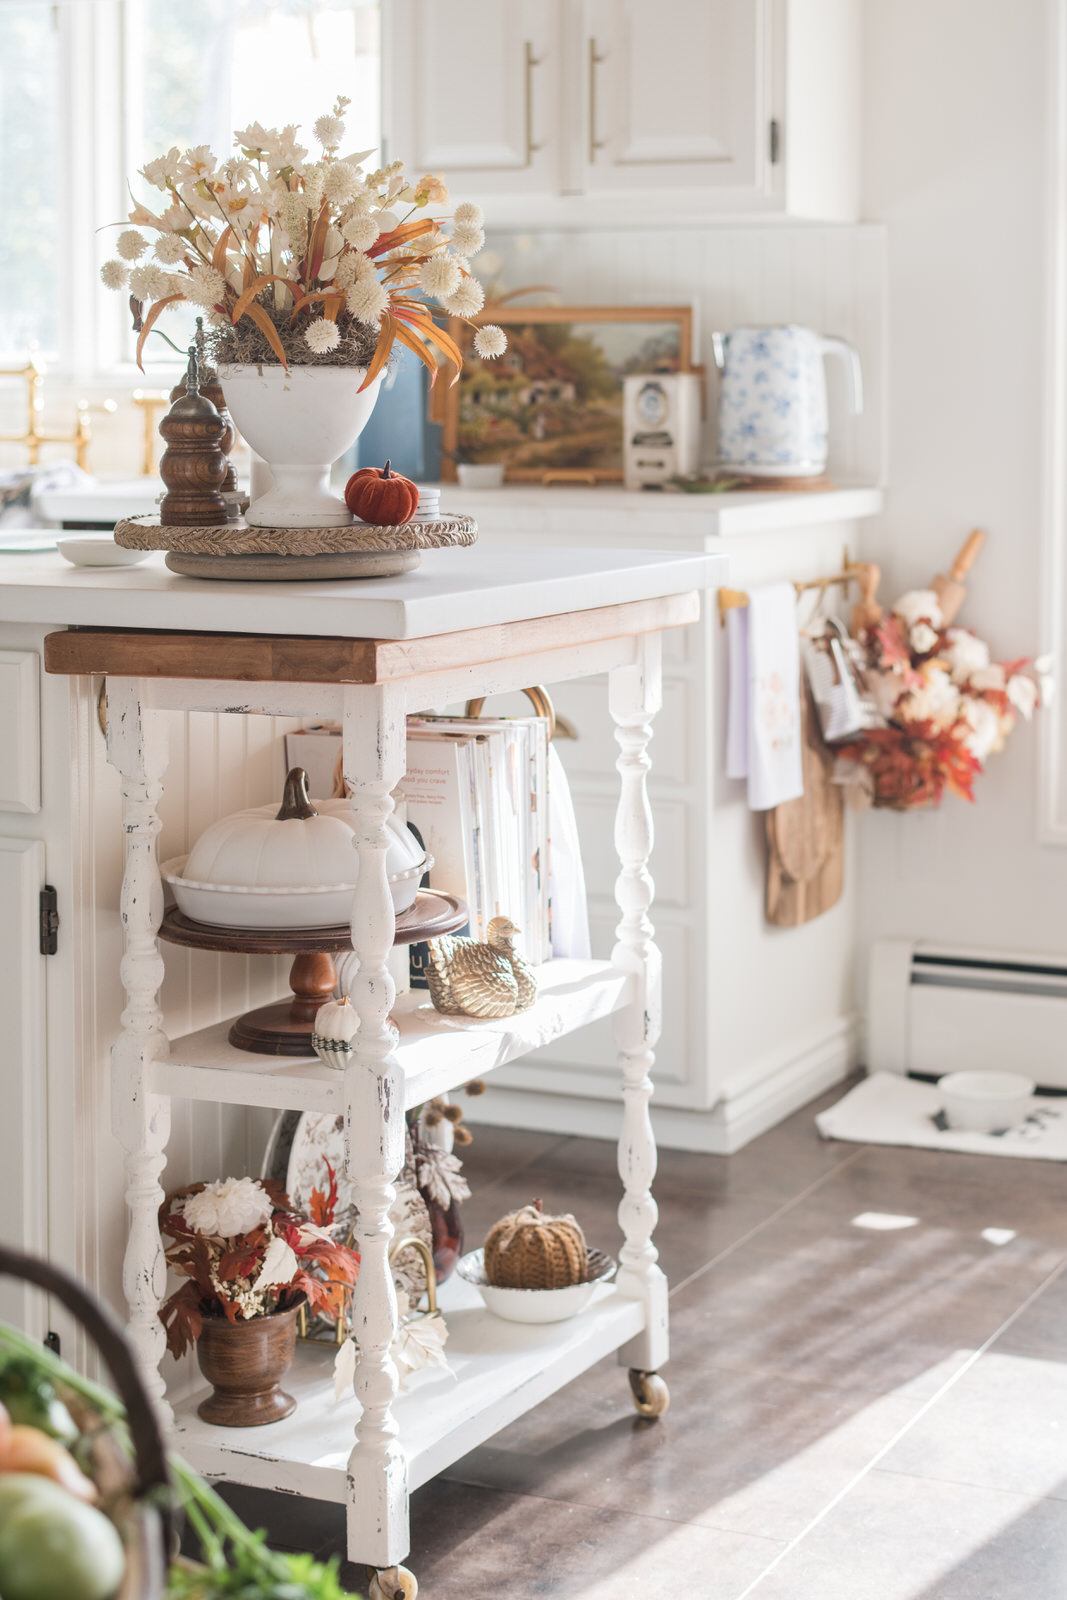
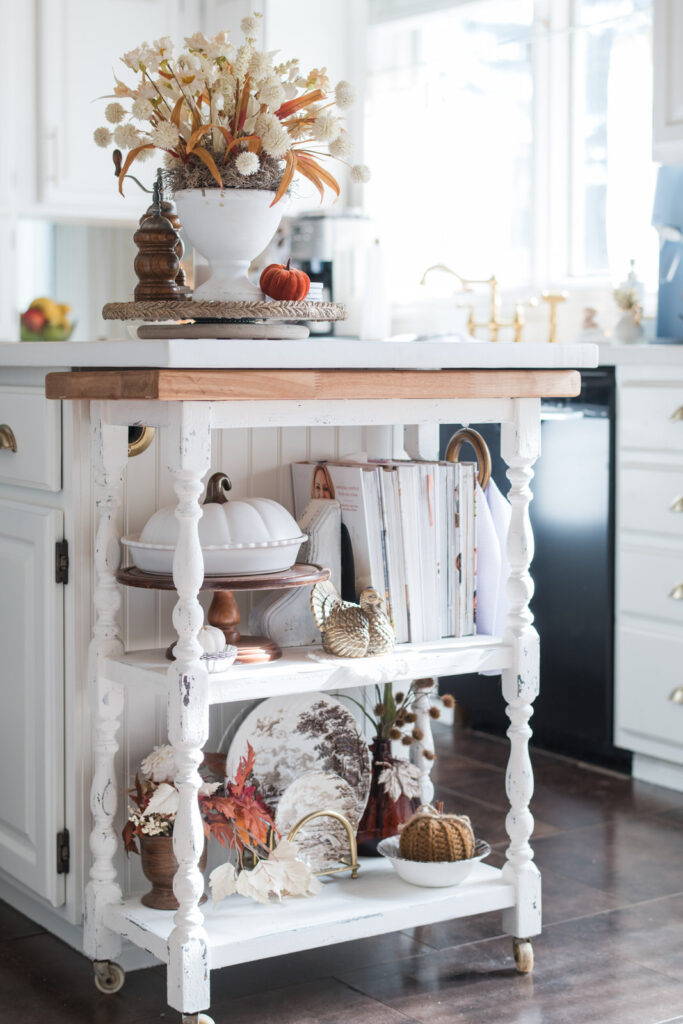
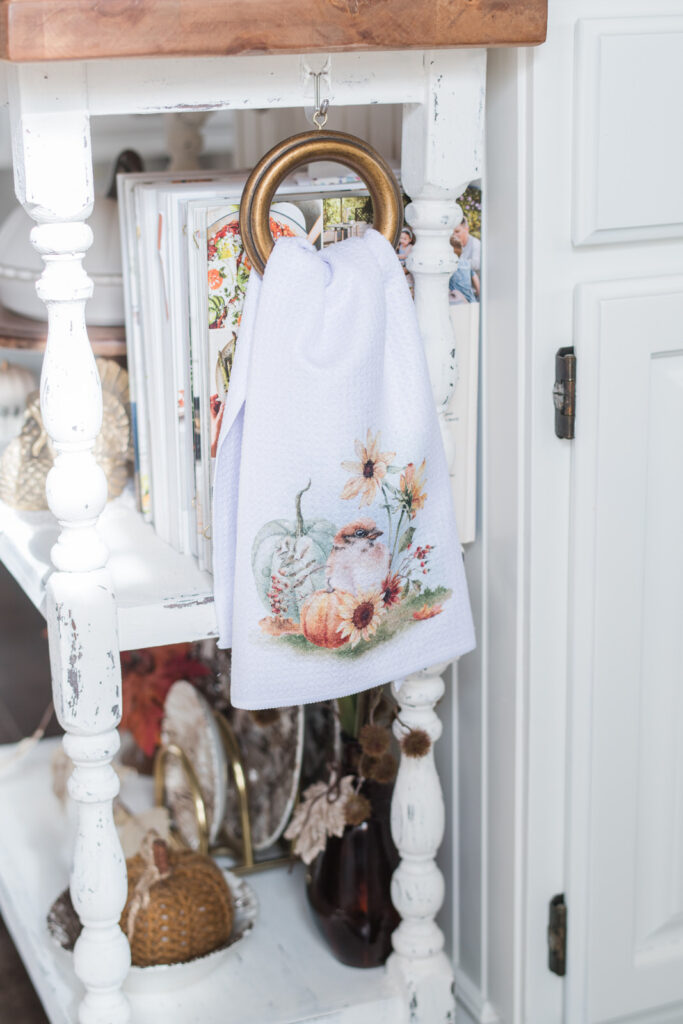
For now, I styled the cart for fall with soft creams, rust tones, and vintage accents.
On the shelves, I layered dishes, cookbooks, and collected autumn details — a pumpkin, a brass turkey, and fall leaves.
It feels collected and cozy, perfectly at home in this space.
Old Pieces, New Purpose
This project reminds me why I love working with what we already have.
A few salvaged parts, a little imagination, and some leftover materials came together to create something both beautiful and useful.
It’s those simple, handmade touches that make a home feel personal — and truly ours.
Every time I roll this cart across the kitchen, I’m reminded that meaningful projects don’t have to start with something new.
Pin It for Later
Save this project to your DIY or Kitchen Makeover board for inspiration later!
📌 Pin this image to remember how to give new life to old furniture.


Want More Cozy Home Ideas?
Subscribe to my newsletter below and get seasonal styling tips, DIY inspiration, exclusive discounts, and be the first to know about new product releases — delivered right to your inbox.
With Grace,
Kimberly


