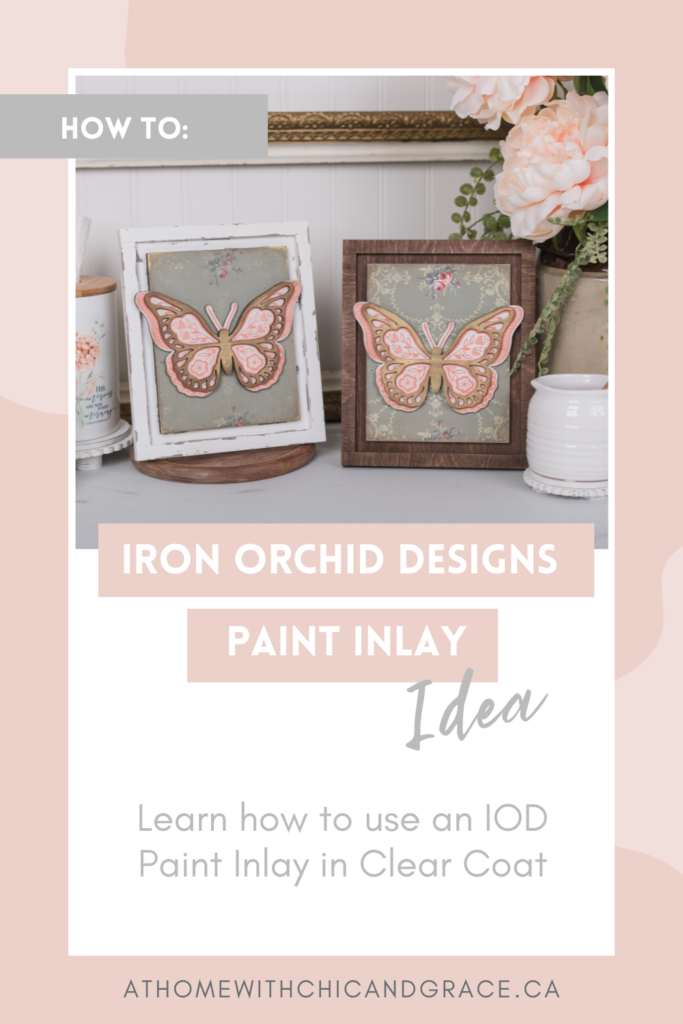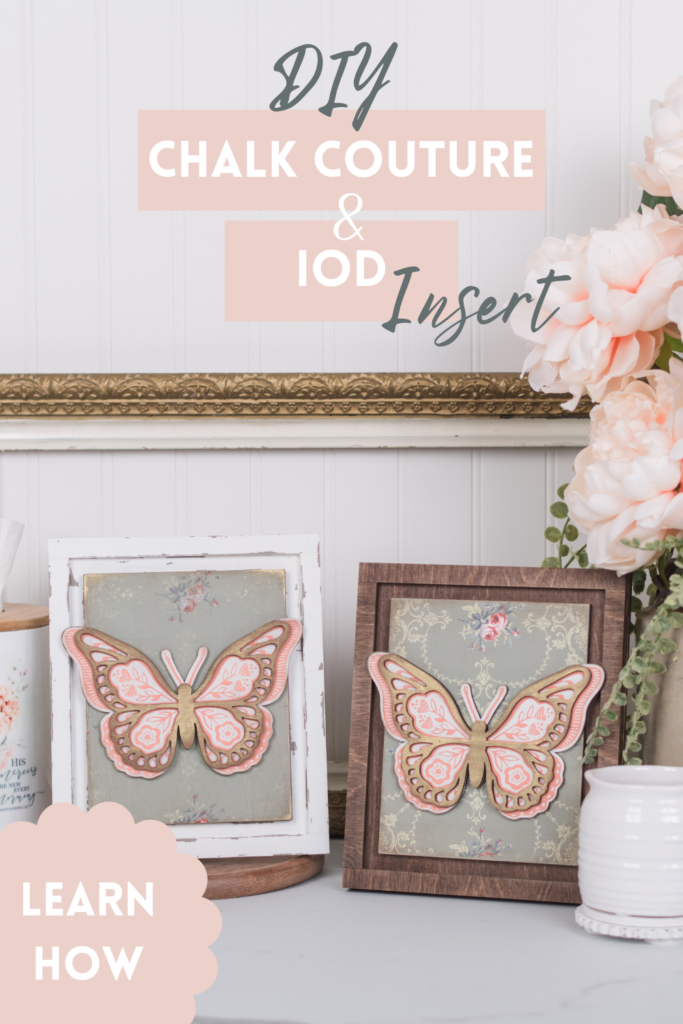
Create Stunning Seasonal Home Decor with Chalk Couture’s Butterfly Transfer and IOD’s Lattice Rose Paint Inlay
How to Use Chalk Couture with IOD Paint Inlay: Are you a crafter who loves refreshing your home decor for each season? If so, you’re going to love this creative DIY project that combines the beauty of Chalk Couture transfers with the elegance of IOD Paint Inlays — all showcased in an interchangeable wood frame that makes seasonal decorating effortless.
In this step-by-step guide, I’ll show you how to use a gorgeous butterfly silk screen transfer paired with an Iron Orchid Designs paint-inlay background to create a stunning piece of home decor. Plus, with the interchangeable frame design, you can easily swap out inserts to match any time of year or mood. Let’s bring your crafting skills and home style together with this fun and stylish project.
What You’ll Need
- Chalk Couture Floral Butterfly silk screen transfer
- Chalk Couture Butterfly Cutout
- IOD Paint Inlay – Lattice Rose
- Wood insert for your DIY interchangeable frame
- Interchangeable frame
- Chalk Couture Paste
- Dixie Belle Gold Gilding Wax
- Dixie Belle Matte Clear Coat
- Fusion Mineral Paint Bellwood & Casement
- Behr Dark & Clear Wax
- Paint Brushes & Make-up Sponges
- Sand Paper
- Aleene’s Tacky Glue or Titebond Quick & Thick
Step 1: Prepare Your Wood Insert
Sand the surface lightly, if necessary, and apply one coat of Bellwood. Sand again lightly when dry.
Step 2: Apply the IOD Paint Inlay Background
Apply one even coat of Dixie Belle Matte Clear Coat and apply the Paint Inlay into the wet clear coat. Set aside to dry. (see video for detailed instructions). This sets the stage for your butterfly chalk couture transfer and adds depth to your design.
Step 3: Use the Chalk Couture Butterfly Silk Screen Transfer
Base coat the Butterfly background with Casement using your makeup sponge. I applied three thin coats and sanded once they were dry to reveal some of the wood underneath. Carefully align the silk screen transfer on the wood cutout and rub down to remove air bubbles. Apply chalk couture paste over the screen. And set aside to dry. Remember to clean the transfer very soon after use.
Step 4: Wax
Allow your Chalk Couture paste to dry thoroughly, then sand the edges. Apply one coat of clear wax, and then add dark wax around the edges. Basecoat the top of your butterfly with Dixie Belle gold gilding wax. Let the piece dry, then sand the edges and apply dark wax around them.
Step 5: Reveal your Paint Inlay
Now that your paint inlay is dry, lightly respray it with water to help release the paint inlay from the surface. Gently pull back the paint inlay to reveal you’re beautiful background. Once dry, lightly sand the edges and gently sand over the inlay to create a more distressed look, if desired. Then, spray it with a matte sealer or carefully apply your Dixie Belle clear coat to seal in the paint inlay. (There is some important information about this in the video.)
Once you’re clear coat is dry, add clear wax over the entire surface, and then distress the edges with dark antiquing wax. For an added touch, you could add some gold gilding wax to the corners.
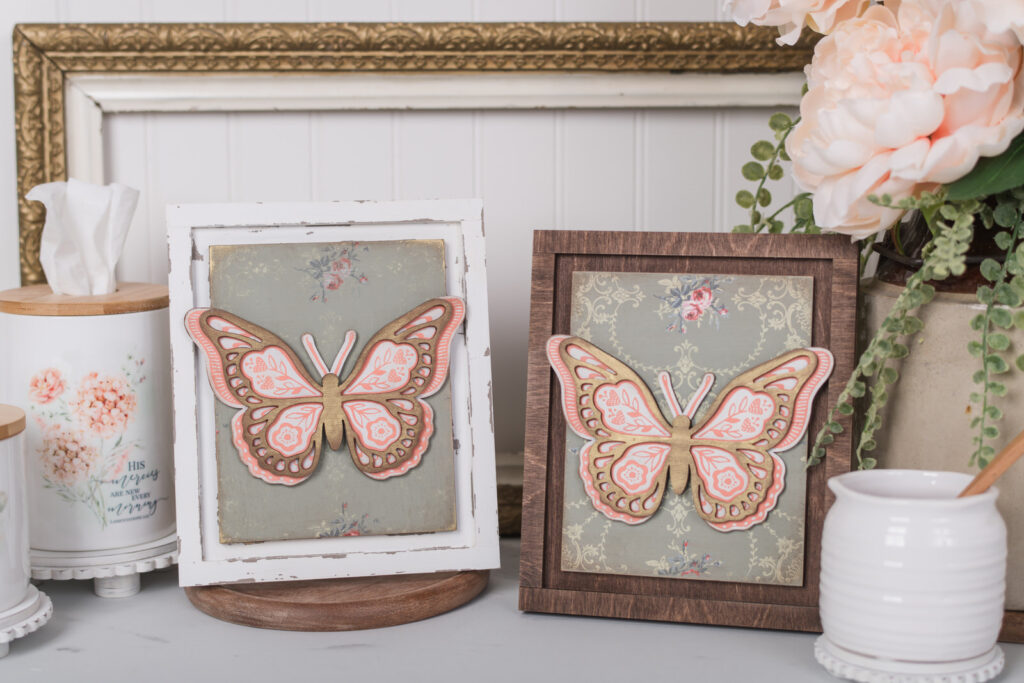
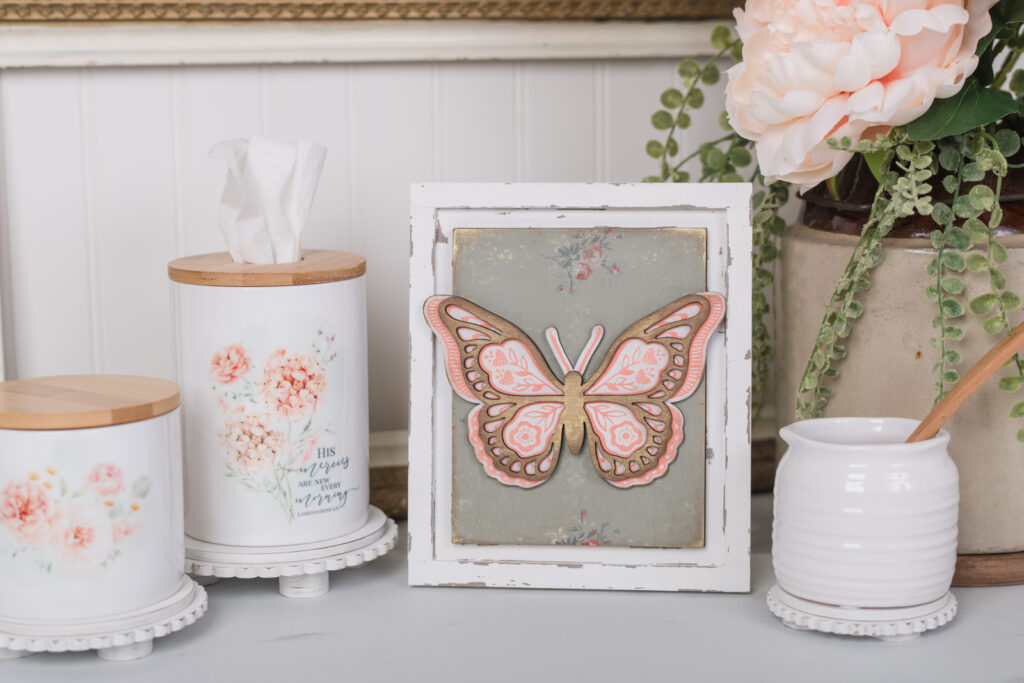
Step 6: Assemble
Glue your butterfly together, then glue the riser pieces to the back of the insert. Finally, glue the butterfly to your insert. Then place your beautifully created insert into your interchangeable DIY frame. Your seasonal home decor piece is now ready to display.
Video Tutorial, How to Use Chalk Couture with IOD Paint Inlay:

Why Choose Interchangeable Frames?
One of the project’s greatest strengths is its versatility. Interchangeable frames make it easy to change out inserts, allowing you to refresh your decor whenever you want, after every season or holiday, or simply when you desire a new look.
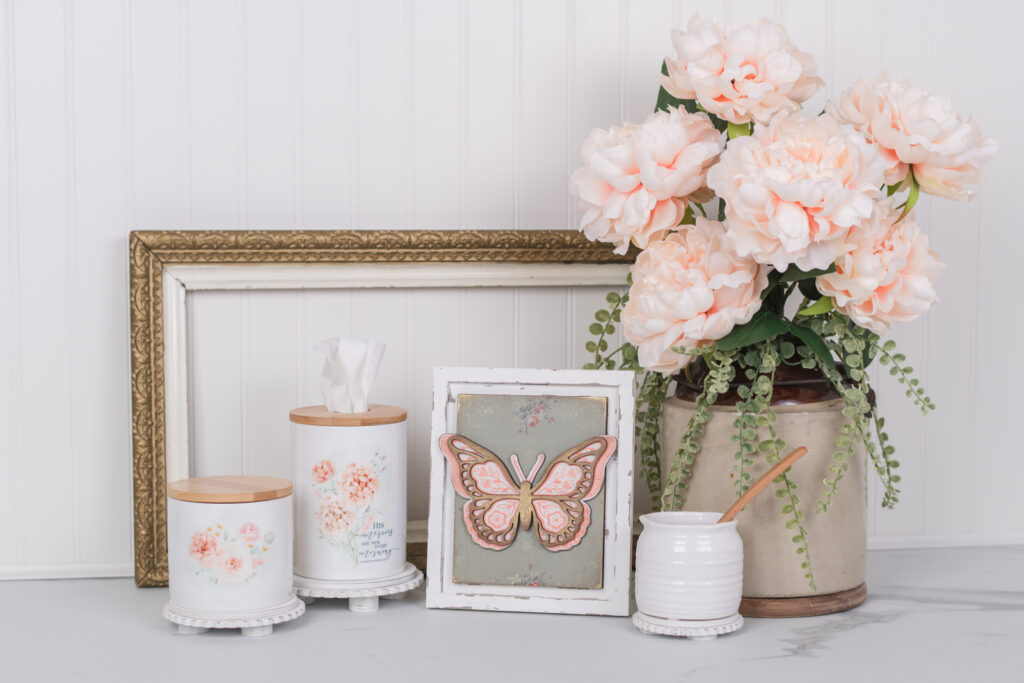

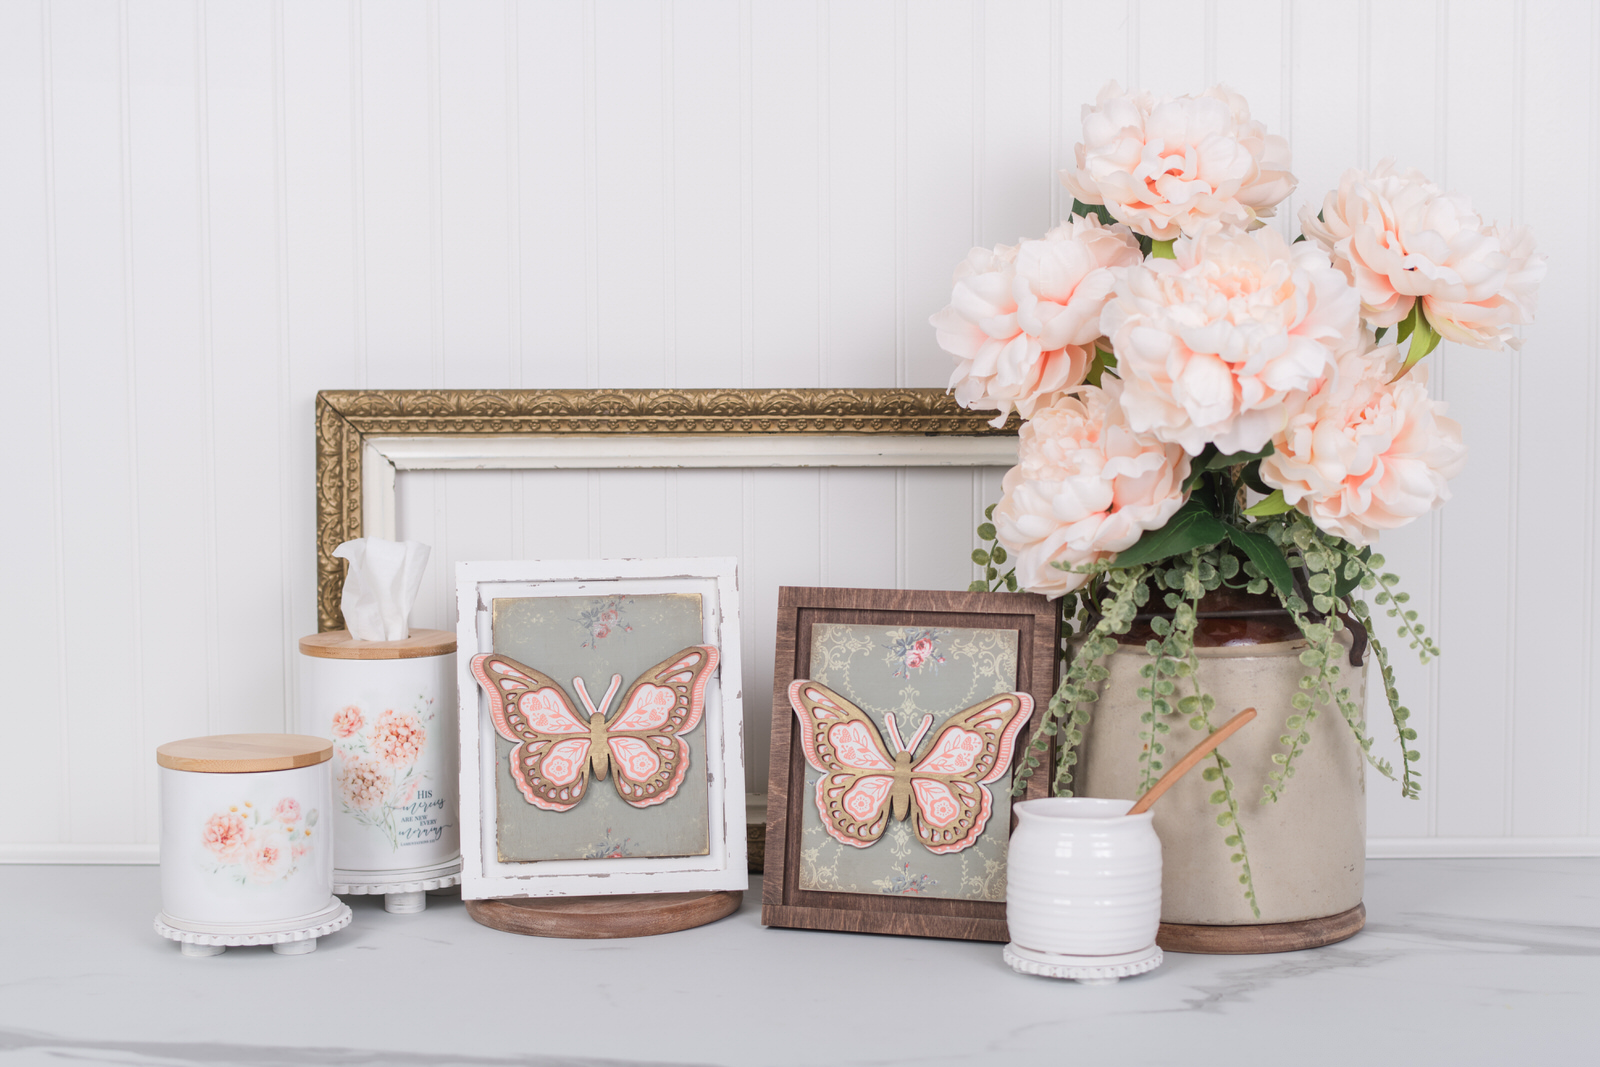
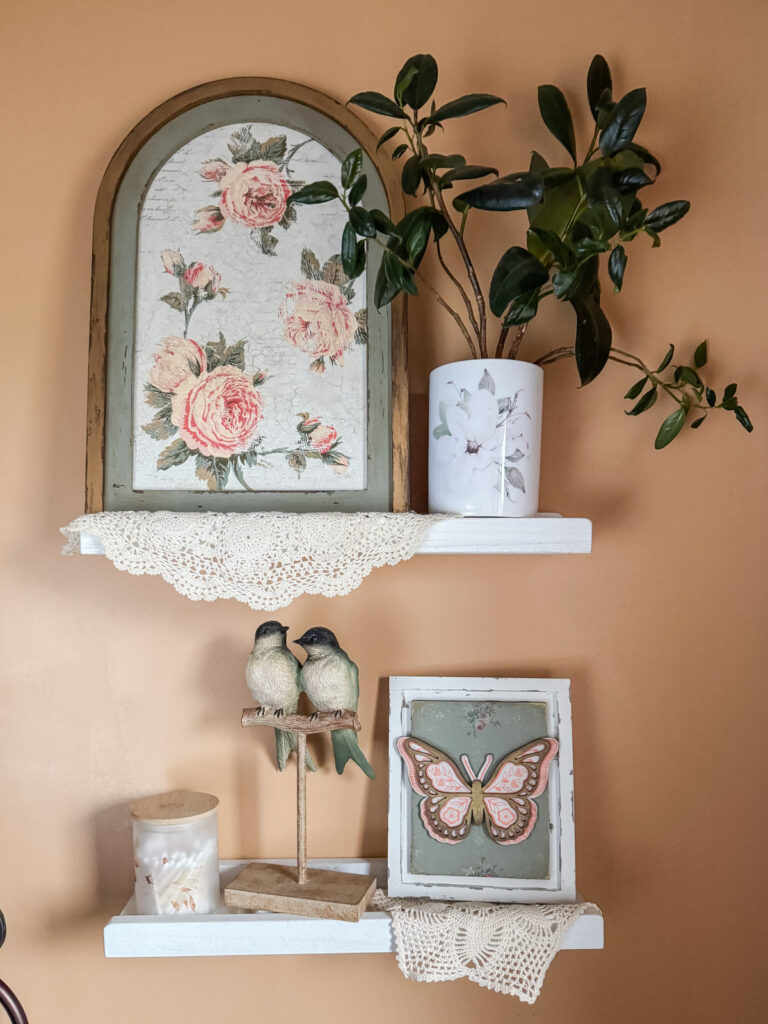
Let’s Style:
This all started because I needed to fill a space on my bathroom shelves. I haven’t painted my bathroom walls white yet, like the rest of the house, but I love how Fusion Mineral Paint’s Bellwood Green looks with these caramel walls. IOD’s paint inlays are perfect for adding that cottage core feel to my bathroom. You’ll have to stay tuned in the next couple of months when I redo my bathroom and see how these pieces look then.

This craft is perfect for women who love crafting and want to add personalized, artistic touches to their seasonal home decor. Combining chalk couture transfers with IOD paint inlay offers a creative outlet and a beautiful result.
If you enjoyed this tutorial, ‘How to Use Chalk Couture with IOD Paint Inlay,’ please Pin It for later.
Happy Crafting!