It’s seasonal refresh time and first up is our Spring Front Door Decor.
Spring Front Door Decor
Living in the prairies in Canada can leaving you longing for the “real spring” to arrive for a couple months. Even though it is officially spring on March 21st, we don’t really feel that until around the beginning of May and even then you can’t put your beautiful real flowers out until about mid May, depending on the plants. So to help make it feel a little more spring like and add some pops of colour to the brown landscape, I like to do a spring refresh, and get out my spring front door decor.
What I use for my spring front step decor:
This what I gathered for my front door, I will explain how I “pull it all together” below.
- 2 Painted white urns
- 2 White grapevine wreaths
- 4 Wire hanging baskets
- Floral Foam
- Lots of faux greenery
- Faux tulips – I found these ones on Amazon and painted them after they yellowed last year.
- 2 Lanterns
- Moss
- Faux Easter Eggs
- Wooden Bunny Cut outs
- Ribbon for Bunny bows and some small sprigs of greenery
- Hot Glue
- 2 Terra cotta pots
- Welcome Signs
- Tags and other decor signs
- Faux birds nest with eggs
- Metal Heart and hanger for the door
- Old wooden chair
- Stepping stone & stand
- Chalk Couture Silkscreen Transfers, Paste & Applicators
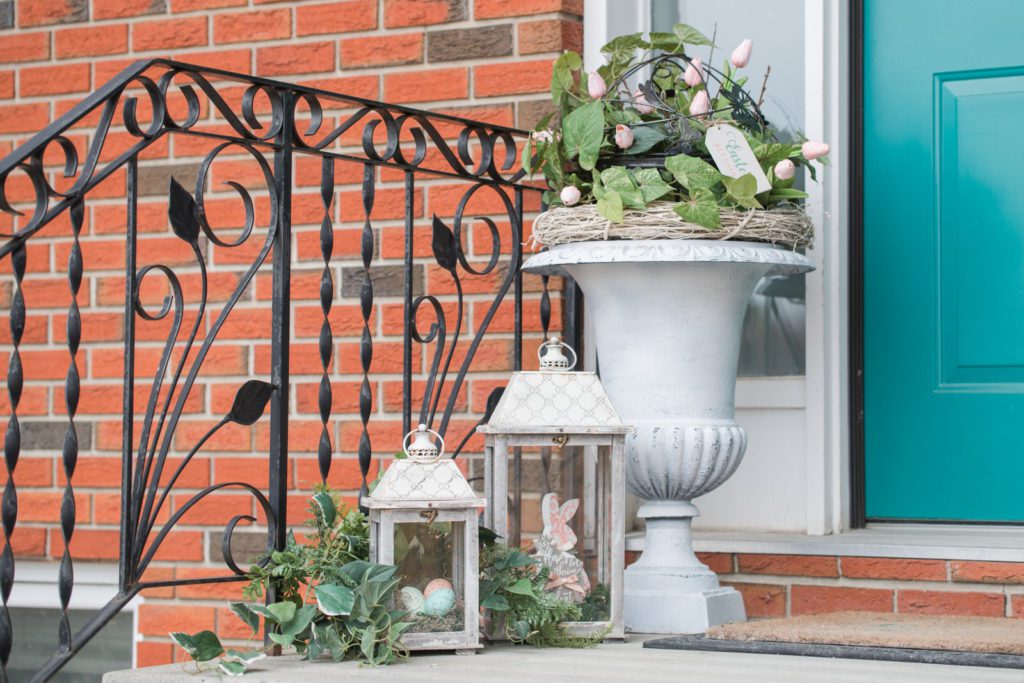
Spring Decor Faux Planters ~ How to:
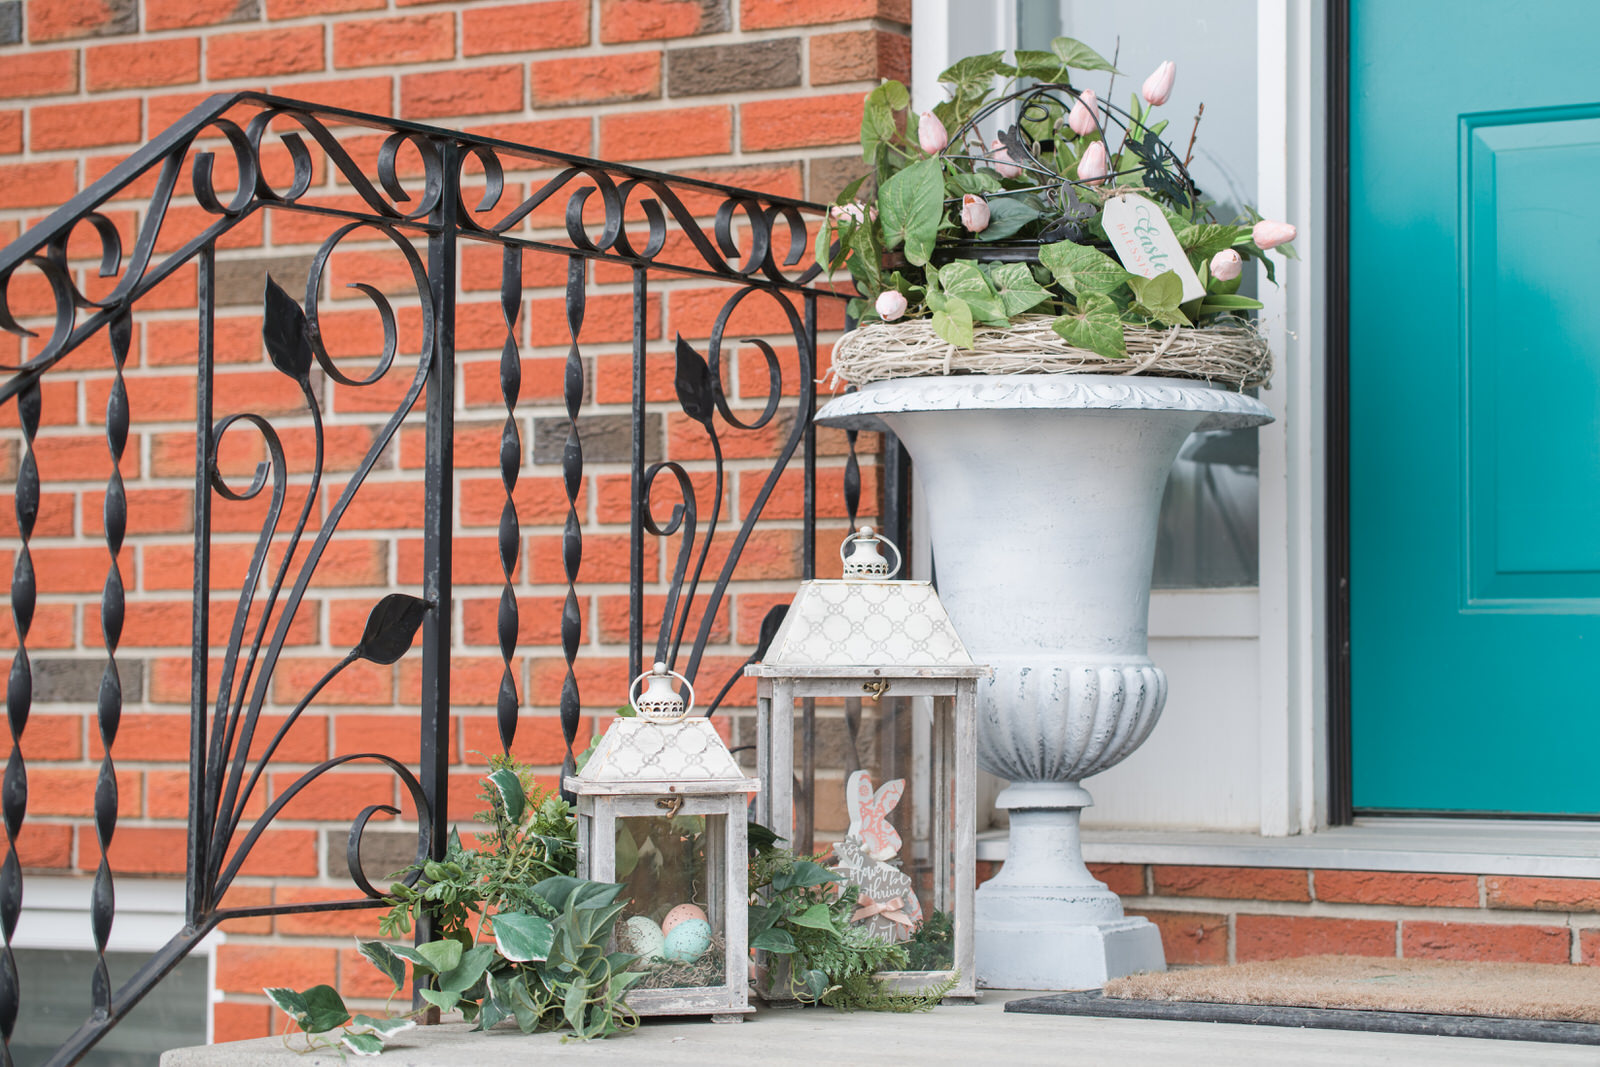
I had spray painted these urns last year with a Rust-oleum Metal spray paint, just one coat as I wanted it to look worn. After it was dry, I sanded the high edges to give it the worn look I wanted. I placed white grapevine wreaths I found a couple years ago at Michaels.Then take 4 old wire hanging baskets and spray them black, wire them together to make a sphere and set it on the grapevine wreath to add some height on top of the urn. Now, my step is pretty sheltered so if yours gets high winds, I would find a way to tie it all in.
Next I placed some floral foam in the bottom of the sphere I just made and the started adding my greenery. I used old silk greenery I had here for years and it has held up great, as this will be it’s second season outside. I took care in making sure I had no holes and gaps and that the floral foam was covered well. Next I added the tulips. As I mentioned above that I bought them last year as white tulips, they turned yellow on me after being outside, so this year I painted them with acrylic paints to get the colour I was happy with. I would suggest spraying them with a Rust-oleum sealer for protection. I also added a few pussy willows here and there for a great spring touch.
Last but not least, I added some cute tags to my home made garden spheres. I show you how to make these and more of the project feature on my front step below in the video.
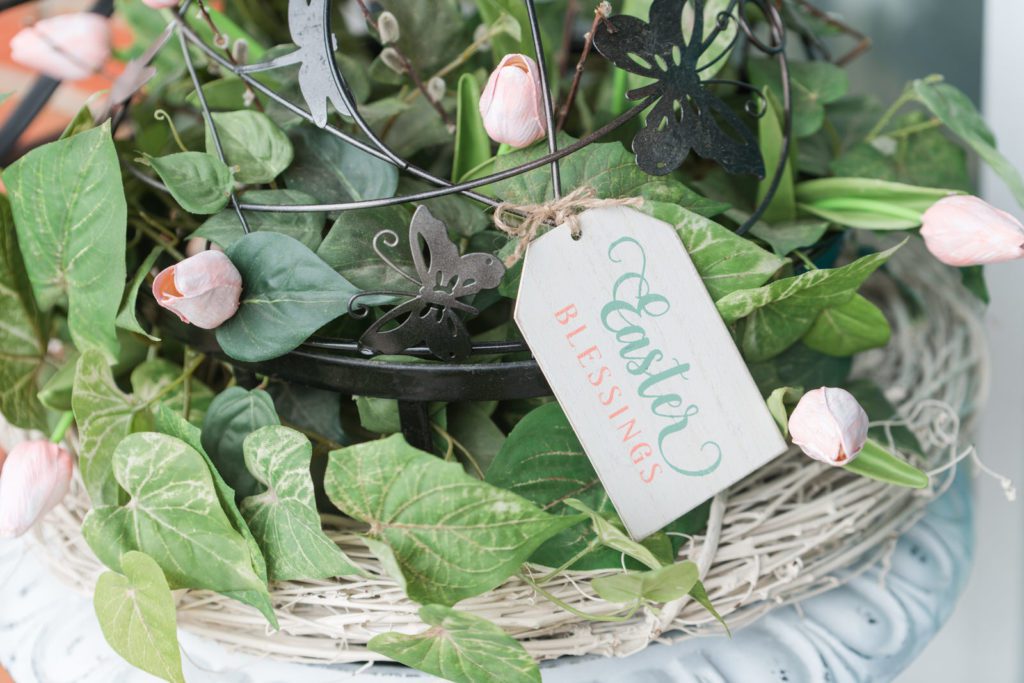
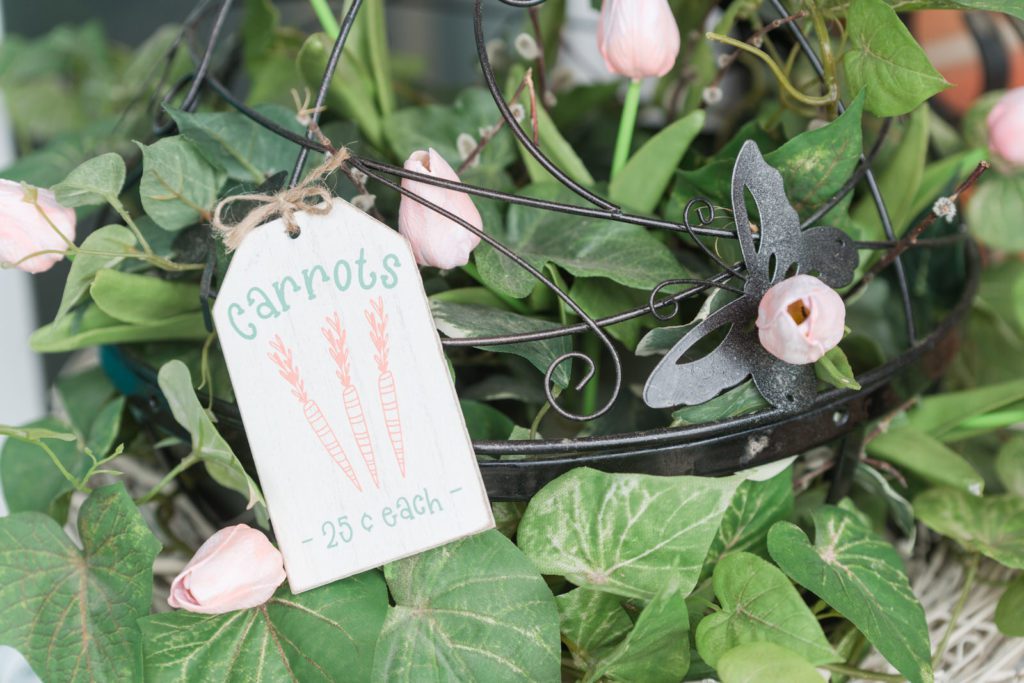
Adding Decor Elements – Front Door Design
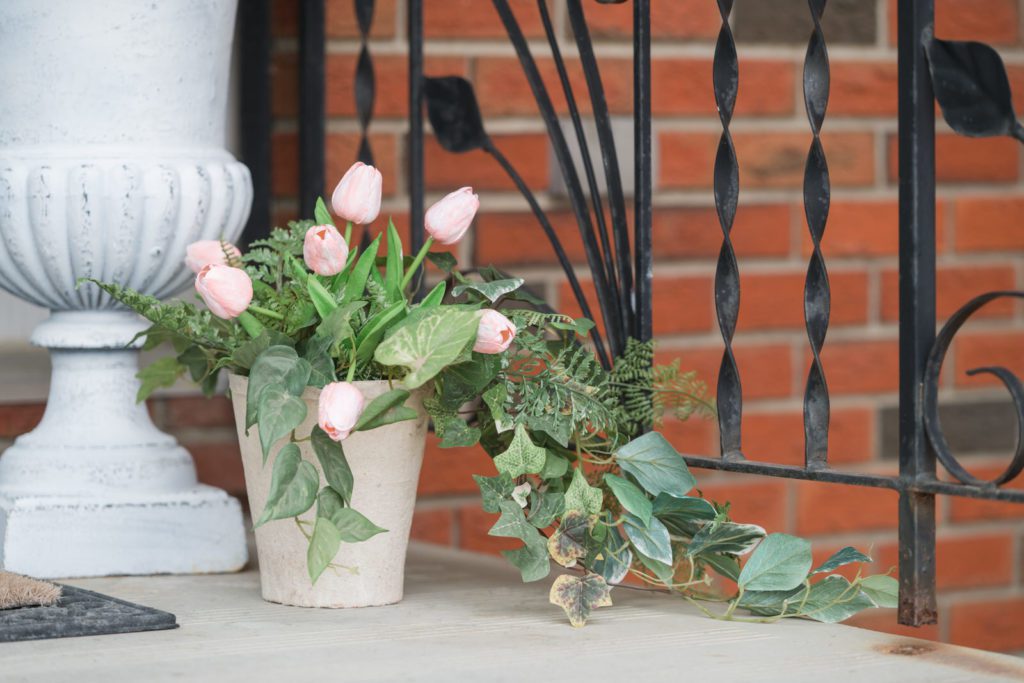
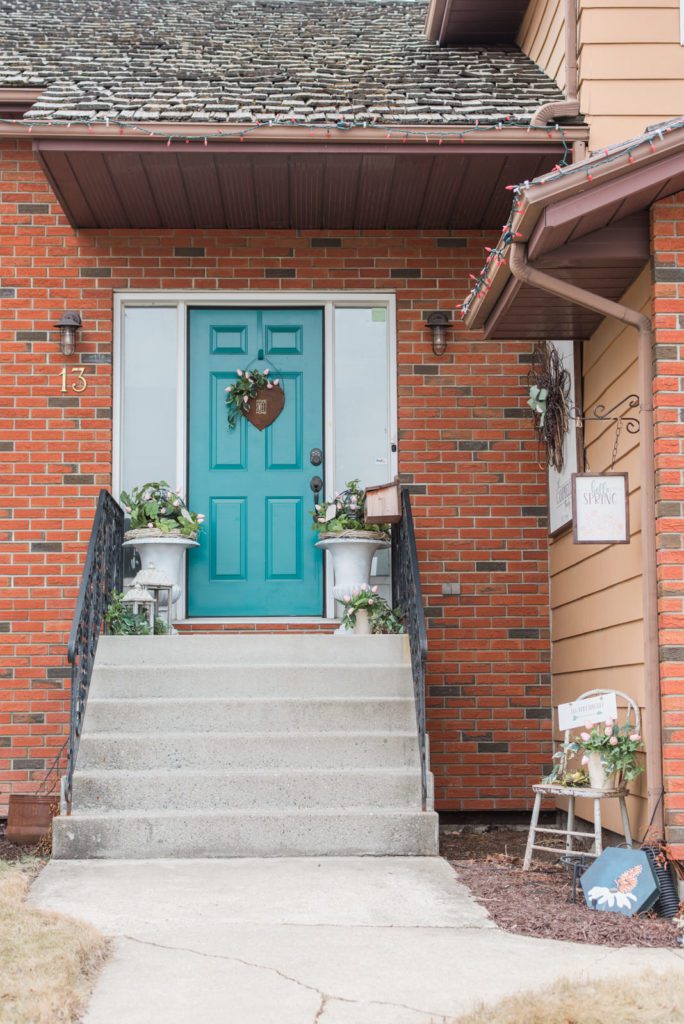
To fill in and add some texture and life to the front step, I added a terra cotta pot, placed some floral foam inside and added faux greenery and more painted tulips to one side of the step. To the other side I added 2 lanterns I bought at Walmart years ago, placed some moss inside, added some faux eggs to one and the cute bunny cutouts we made in the video that will be posted below. Behind the lanterns, I took some more floral foam and added the longer viney piece of the faux plants to add some fullness and interest around the lanterns. To ensure the greenery doesn’t blow away i tied it to the railing in a spot that wouldn’t be noticeable.
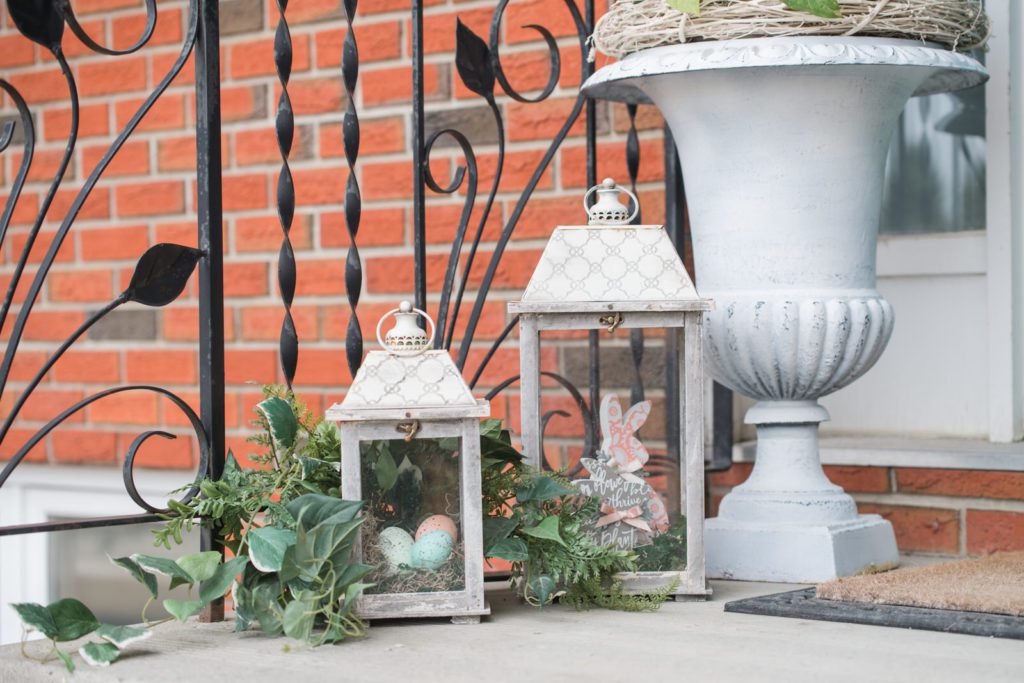
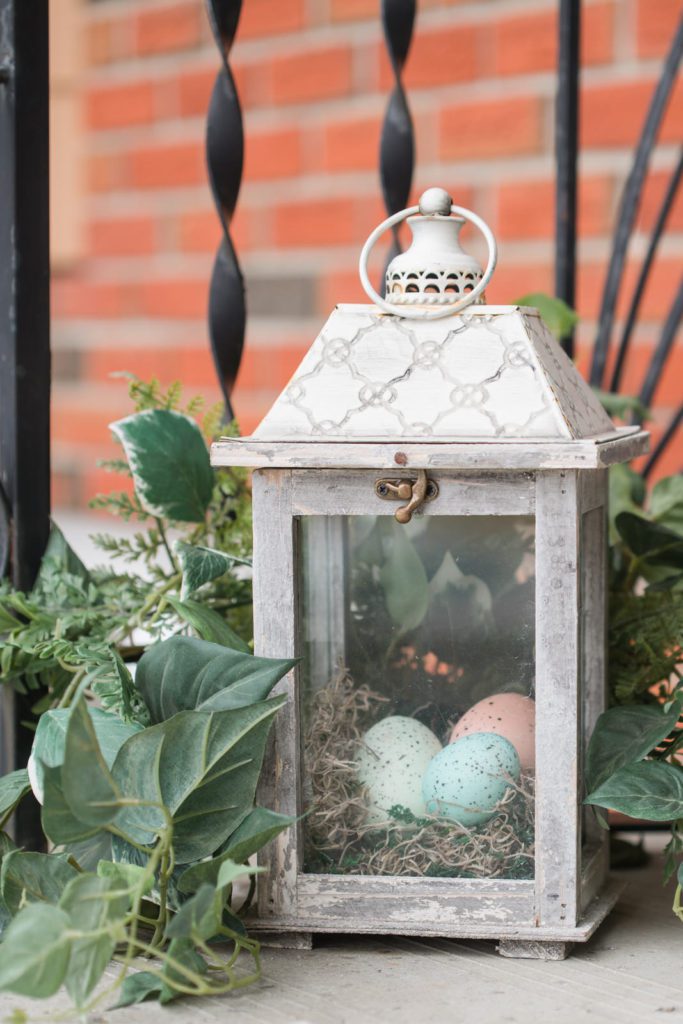
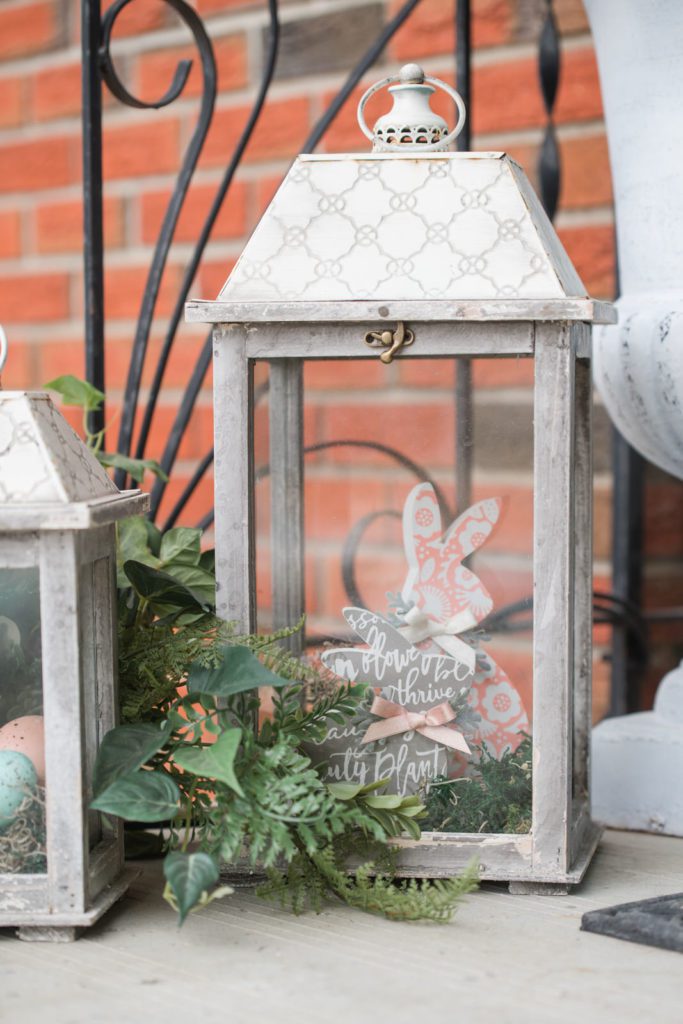
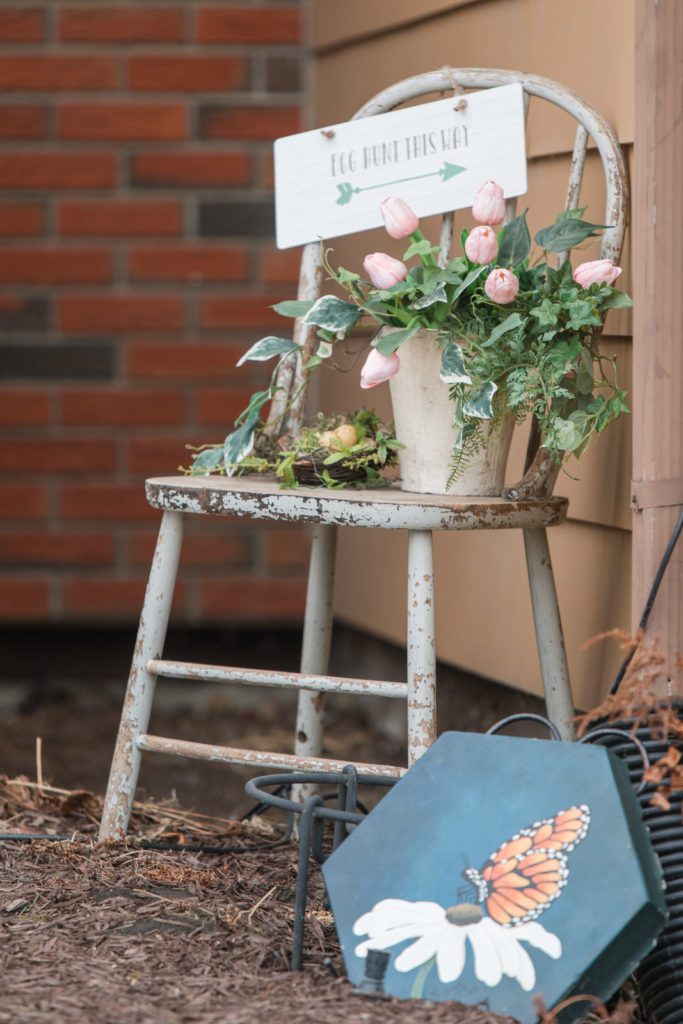
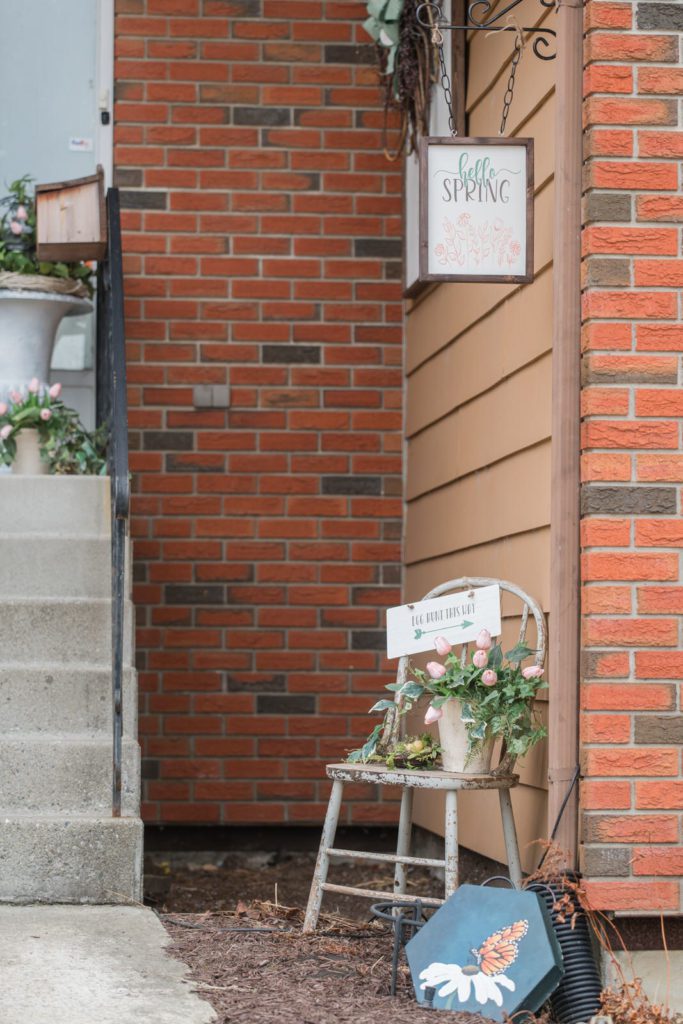
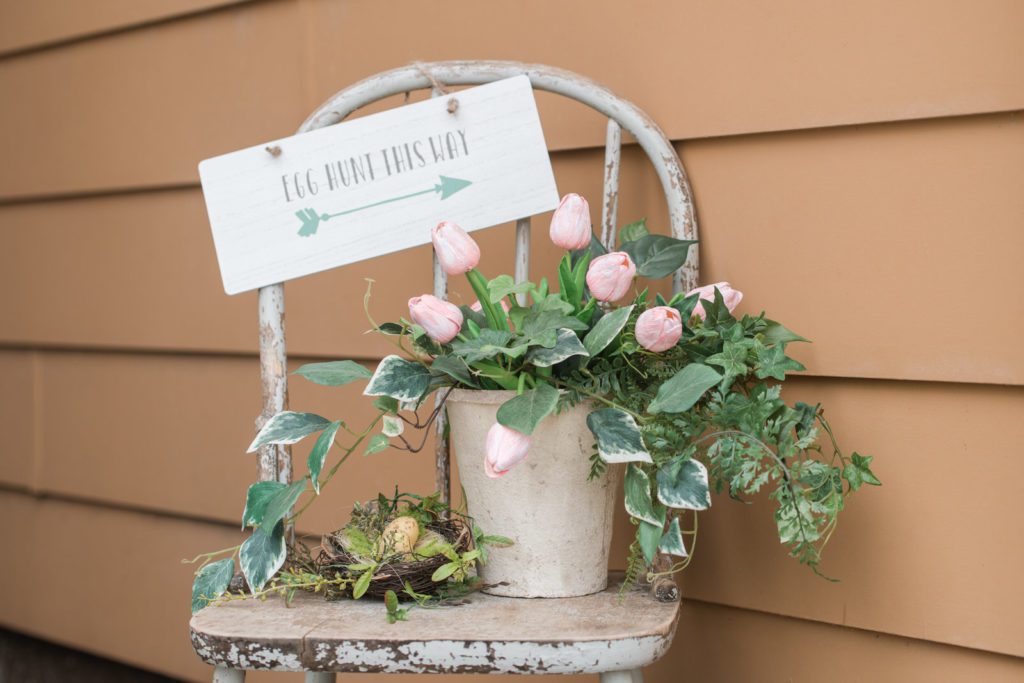
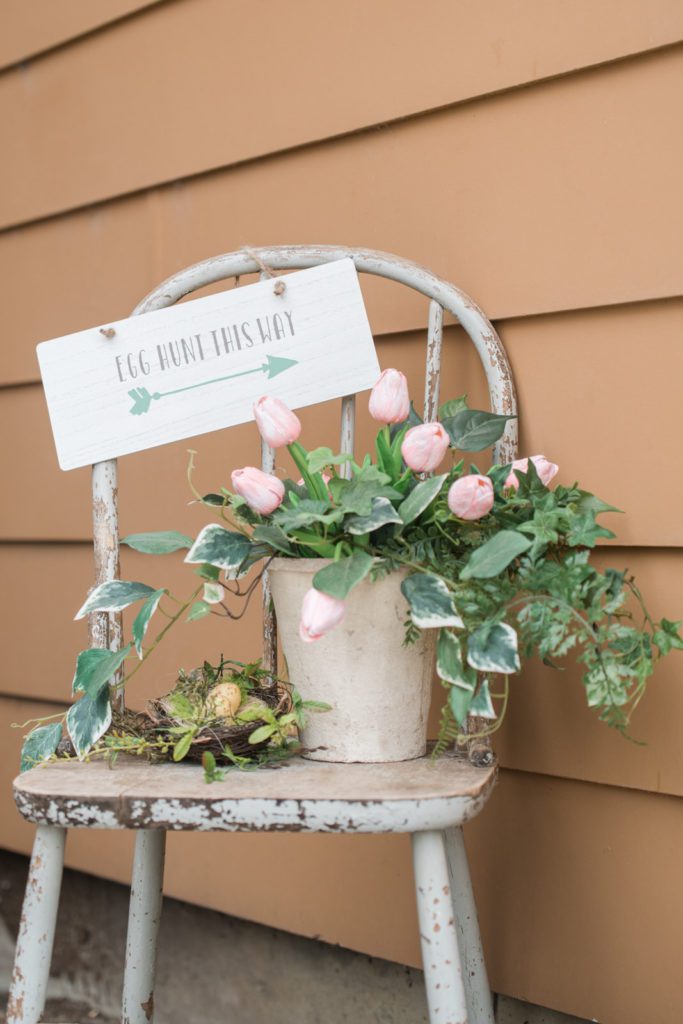
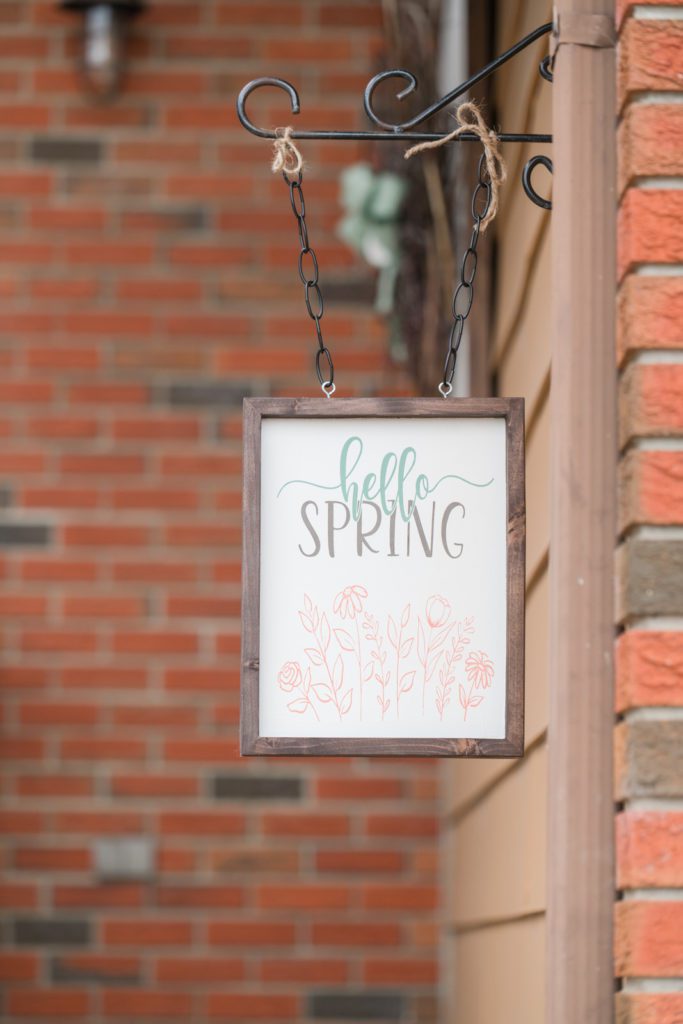
Down below, in front of the steps is wear my old wooden chair lives. Here I added another terra cotta pot filled with greenery and tulips, but this time I added a faux nest and eggs beside it and tied it to the chair so it wouldn’t blow away. 🙂 The sign we made in the video below is hung with jute to the back of the chair. Above it hangs a “hello spring” sign I made. It is also double sided so you can turn it around for other seasons.
(disclaimer, hang outside at your own risk. May fade and get worn from weather. I added the eyes and chain)
Video & Supply List for Spring Decor Elements
Spring Bunny Supplies
- Bunny Cutouts – Sold out from Chalk Couture, however I have a wood cutter and a few extras on hand, so email me here for details. kimberly@athomewithchicandgrace.ca
- Silkscreen Transfer
- Chalk Paste
- Ribbon of choice and faux lambs ear sprigs
- Hot glue gun and glue
Tags & Sign Supplies
- Chalk Paste
- Silkscreen Transfer
- Chalk Couture Surfaces: Tags & Signs
- Design for tags: I made these silkscreens myself using the Ikonart System (Contact me if you have any other questions)
- Jute to hang
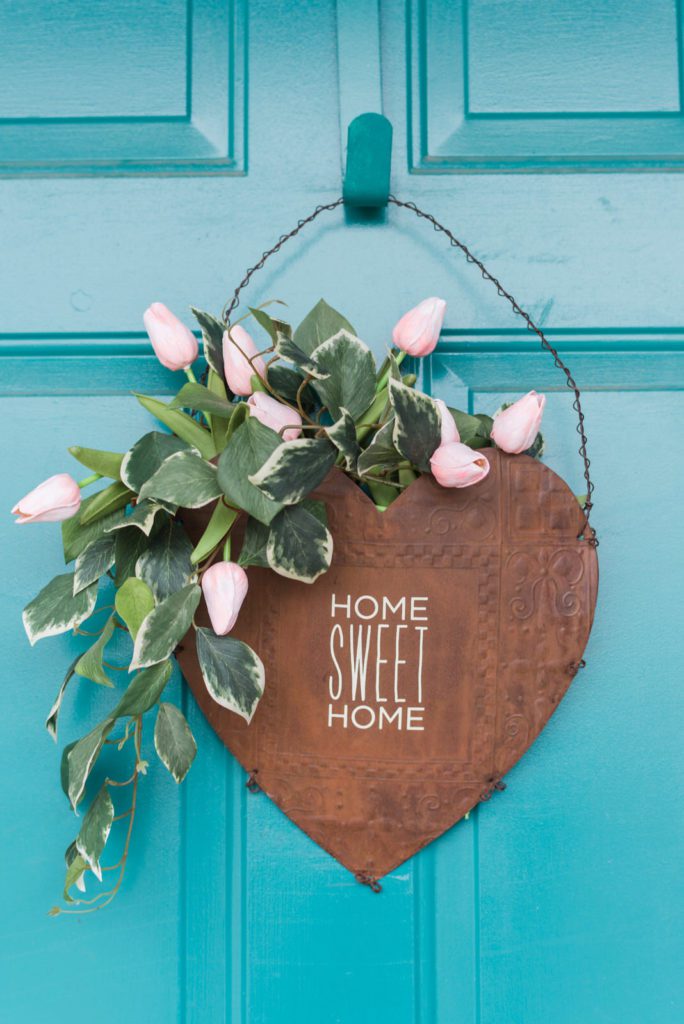
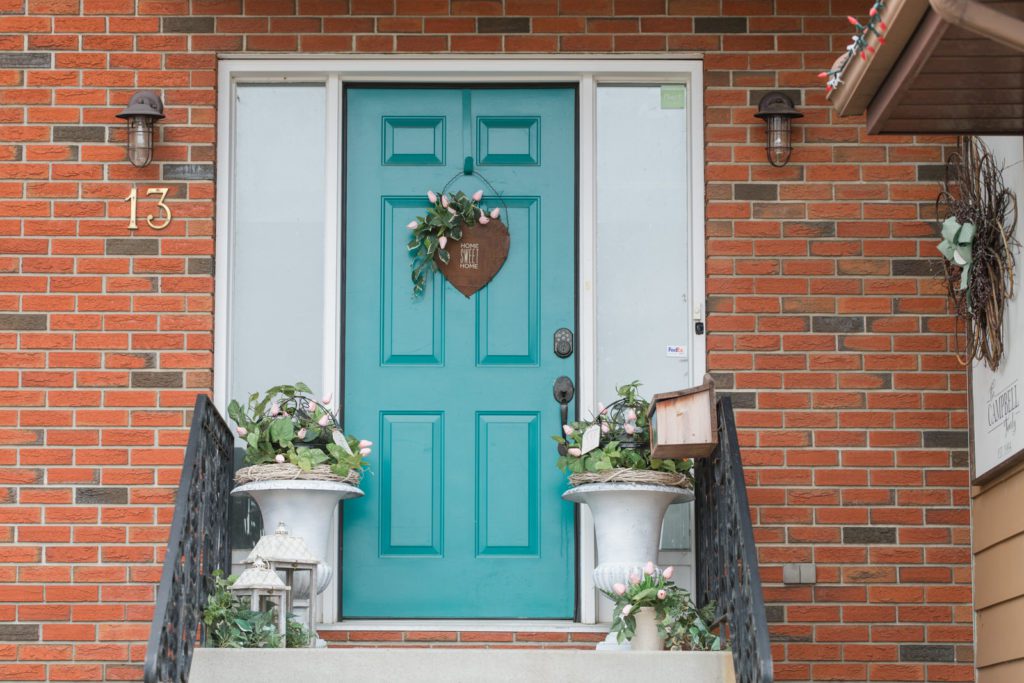
Lastly it is all pulled together with a metal heart door hanger, filled with greenery and tulips. I used a Chalk Couture Silkscreen stencil to add the words with some cream coloured chalk paste, even though this silkscreen is retired, but there are many more to choose from at this link.
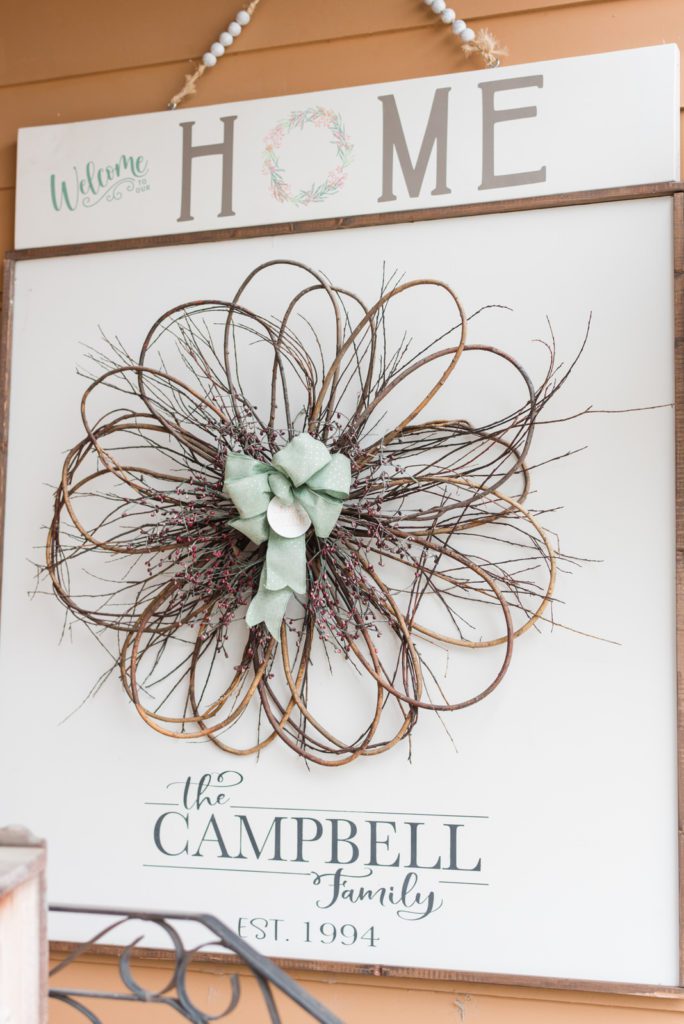
On the wall beside the front door is my custom made “Established” sign & a Welcome to Our Home Sign.
You may also be interested in…
Want to stay in the loop about new videos and shop items? Sign up to become a VIP. You will also receive special discounts to the shop!

[…] Spring Refresh – Spring Front Door Decor […]
[…] Spring Front Door Decor Refresh […]