Charming Cottage Decor with Scallop Frames: Simple Frame Inserts Ideas
If you’re looking to infuse your home with the cozy and whimsical vibes of cottagecore, scallop frames are a perfect choice to bring a touch of charm to your decor. I will show you a few simple frame insert ideas using various DIY techniques and materials to create inserts that embrace that quaint, countryside feel. Then I will show you some ways to style your scallop frames.
Supply List
Before diving into our DIY project, let’s gather the necessary supplies:
- DIY Scallop Frames Kits: Get them here.
- Fusion Mineral Paint: Colours to use – Champness & Casement.
- Saman: Dark Oak Stain
- IOD Stamp: Ephemeral Type.
- IOD Paint Inlay: Spring Melody
- IOD Transfer: Cathrina.
- IOD Ink: Stone Gray
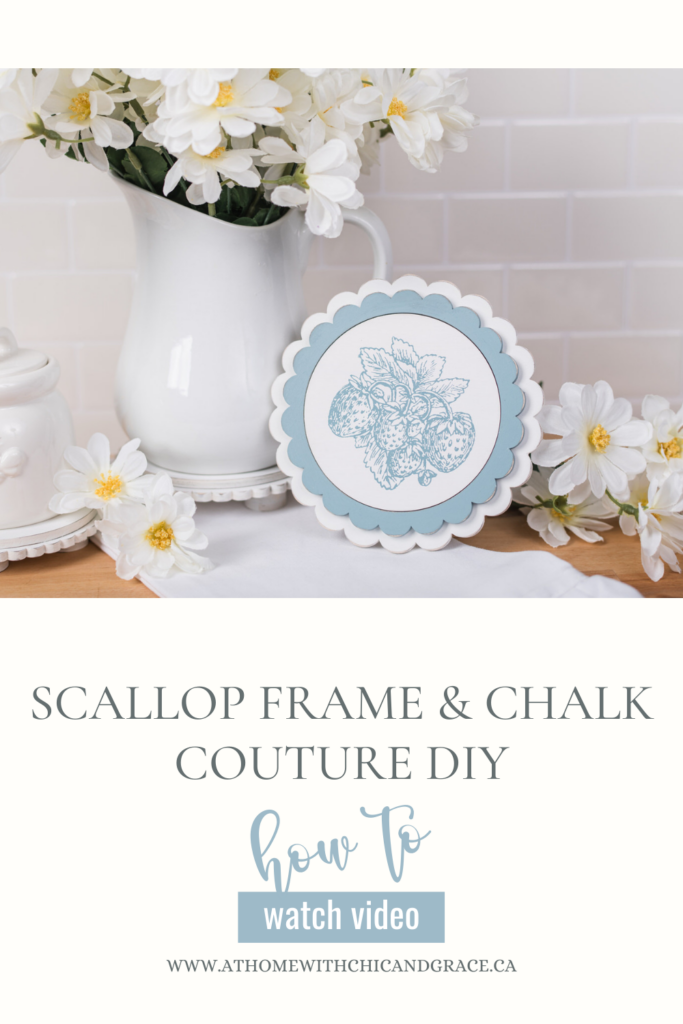
- Chalk Couture Transfers:
- Chalk Couture Paste: White & Blue
- Behr Wax: Clear & Antiquing.
- Rub n’ Buff: Leaf Gold.
- Lamb Printables: Little Jumbled Market.
- Bunny Cut Out: Dollarama (they came in a pack of 50, I believe)
- Decoupage: PentArt Decoupage Glue & Varnish
- Dixie Bell Clear Coat Flat
- Rice Paper
- Printer
- Sand Paper: 220 grit
- Paint Brushes
- Spray Sealer: Rustoleum Matte
Step-by-Step Video
Charming Cottage Decor with Scallop Frames, Chalk Couture, IOD & Printables
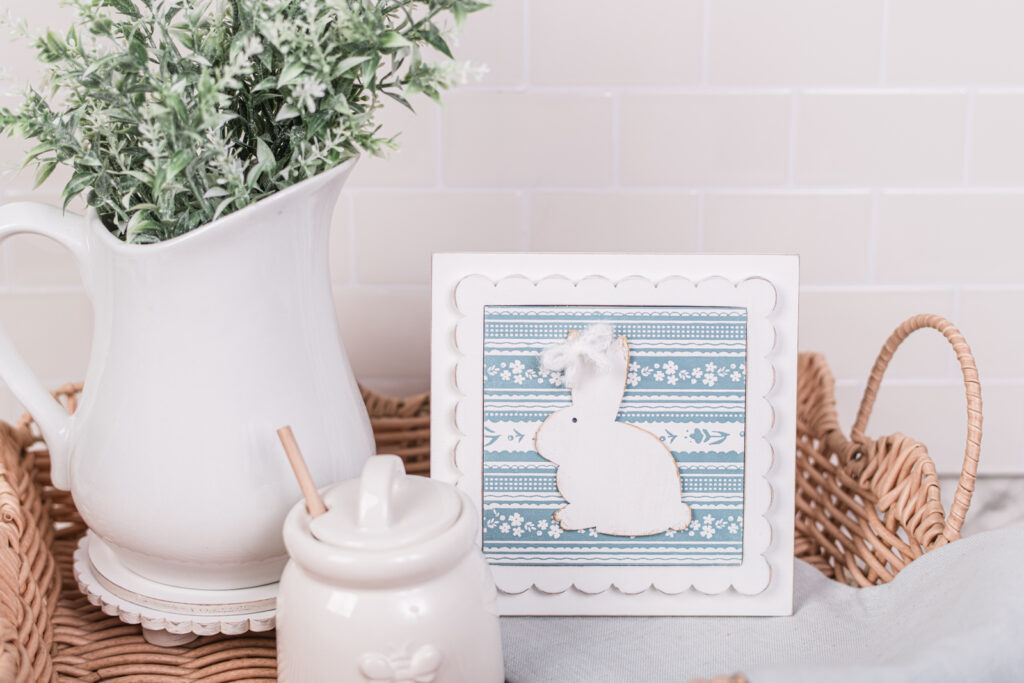
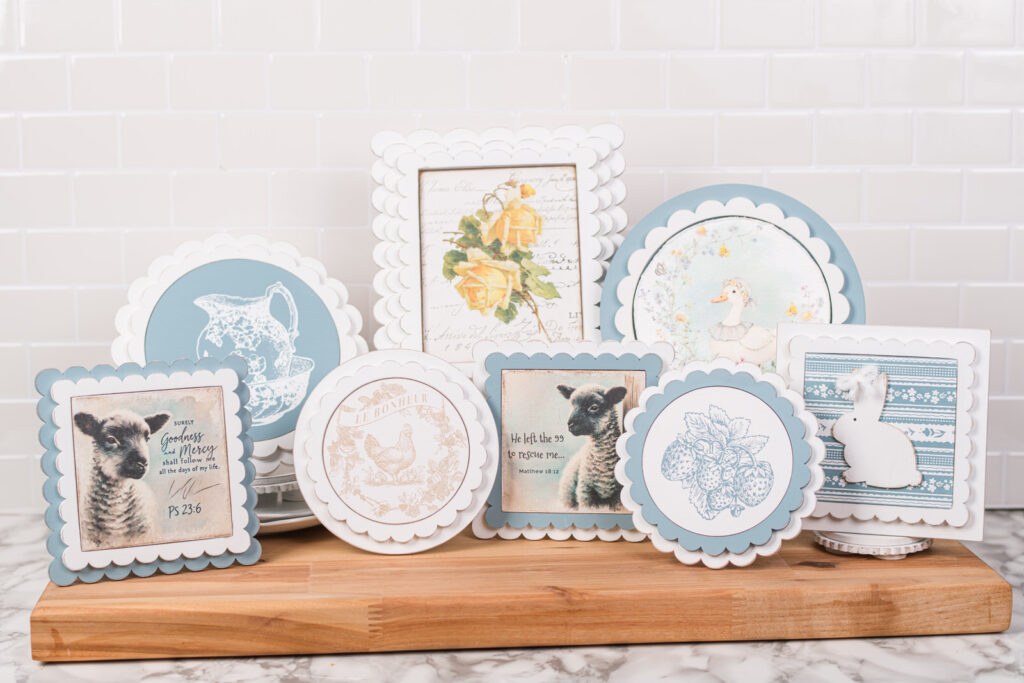
This first square, single scalloped frame was painted with Fusion Mineral Paint; Casement, then chalked in Dusky Blue Chalk Couture Paste using the Quilted Patterns Transfer. (Dusky Blue is discontinued; however, you could mix colonial blue and white to achieve a similar colour.). Then I glued on a painted Dollarama bunny cutout. Before gluing the bunny on, I painted it in casement and rubbed the edges slightly with Gold Rub n’ Buff in Leaf Gold. Finally, I added a tiny bow to cover up the hole in the bunny cutout.
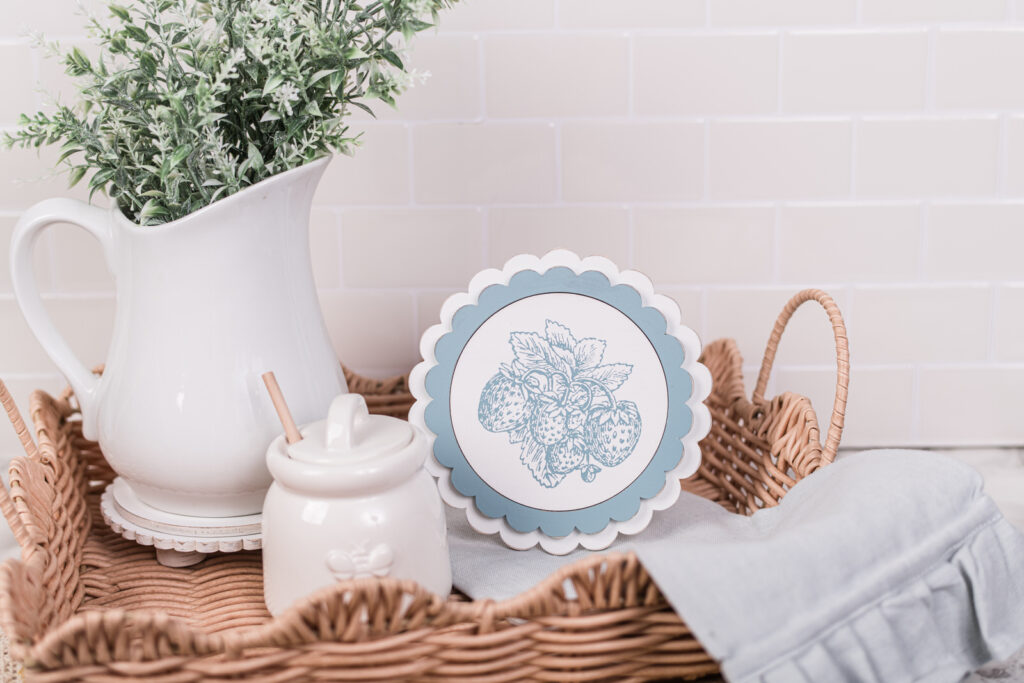
The second frame is the double scallop round frame. I painted it with Fusion Mineral Paint, Casement, and Champness. Then, I chalked with Dusky Blue again using the Spring Postage Chalk Couture transfer.
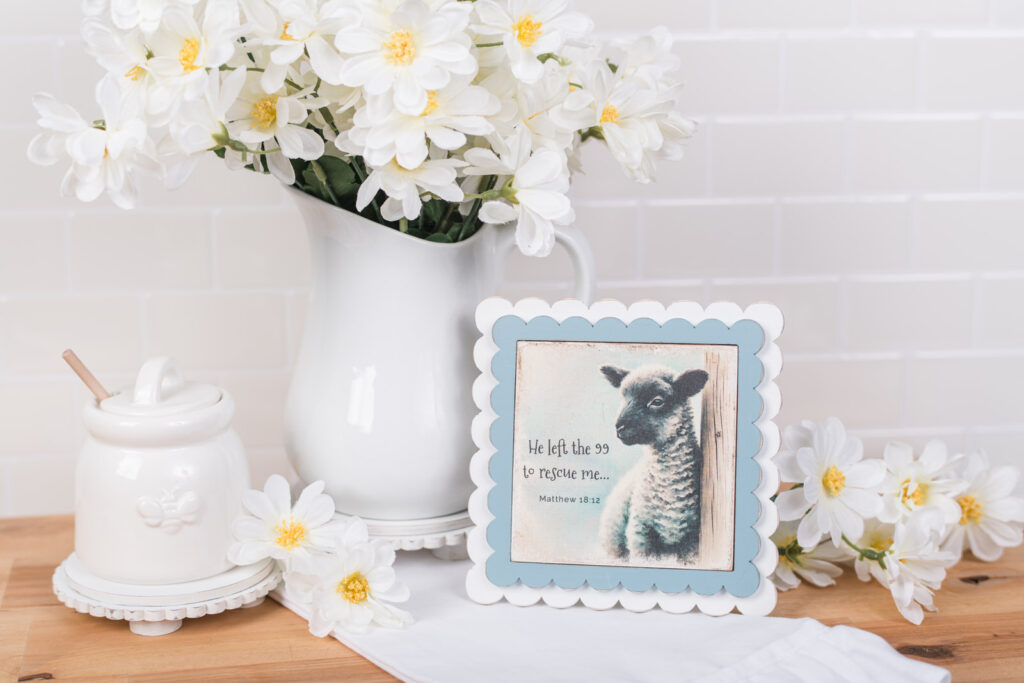
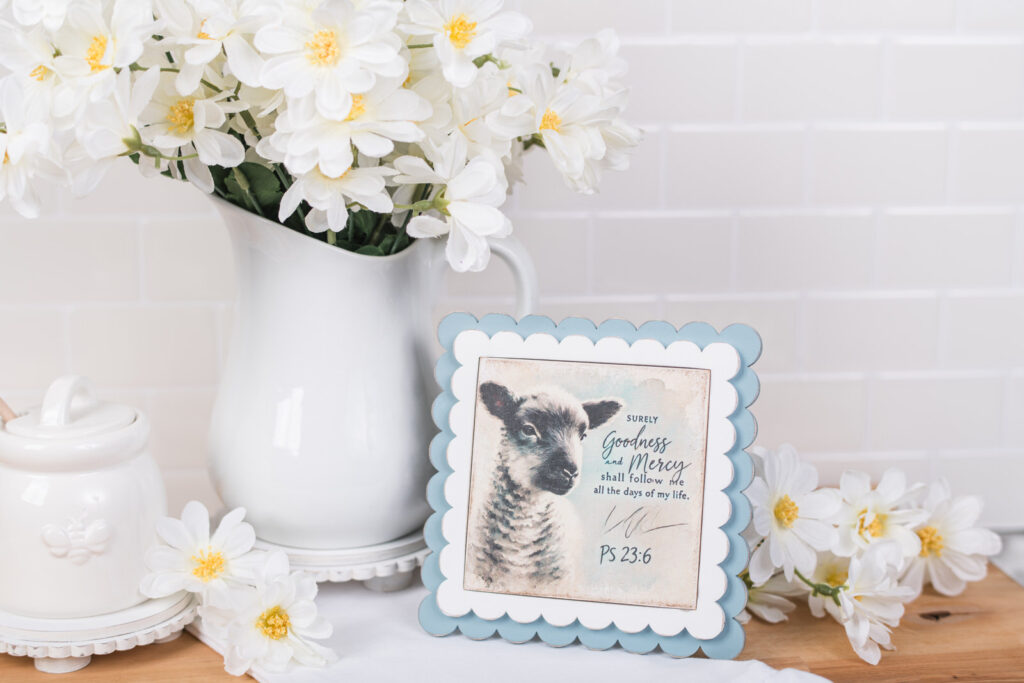
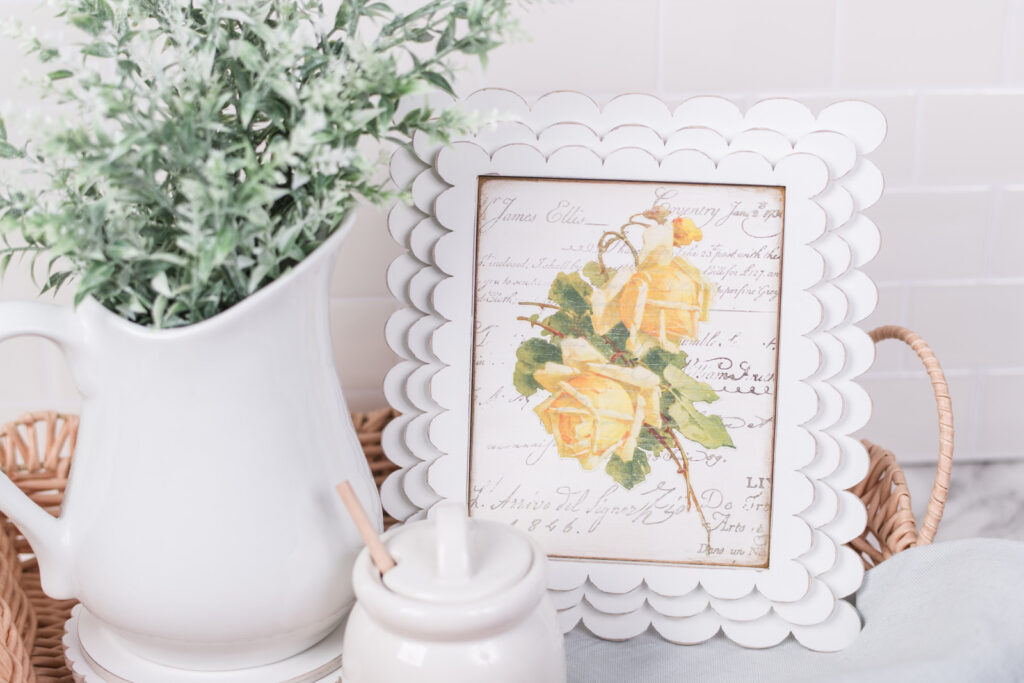
Both these cute lamb printables came from Little Jumbled Market. I posted a link to her Facebook page above, as you will have to message her and ask her to purchase these printables. How perfect are these to display for Easter?! Again, I painted the frame with Casement and Champness. I used PentArt decoupage glue & Varnish, and I only placed the decoupage medium on the back as I printed these on Rice Paper with my inkjet printer. If you want to seal them on top, spray them with a spray sealer first to avoid smearing. Once dry, I sanded the edges, and I wanted my rice paper to tear a little bit, so I was pretty aggressive except around the words. Then I used clear wax over the entire printable and antiquing wax around the edges, wiping it back to the desired shade I was looking for.
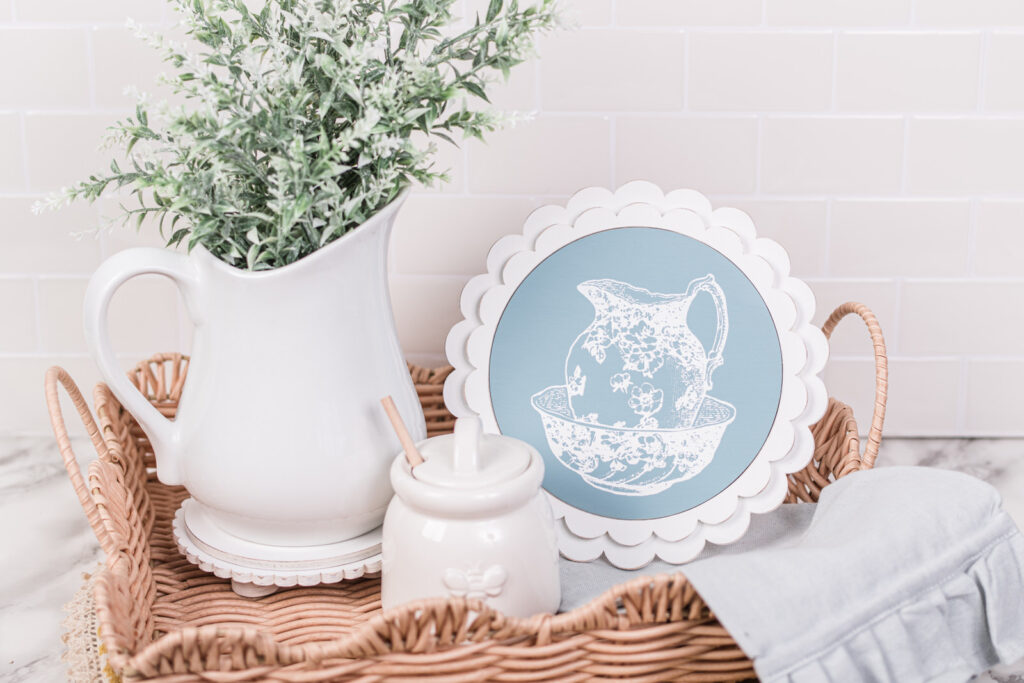
This little single, scalloped frame was again painted with casement, and then I used the Spring Melody Paint Inlay from IOD. Normally, you want to place an IOD Paint Inlay into wet, chalk paint; however, I used Dixie Bell Clear Coat Flat. The video shows you step by step. I love how it transferred almost flawlessly into the clear coat. You will want to seal this with spray varnish. You do not want to reactivate the paint inlay.
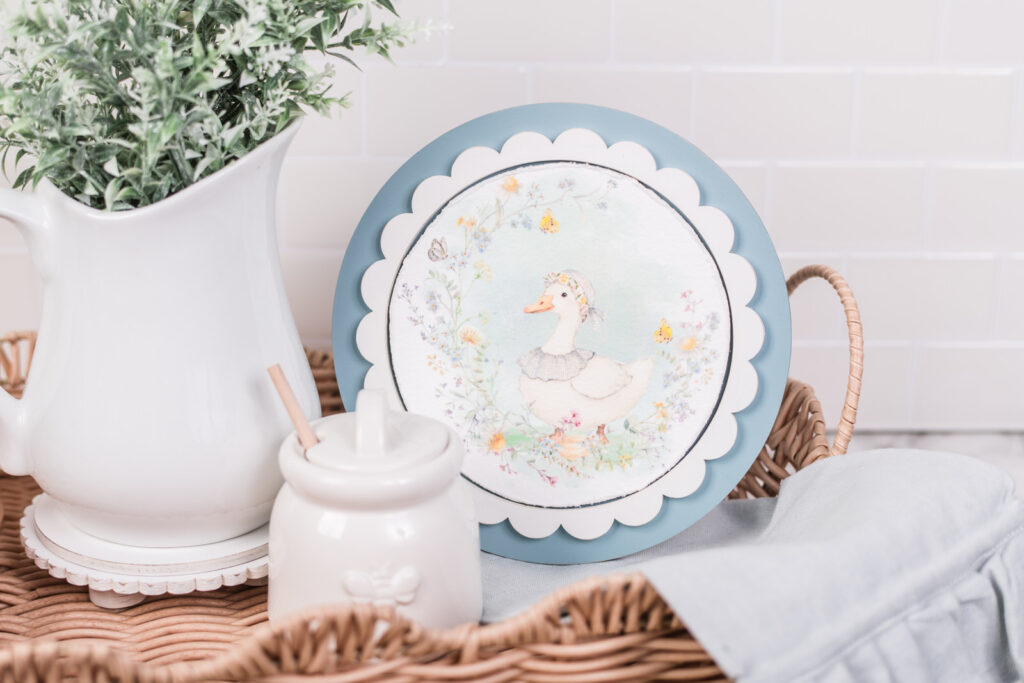
This sweet goose printable is one I designed and decoupaged onto watercolour paper. I used the same Pentart decoupage medium as above with the lambs, following all the same steps. Once dry, I glued the watercolour paper onto some thin cardboard to give it more stability, and then I used my scissors and frayed the edges. Normally, I would attach this to a wood round, but I didn’t have an extra cut, so I decided to try something new. I used tape to keep it in place temporarily; you could use Velcro dots. I would also seal this with a spray sealer to keep the ink from running if it gets wet for some reason.
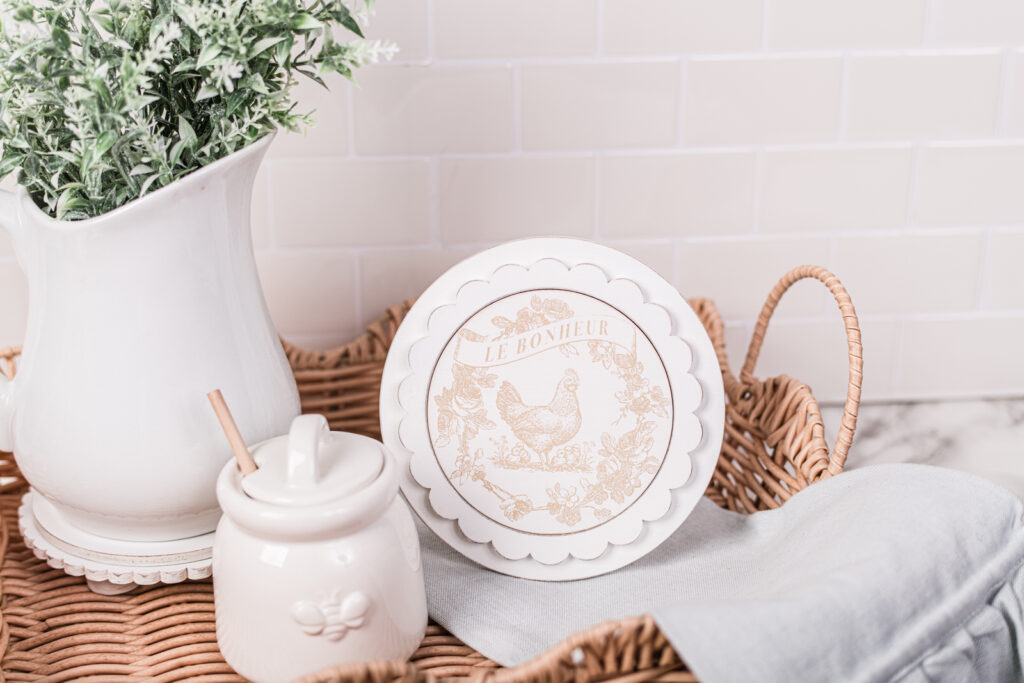
Well, I love all the inserts we made, but this one has to be my favourite! First, I love that it is three layers of scallops! But then let’s talk about how we made this insert! Basecoat the insert with casement. Once dry, I used IOD’s ephemeral stamp, IOD Ink, and Stone Gray to stamp the background. Let that ink dry thoroughly. If you’re watching the video, you’ll see I got a little heavy in some areas, and it took quite a while to dry. I sped it up with my heat gun.
Then I chose the yellow roses from the Catharina IOD transfer book. I transferred it using the transfer tool, and then burnished it with the backer. Then I lightly sanded over the top to give it a more vintage look. Seal it with the Dixie Bell clearcoat in flat before moving on.. Once dry, I went around the edges with bear antiquing wax and White back to my desired look. Then, I use Leaf Gold Rub n’ Buff on the corners.
I never listed this Chalk Couture transfer above in the supply list, as I did it in another video. You can watch that here.
Display Your Charming Scallop Frames
Finally, find the perfect spot for your charming scallop frames in your home. Let’s look at how I styled these frames with a whimsical, cottagecore feel.
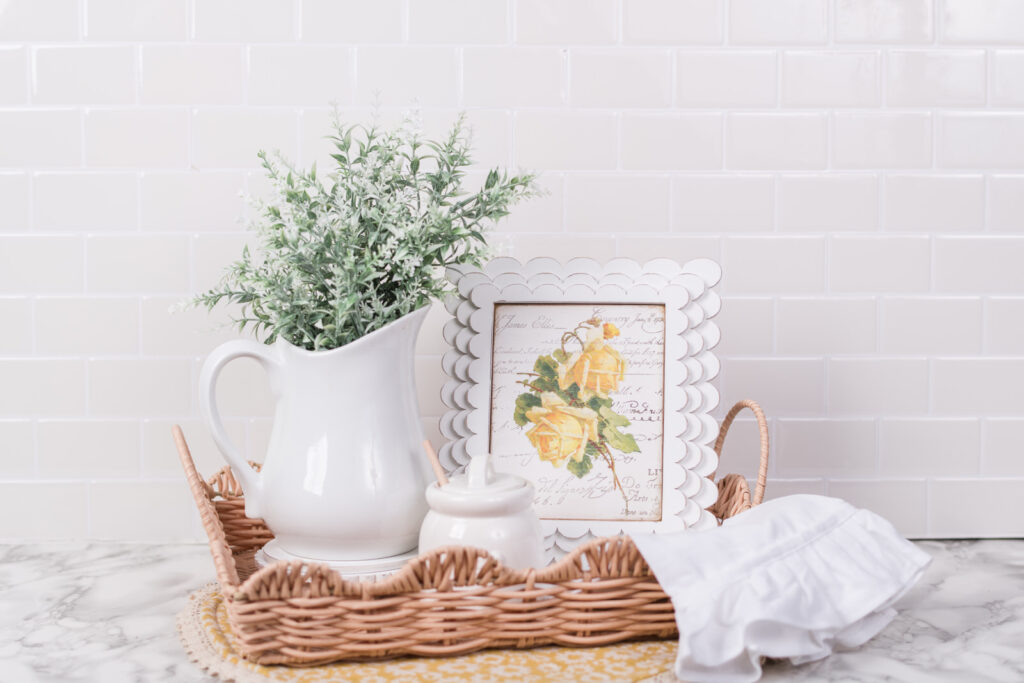
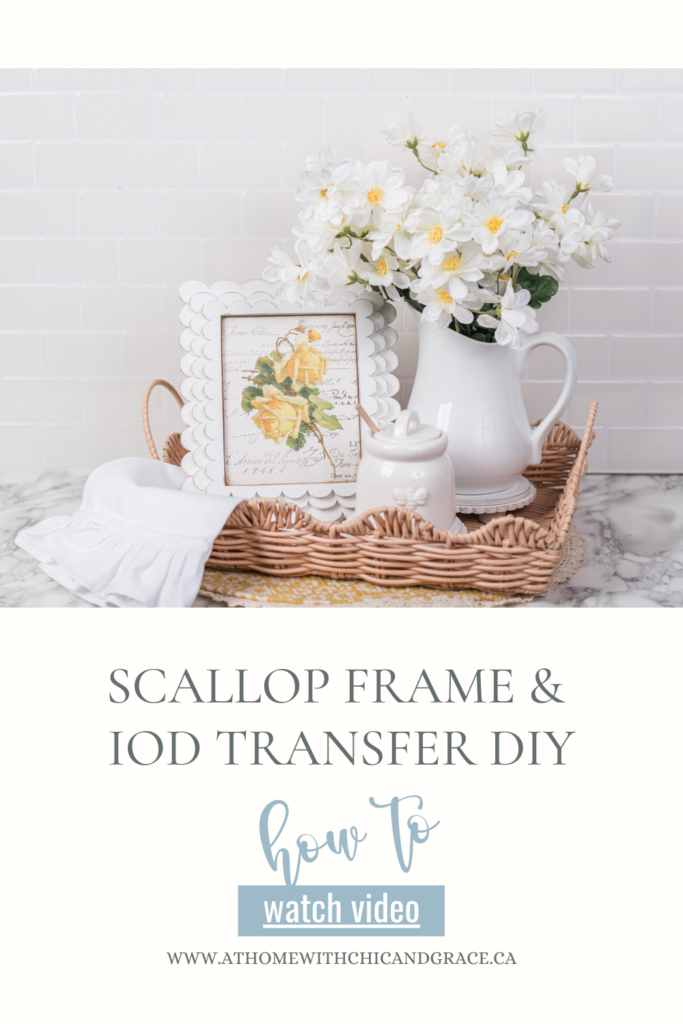
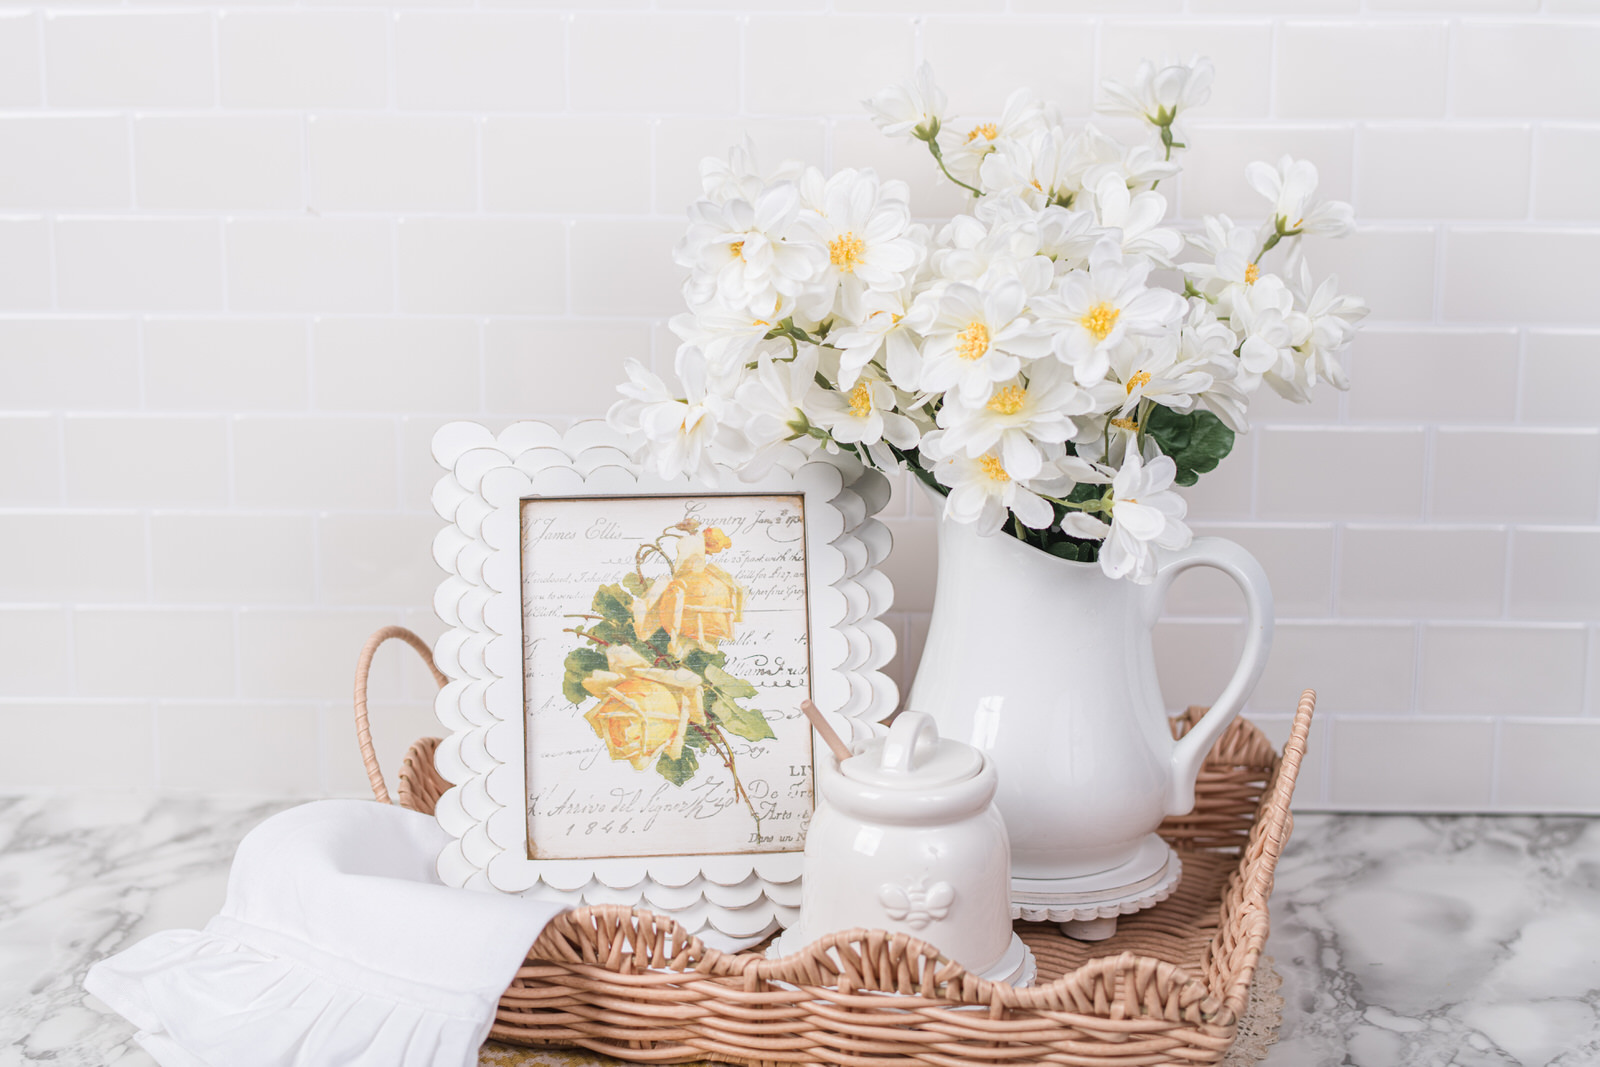
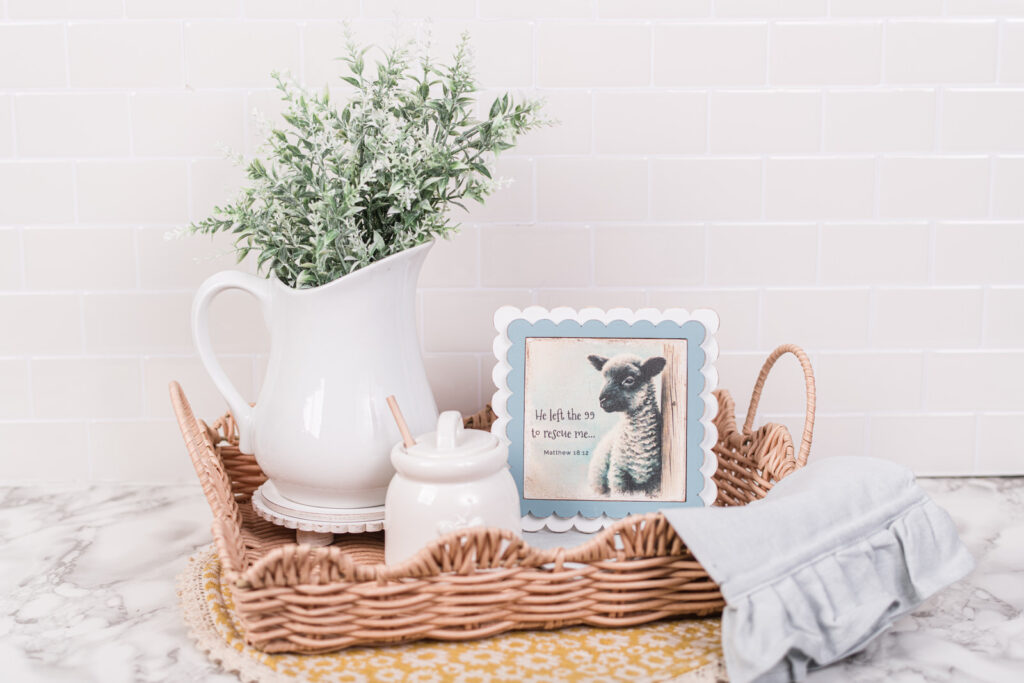
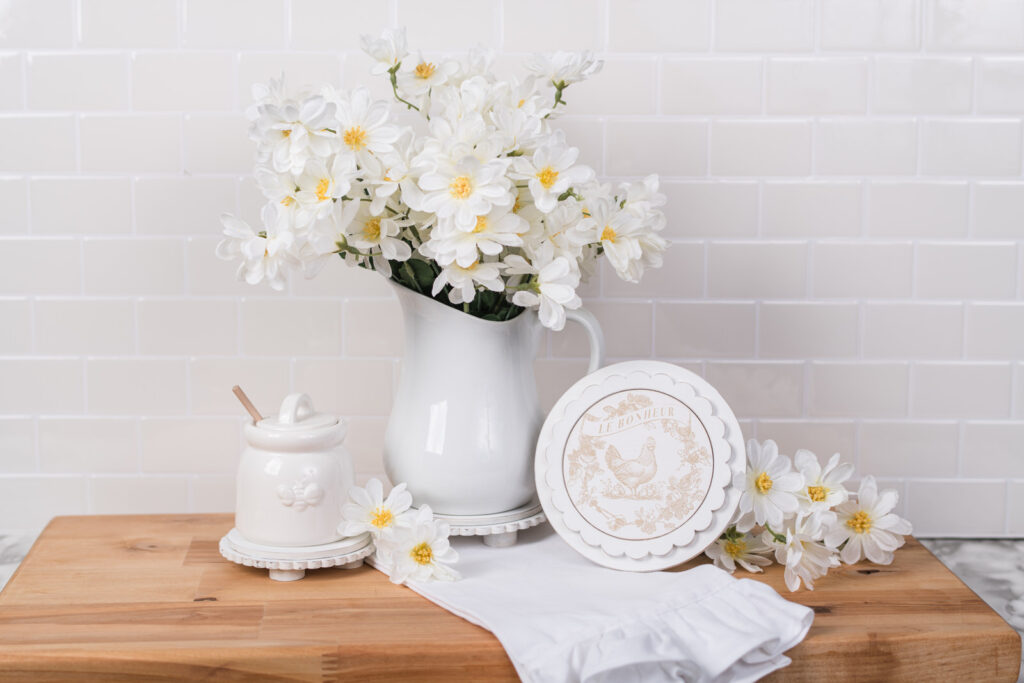
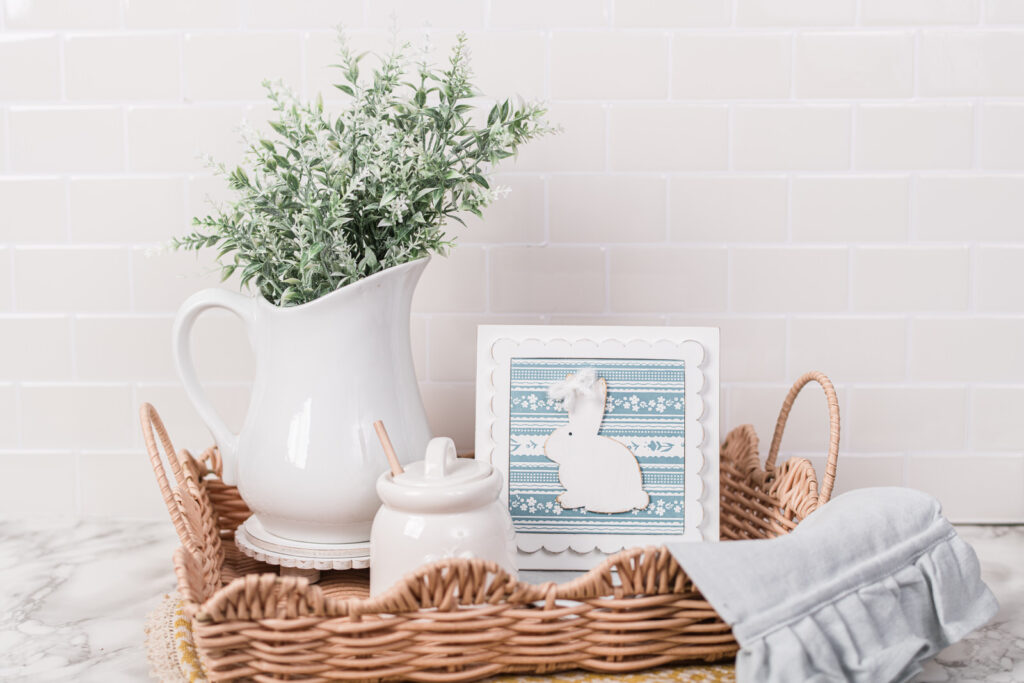
I started with some cute floral round placemats I found at HomeSense and added a scalloped rattan tray from Michaels. Then, I started layering with some thrifted, purchased, and DIY pieces. I found this pitcher at Value Village and placed some greenery from Dollarama inside to raise it up a bit on one of my new scallop risers. The little honey pot and tea towel are from the Fraiche Spring Collection at Walmart. And then, of course, our scalloped frame with the insert that we made above.

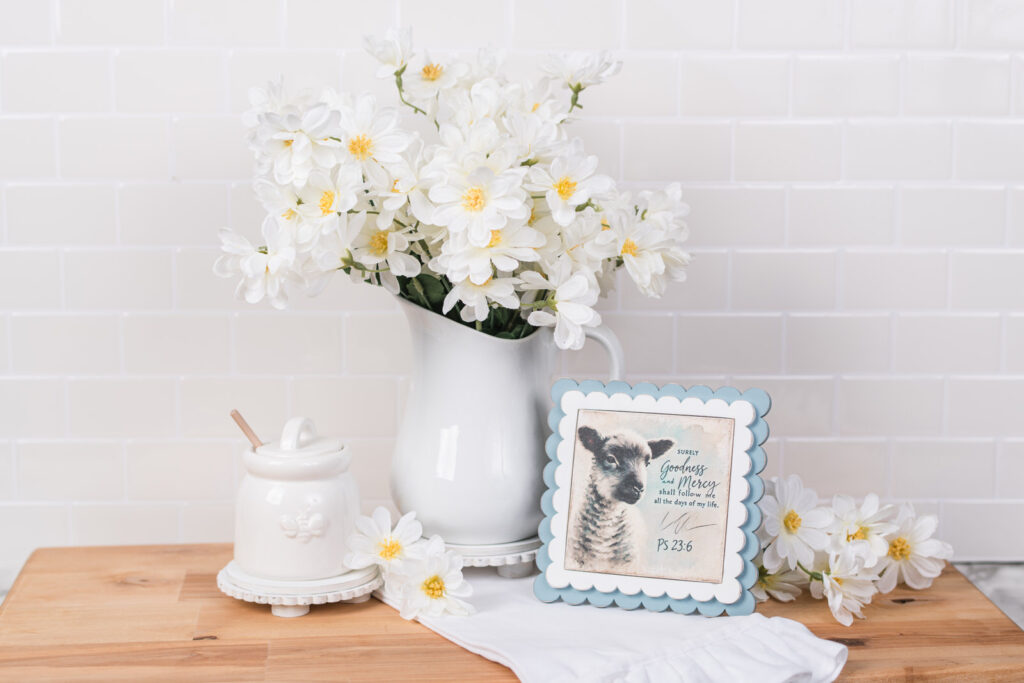
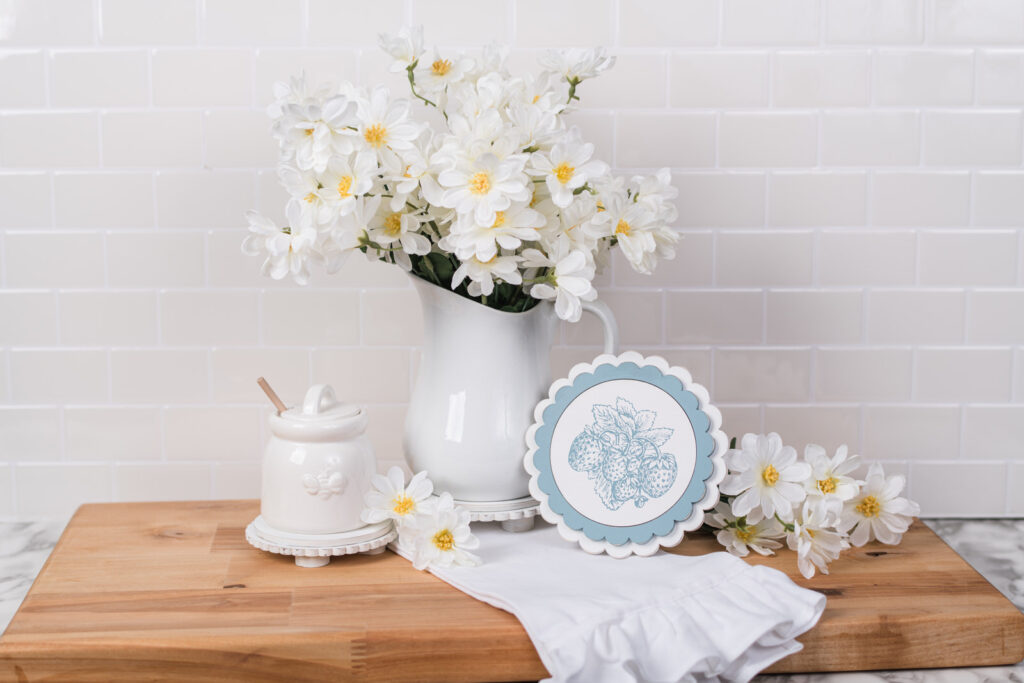
Here, I rearranged a bit, reversed where things were sitting, and added some whimsical daisies that I bought at Michaels.
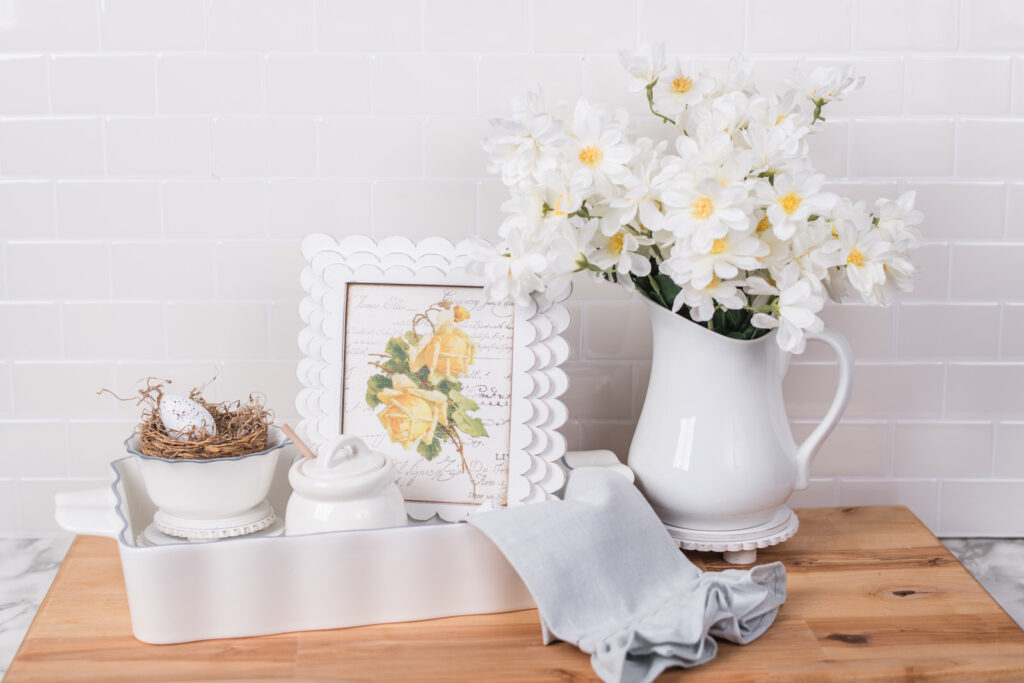
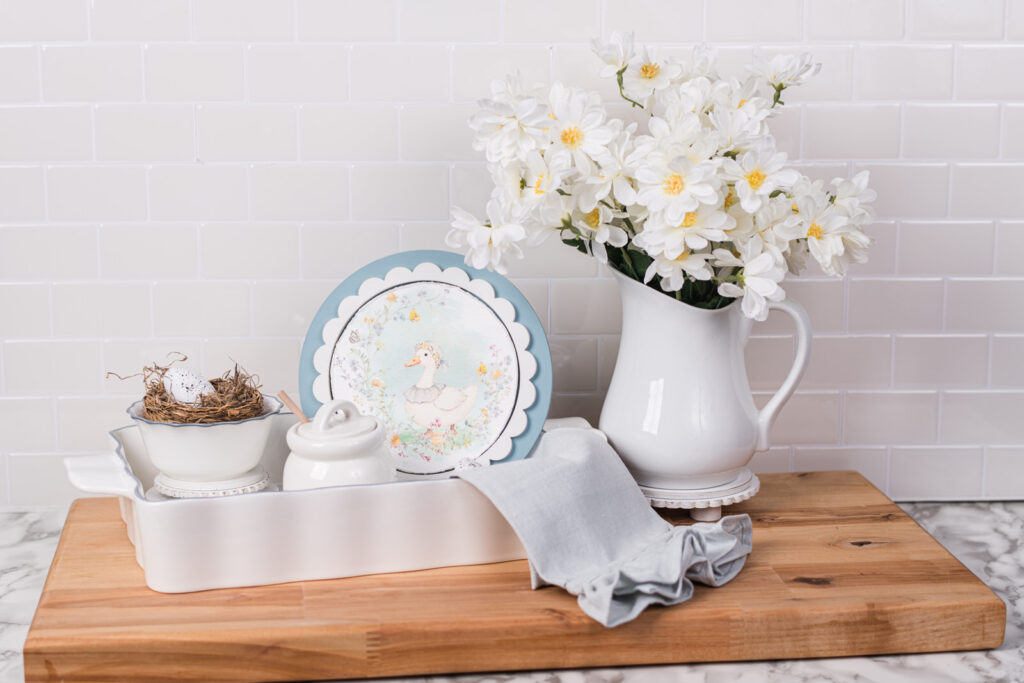
Then I had another idea… I used a cutting board and the casserole dish from the Fraiche Spring Collection from Walmart, along with the honey pot, tea towel and small bowls from the collection. I layered up two of my scallop risers to raise the bowl and added a nest and a sweet egg for a spring touch.
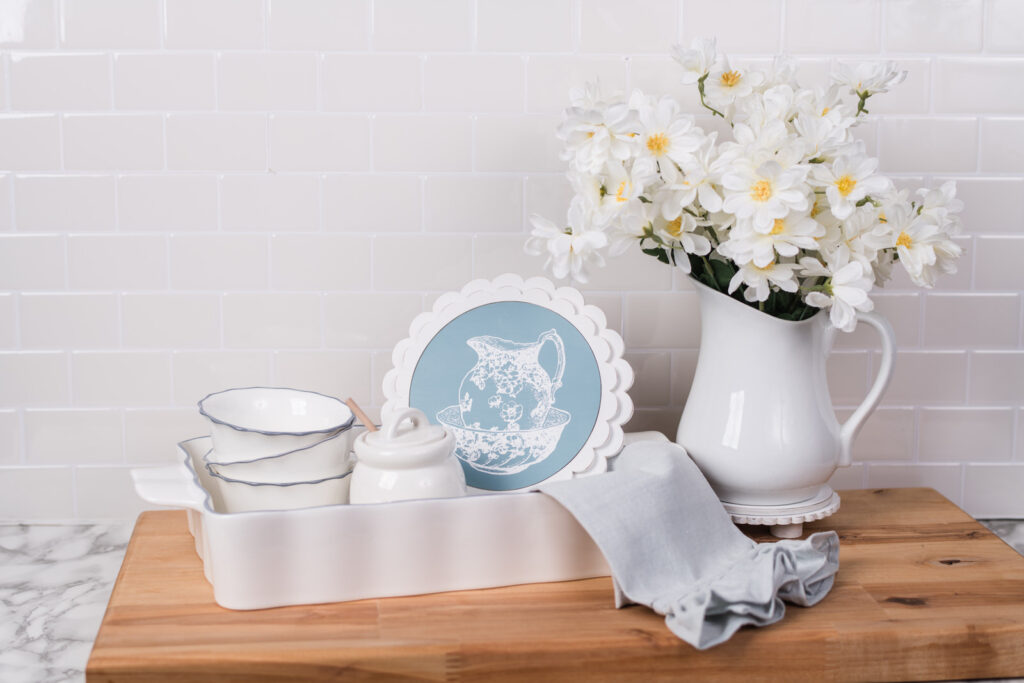
In the next vignettes, I used all the same products I listed in the last three photos.
I hope that this sparks your creativity on how to style your DIY Scallop Frames and inserts. If I have inspired you, please pin this for later. 🙂