


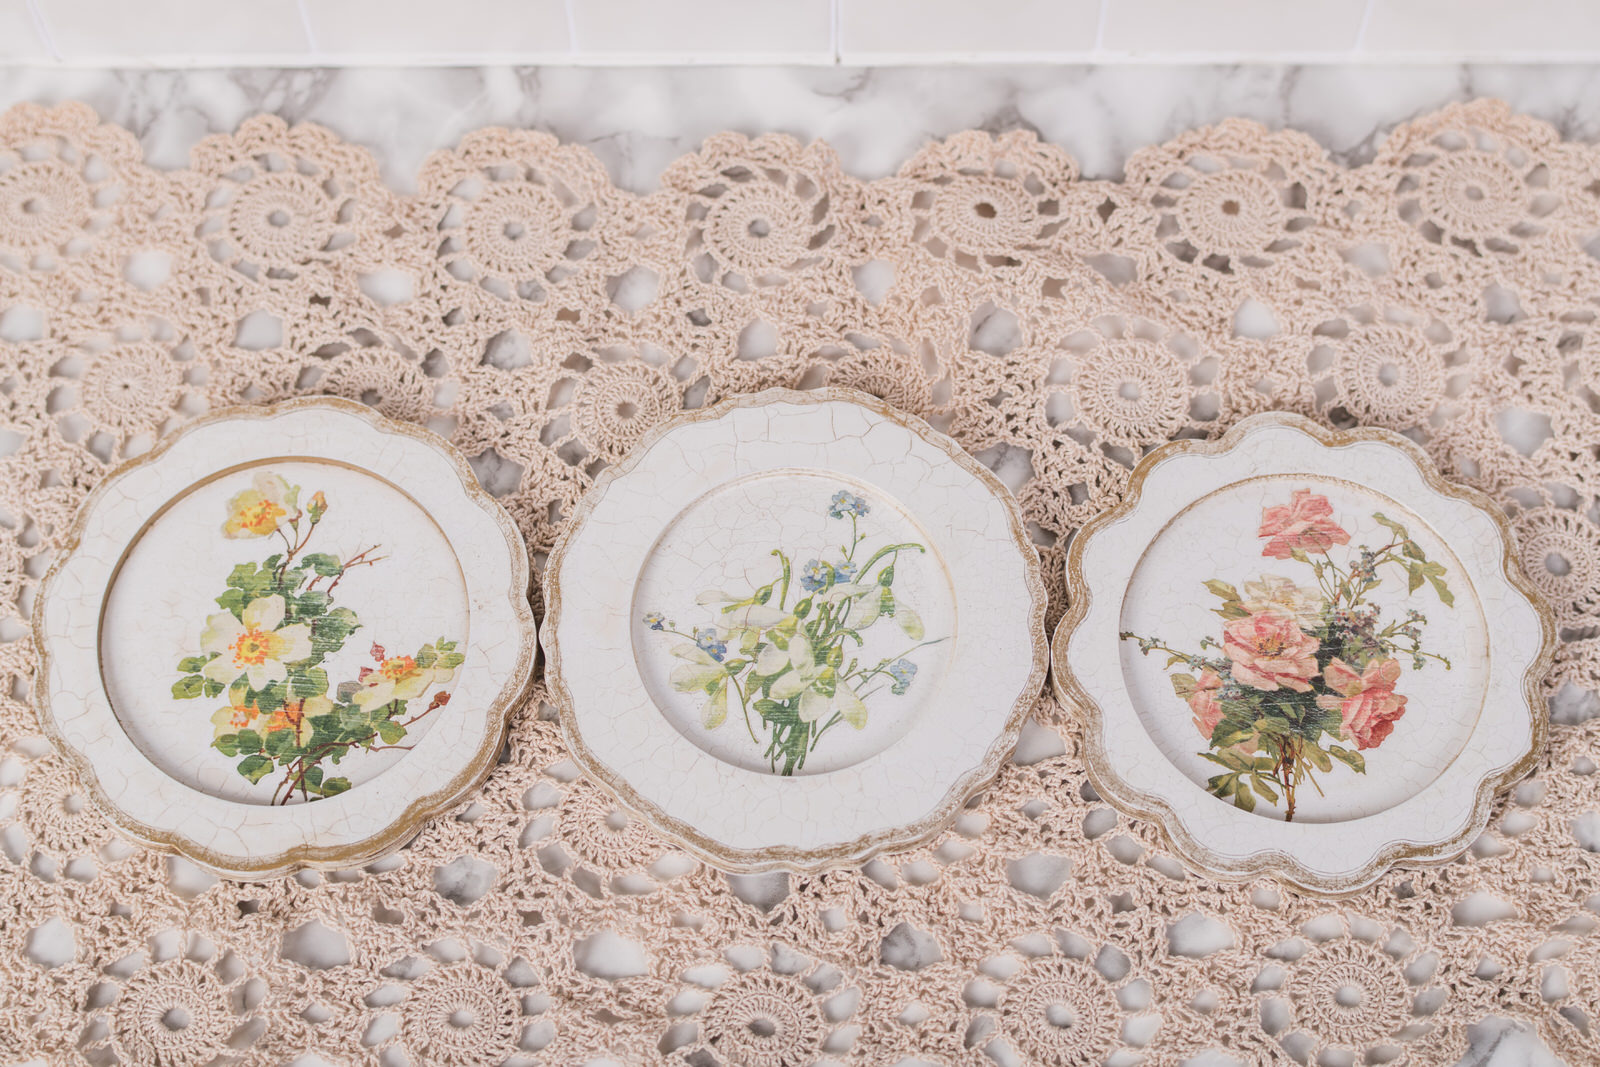
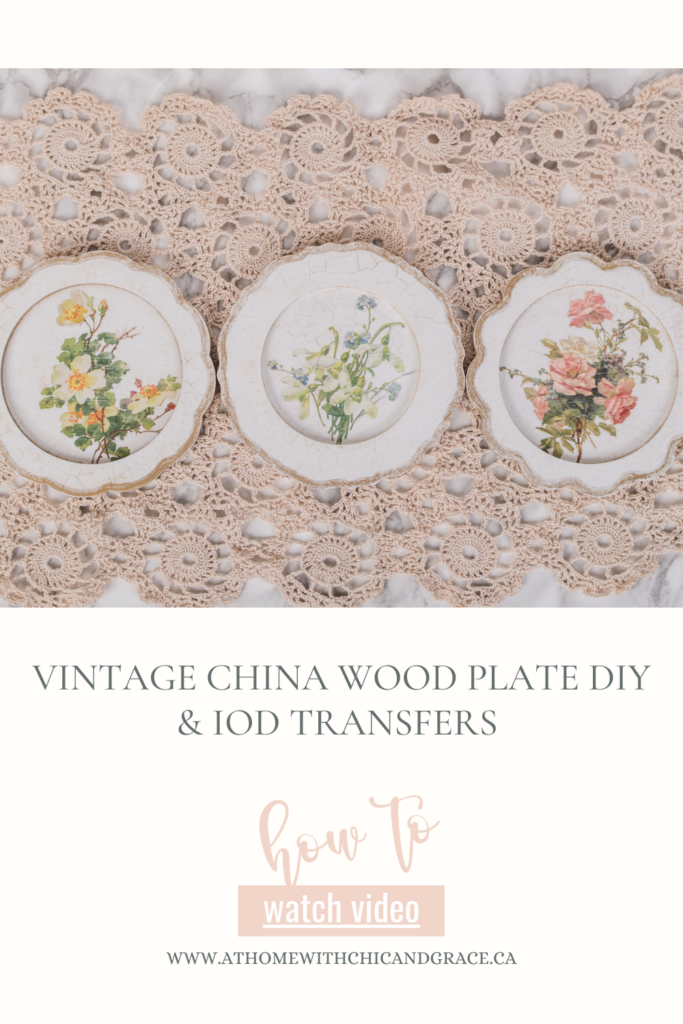
I have had the idea to make vintage china plates from a wood cutout for a while now. So let’s transform wood into a beautiful, crazed vintage china plate DIY with the IOD Cathrina transfer. I have so many ideas for this kit, I can’t wait to share more ideas with you all.

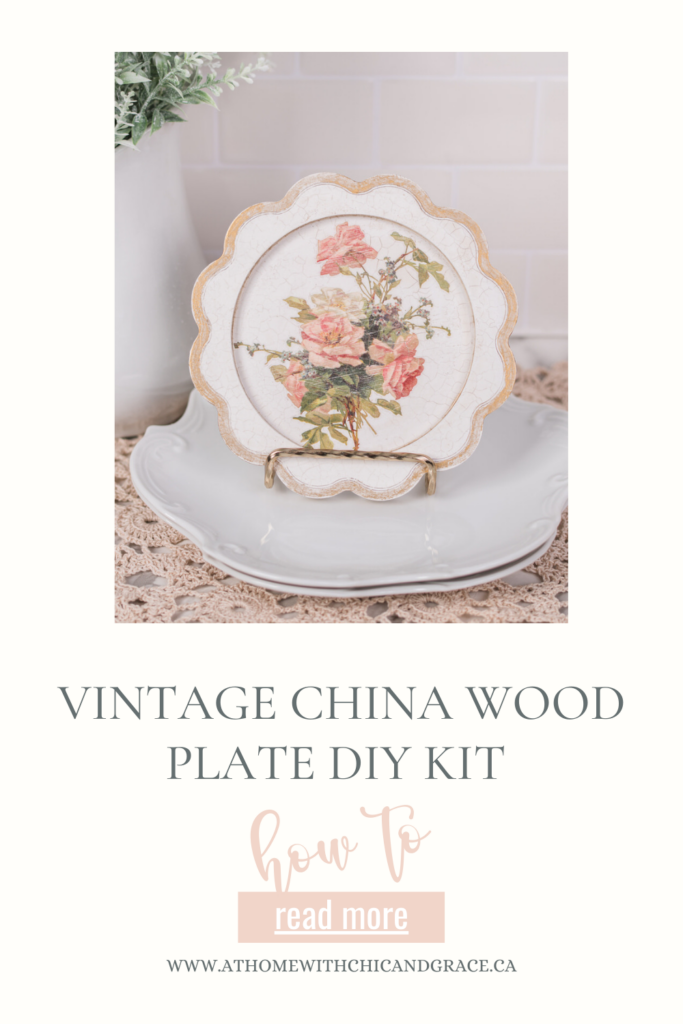
Create Your Own Vintage Wood Plate DIY Kits: A Step-by-Step Guide
Are you ready to add a touch of vintage flair to your decor? If so, my tutorial for making your very own Vintage China Plate DIY Kits is just what you need! Let’ me show you how to craft a beautiful antique-inspired wooden plate using a simple wood DIY kit and floral transfers from Iron Orchid Designs (IOD).
What You’ll Need for Your Vintage Wood Plate DIY Kits
Before you begin, gather the materials.
- Wood China Plate Kit: https://www.shop.athomewithchicandgrace.ca/products/vintage-china-plate-diy-kit
- IOD Transfer Cathrina
- Fusion Mineral Paint – Casement
- Dixie Belle Dead Flat
- Titebond Glue
- Clamps
- Sandpaper &/Or Dremel
- Rub n’ Buff – Gold Leaf
- Pentart Fineline Crackle Varnish
- Behr Clear Wax
- Artist Brushes of Choice
- Q-tips, Baby Wipes, Shop Towel
Step-by-Step Instructions (Video Below)
1. Prepare Your Surface:
Sand lightly if needed then paint with colour of choice. I used Fusion Mineral Paint casement. I applied 3 coats.
2. Choose Your IOD Transfer:
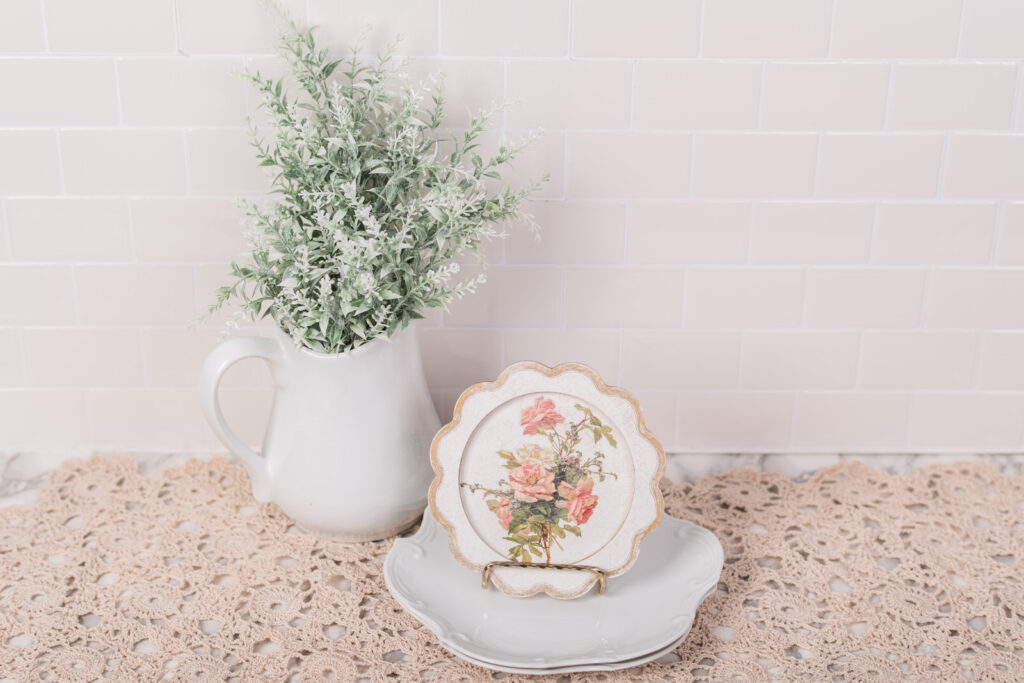
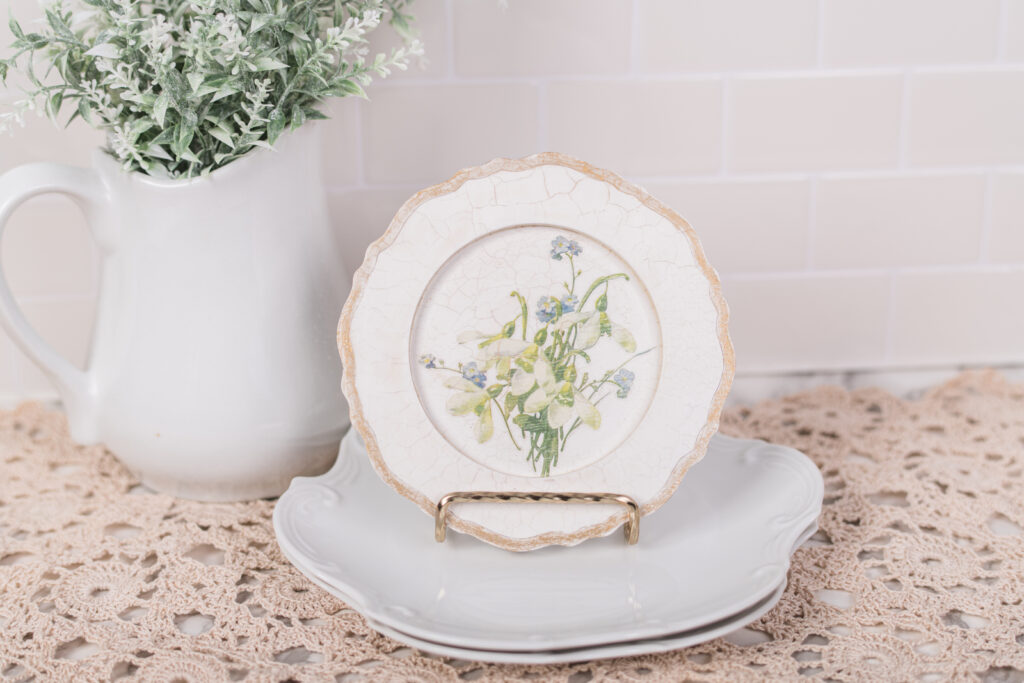
Browse through your IOD transfer collection, selecting a design that gives it a vintage charm. I used the IOD Cathrina Transfer.
3. Trim Your Transfers:
Remember you can trim out parts of your transfer to make it fit better. Place the frame ove top before committing so you can see the placement of your design better. Then tape it in place so it doesn’t move.
4. Apply the Transfer:
The tape will act like a hinge so you can peel up the transfer and remove the backing, placing it right back down in the position you taped it in. Using the transfer stick that comes with your transfer start to rub your transfer onto th esurface lifting the carrier sheet slowly to reveal your design! Burnish with carrier sheet. (video below shows what I mean better)
5. Optional Sanding:
To give the transfer an even more vintage look I lightly sand over the transfer to make it look a little more worn.
6. Seal Your Transfer:
Once your transfer is applied apply a clear sealer over the top before continuing onto the next step.
7. Glue Pieces Together:
Using your wood glue of choice glue and clamp pieces together.
8. Apply Fineline Crackle:
Using a clean dry brush, apply step one of Pentart Fineline crackle. Let dry. Then again using a clean dry brush, apply step two on the fineline crackle and let dry again.
9. Bring Out The Detail:
Apply a clear wax all over the plates. Grab your gold wax of choice, I used Rub n’ Buff – Leaf gold, with a q-tip or paper towel add gold around the inside and outside rim as well as all over the plate to reveal the cracks.
10. Display & Enjoy!

Displaying Your Vintage Wood Plate DIY Kits
Now that you’ve crafted your beautiful vintage wood plates, it’s time to showcase them! Consider placing it on a decorative stand as a centerpiece on your table, or hanging it on a wall as part of a curated gallery of vintage-style decor or place in a plate rail.
DIY Video Tutorial:


Happy crafting!


